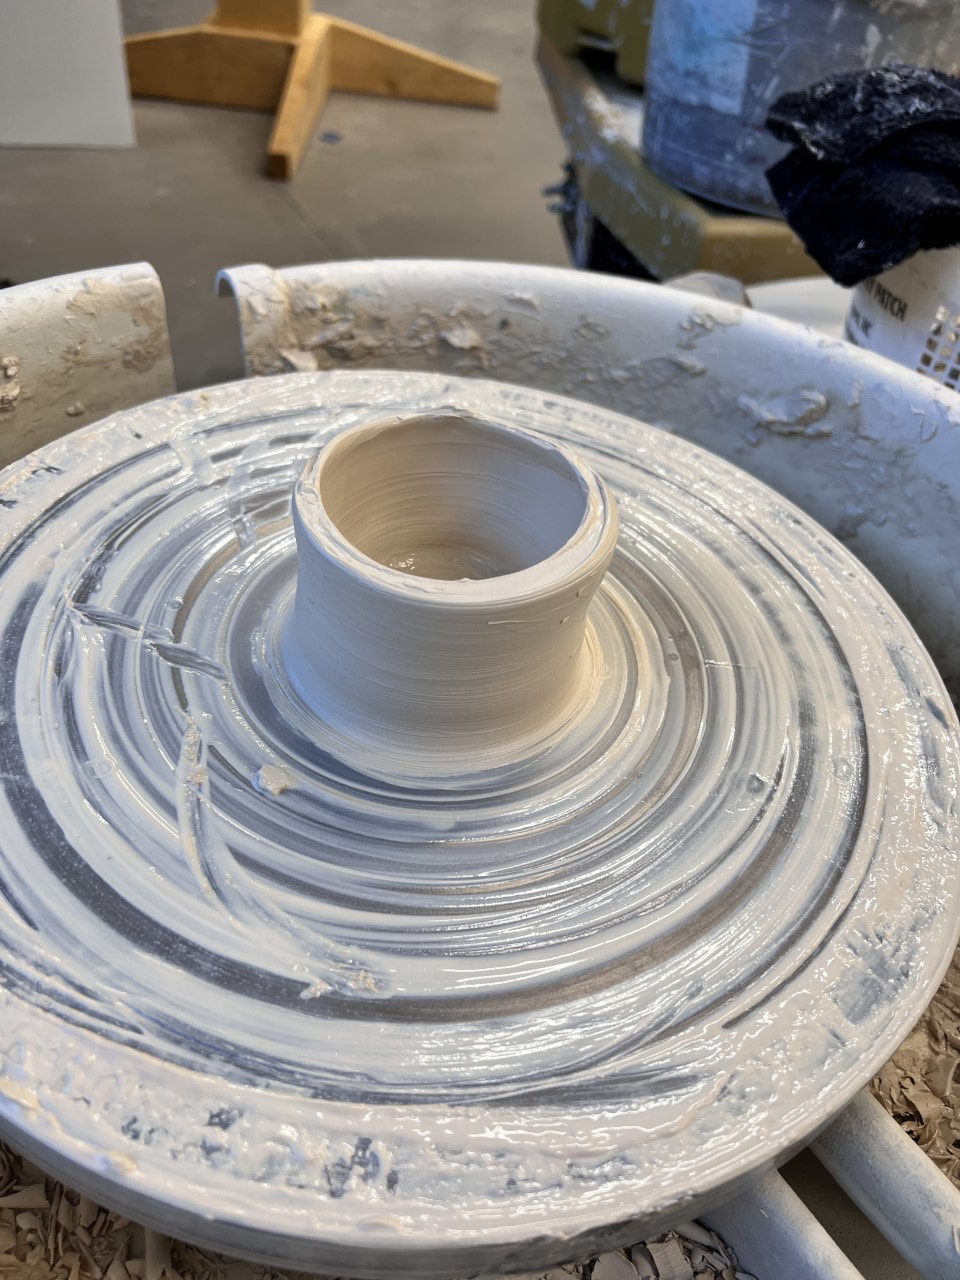
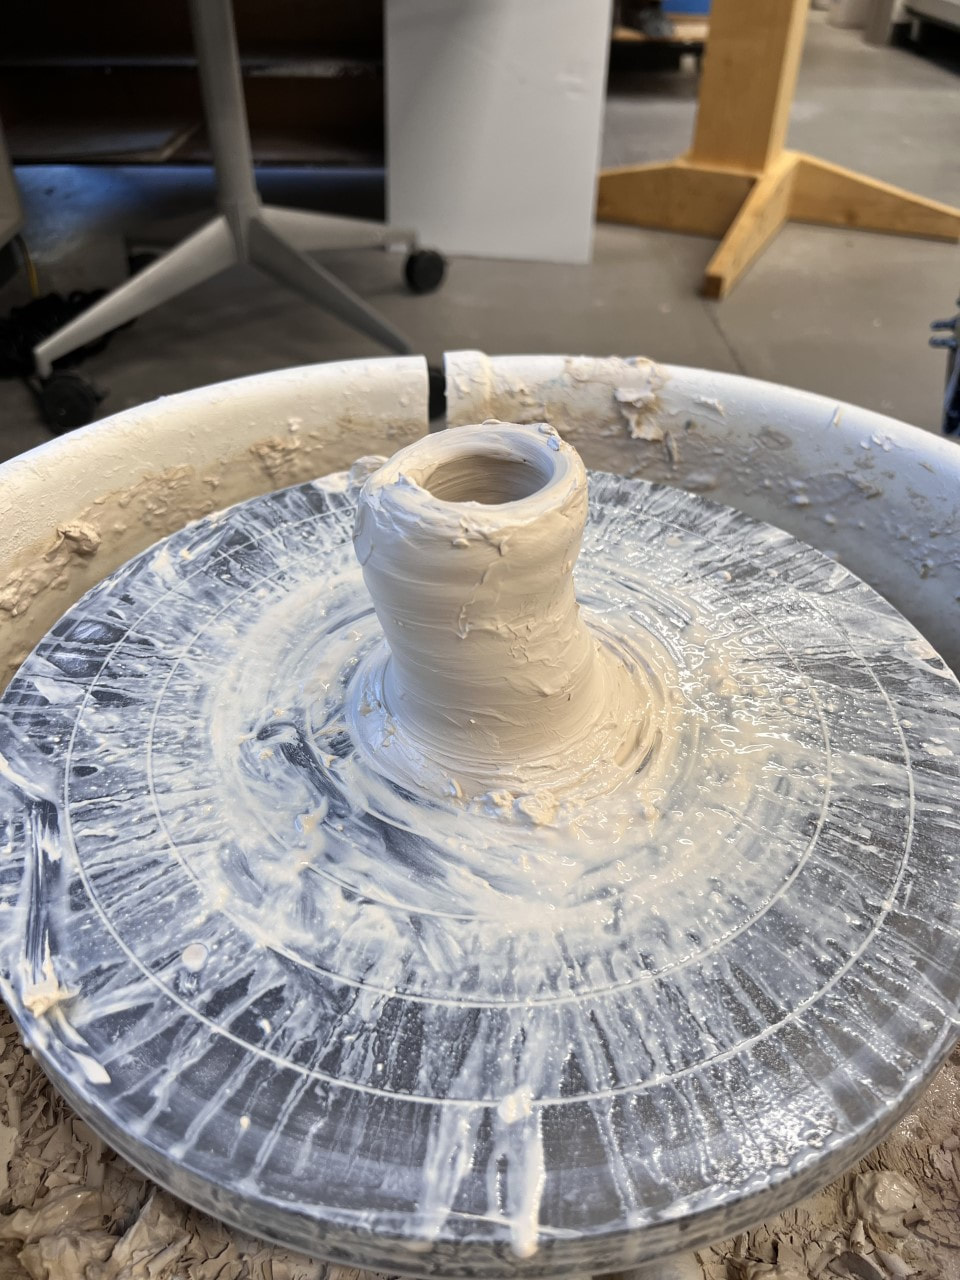
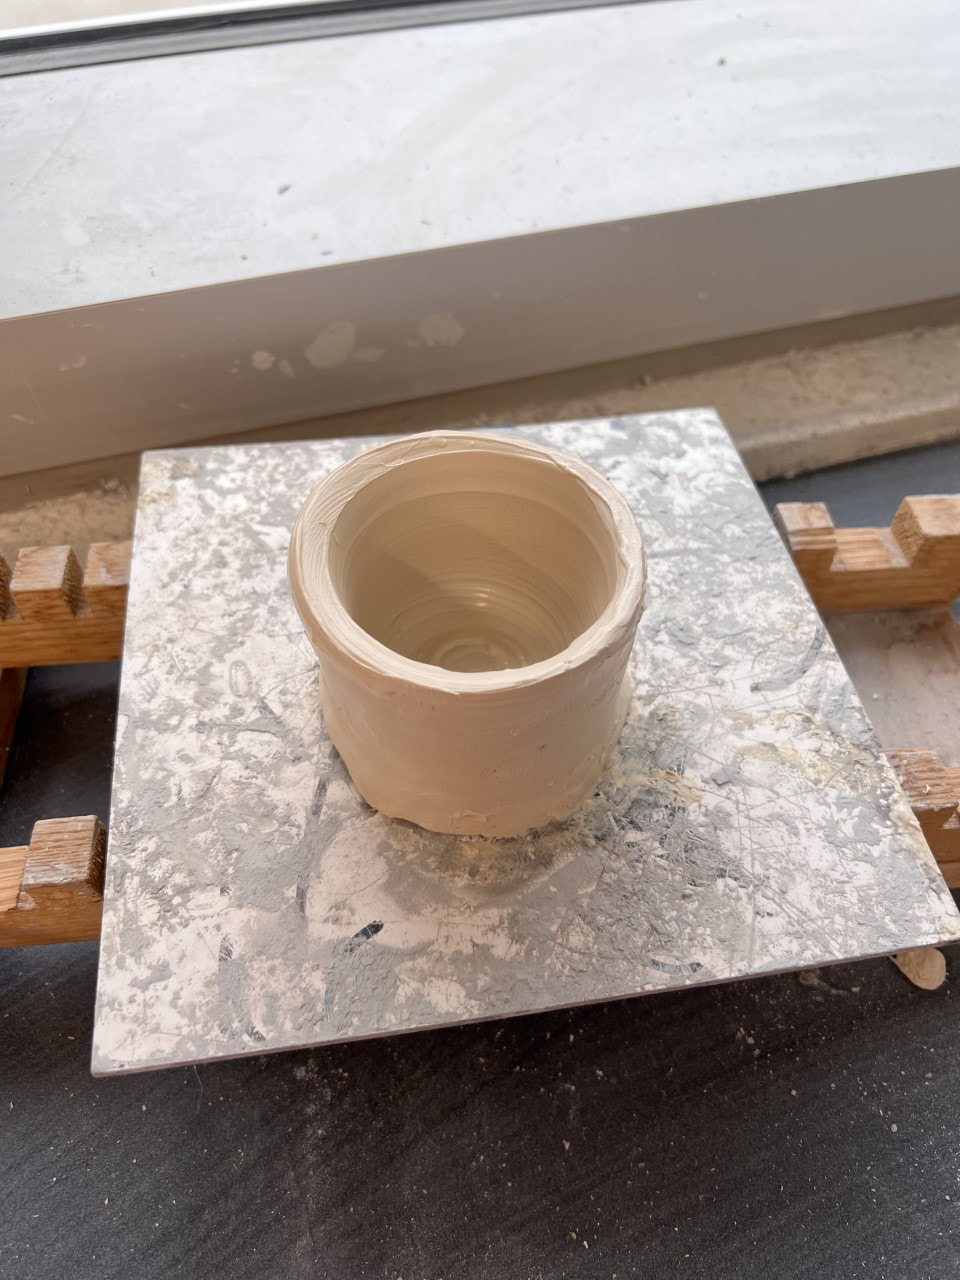
Patterns!We created some patterns this week! Here are my sketches and current progress: 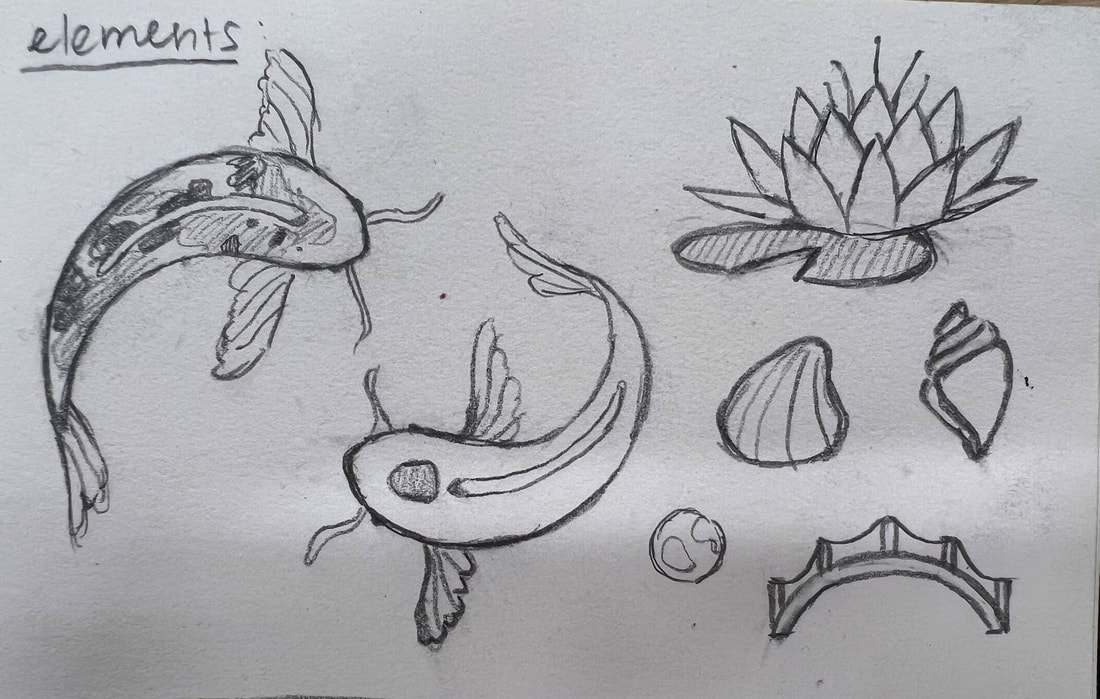 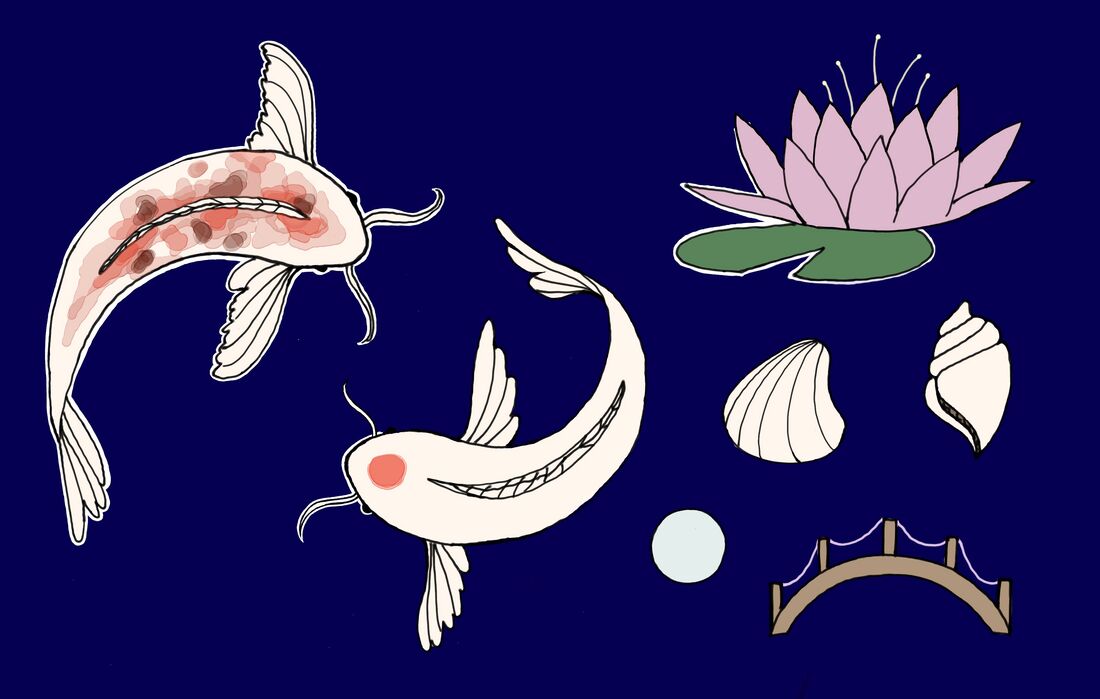 I've still yet to finish since I'm very inexperienced in digital art and kept messing up. I'll continue this next week. PotteryI spun a small pot on the wheel. I'm actually kinda proud of this since this is my first mostly successful pot. :) 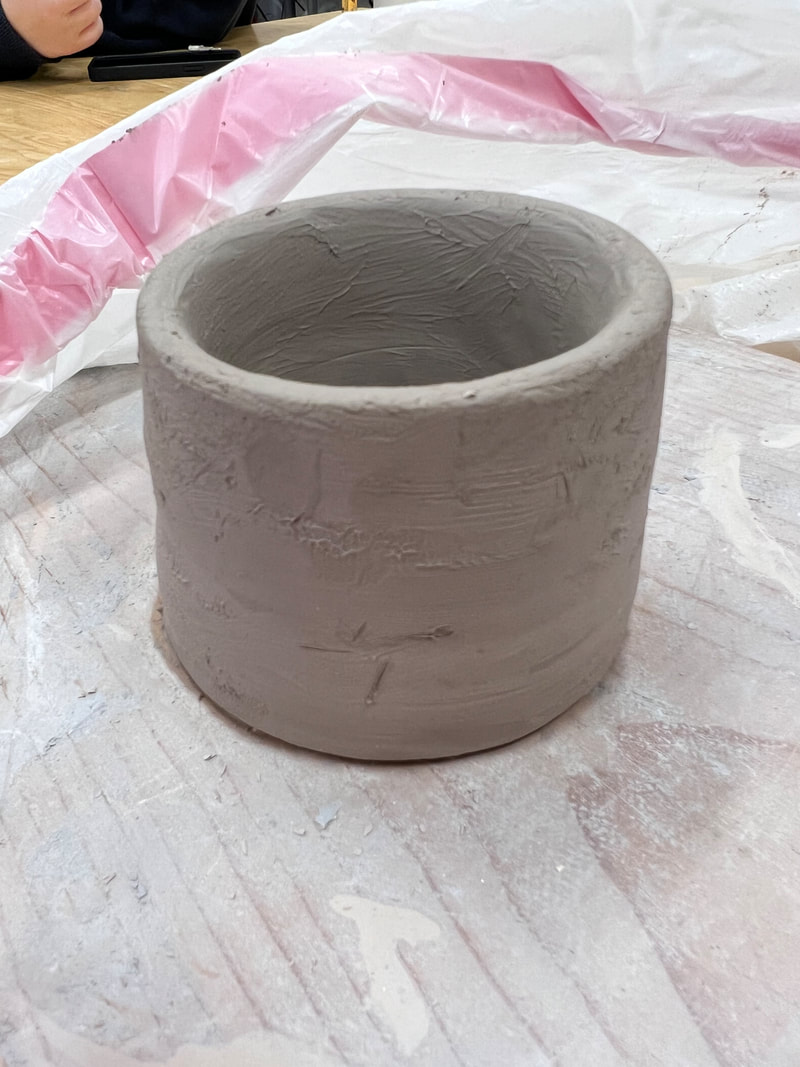 No updates on my current project (the heart). Still waiting for it to be fired. Reflection1. 1 challenge you dealt with this week and how you have handled it.
I accidently merged all my layers when doing my digital patterns. Still haven't exactly "handled" it...but I'm managing haha. 2. What has gone successfully this week? Surprisingly the pot I spun on the wheel isn't too shabby! I was also helping some of the Sculpture 1 kids center their clay and feel like I kind of understand it more after explaining. 3. What is your plan for next week? Hopefully if my heart is fired next week, I'll work on glazing it. Maybe I'll throw a little more.
0 Comments
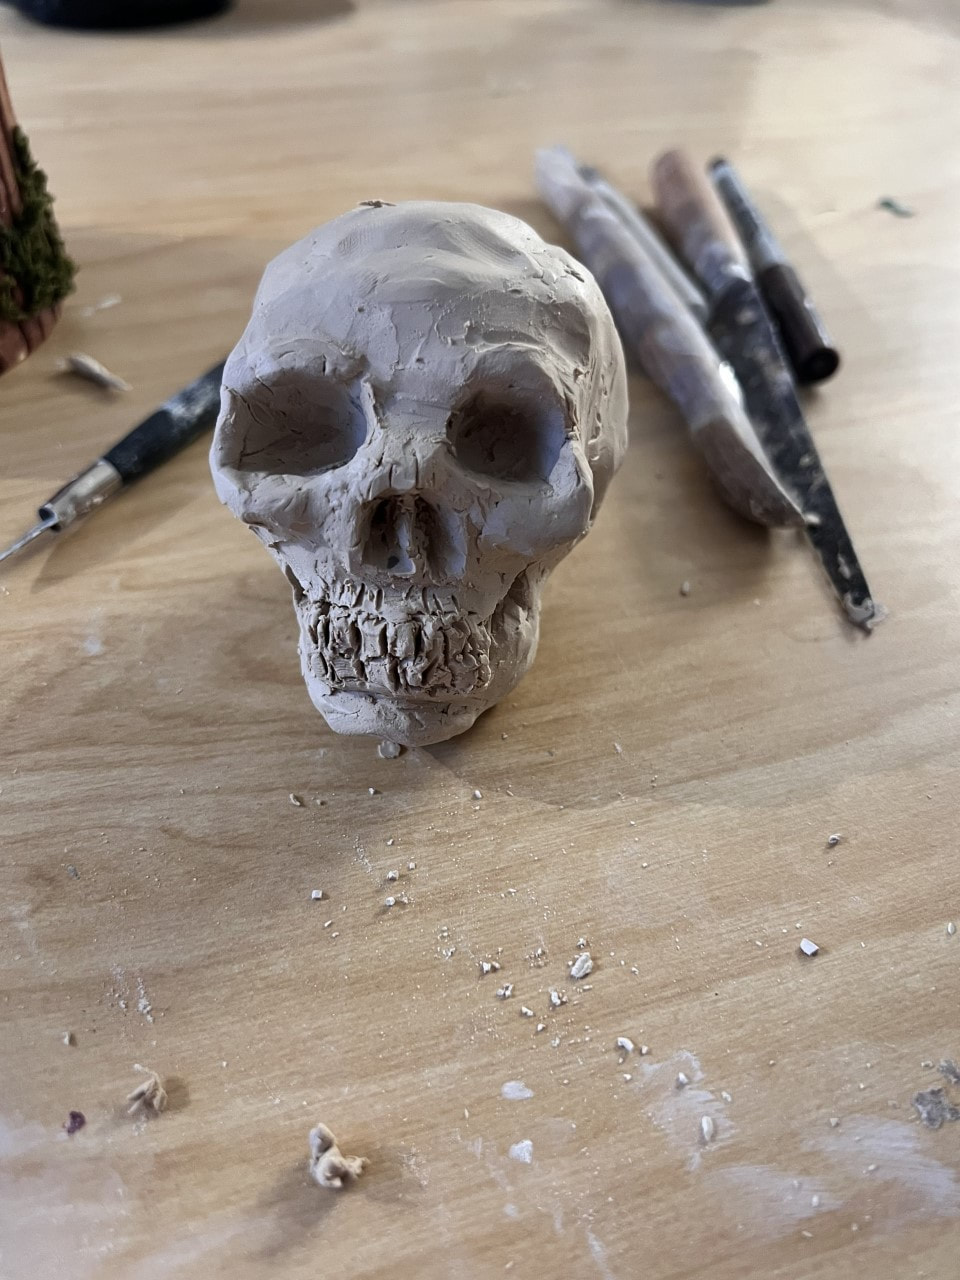
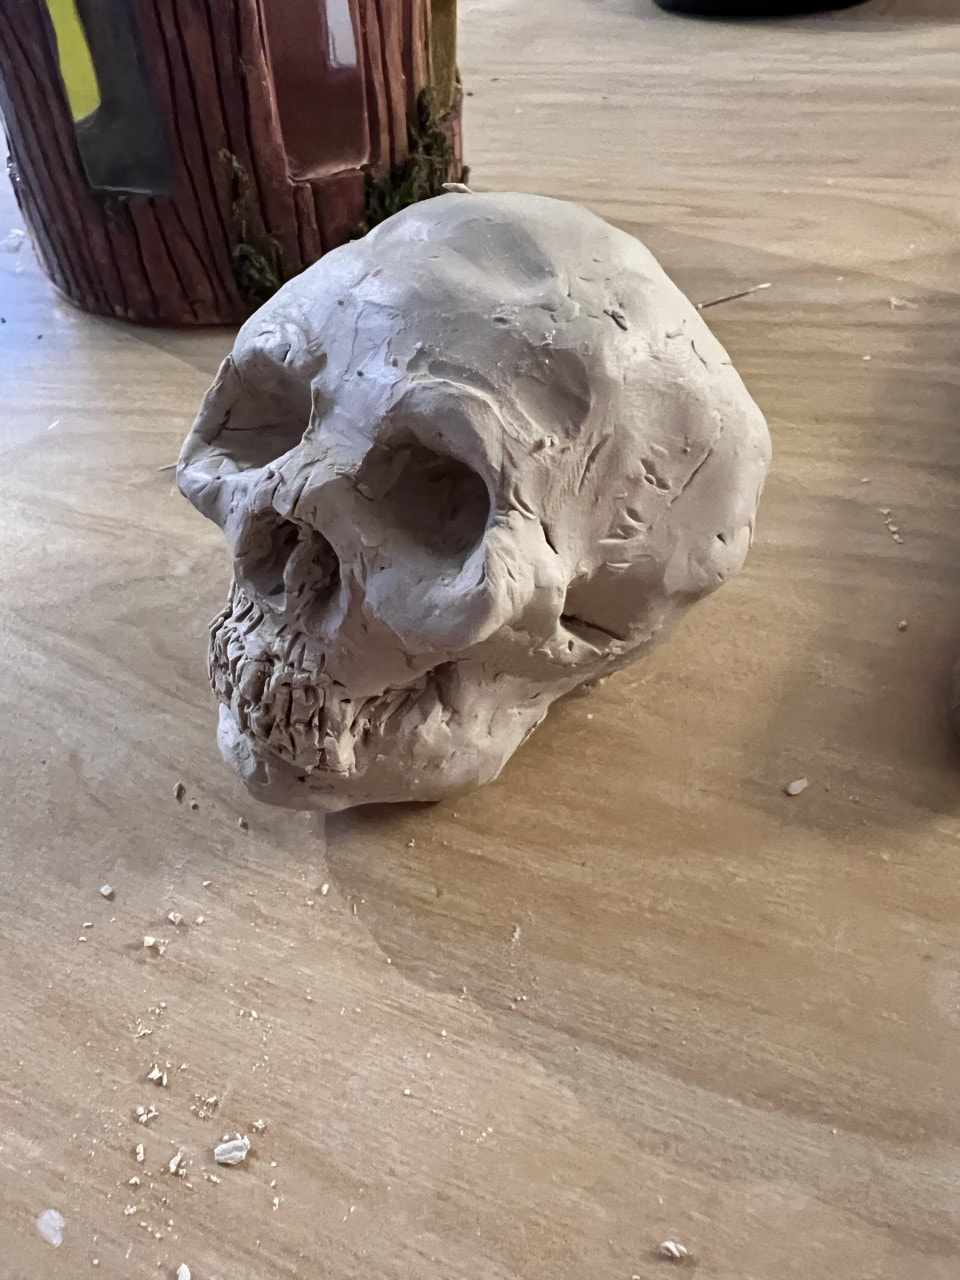
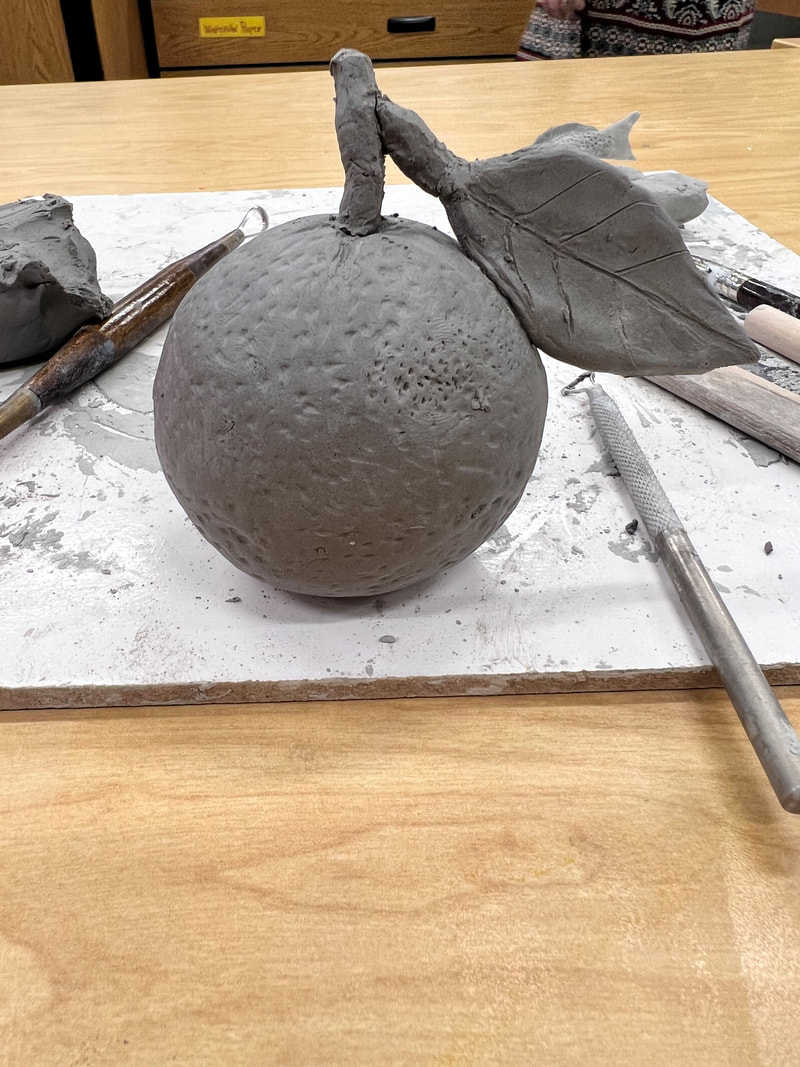
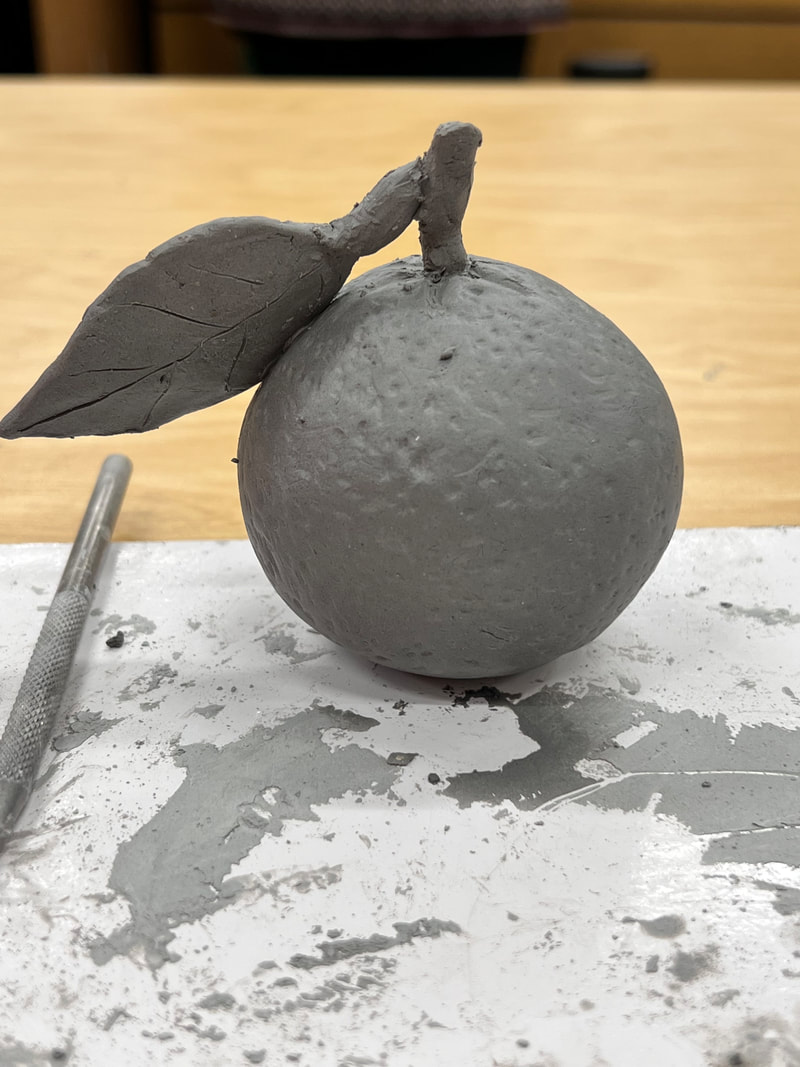
Skull SculptureClay Warmup! I think these were the previous week?
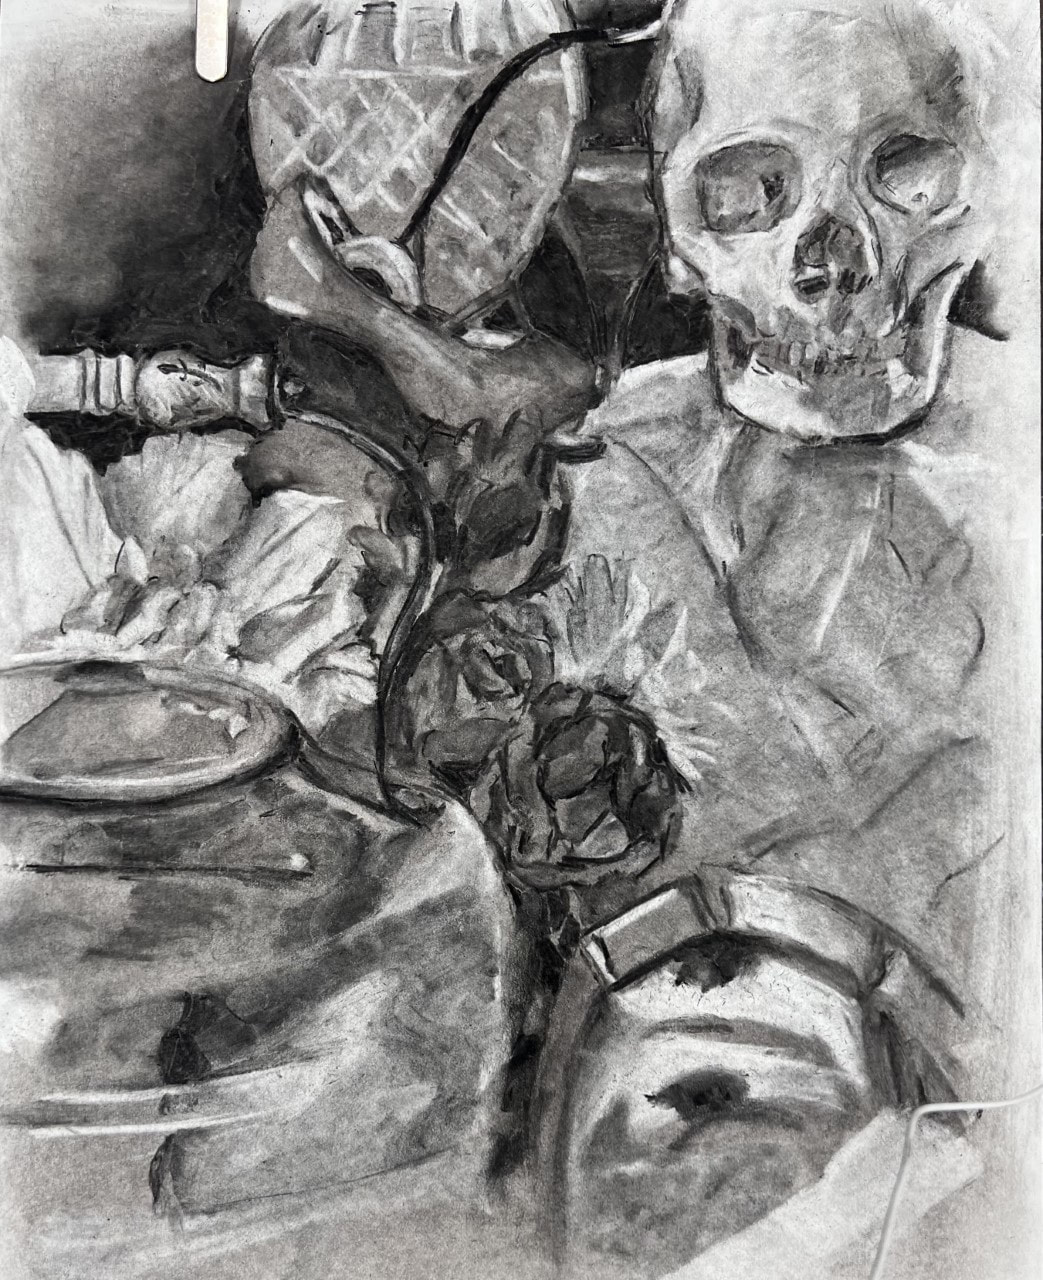
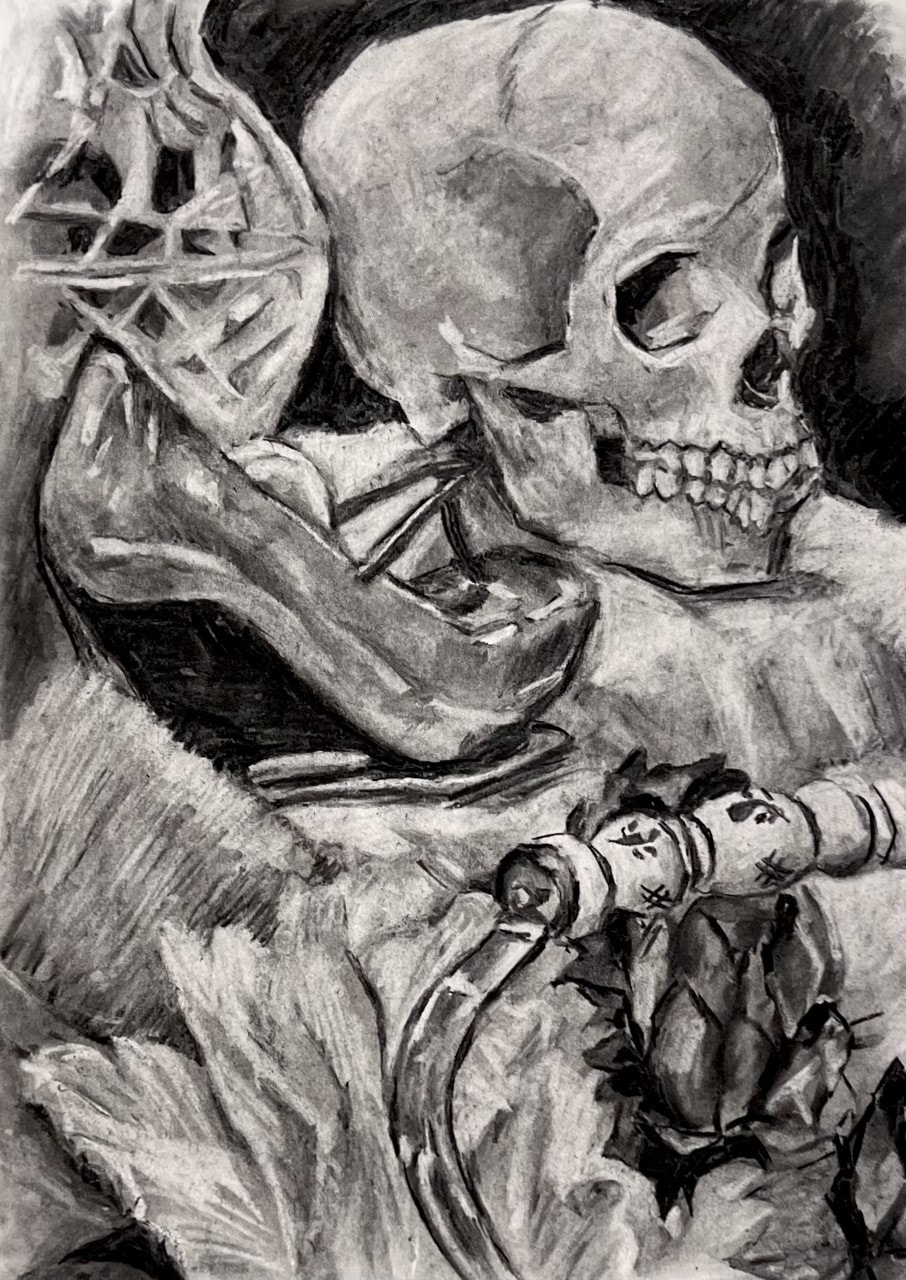
Charcoal DrawingsI was procrastinating on my actual sculpture by doing some drawings also. :P
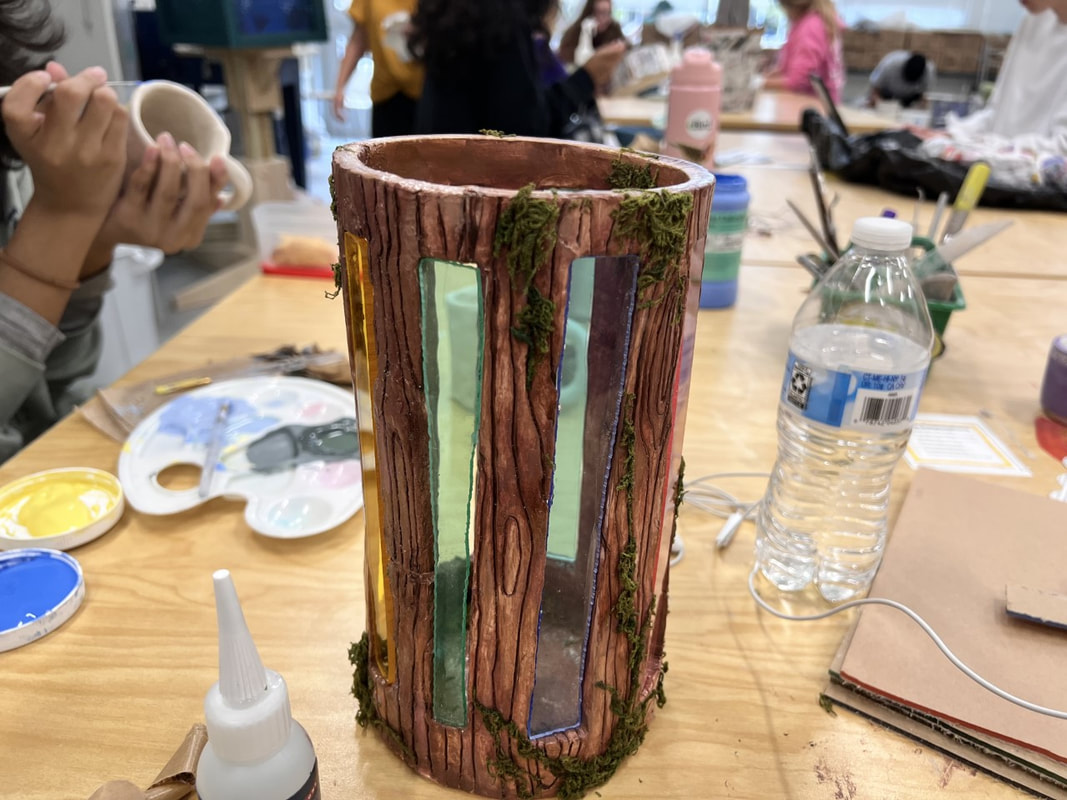
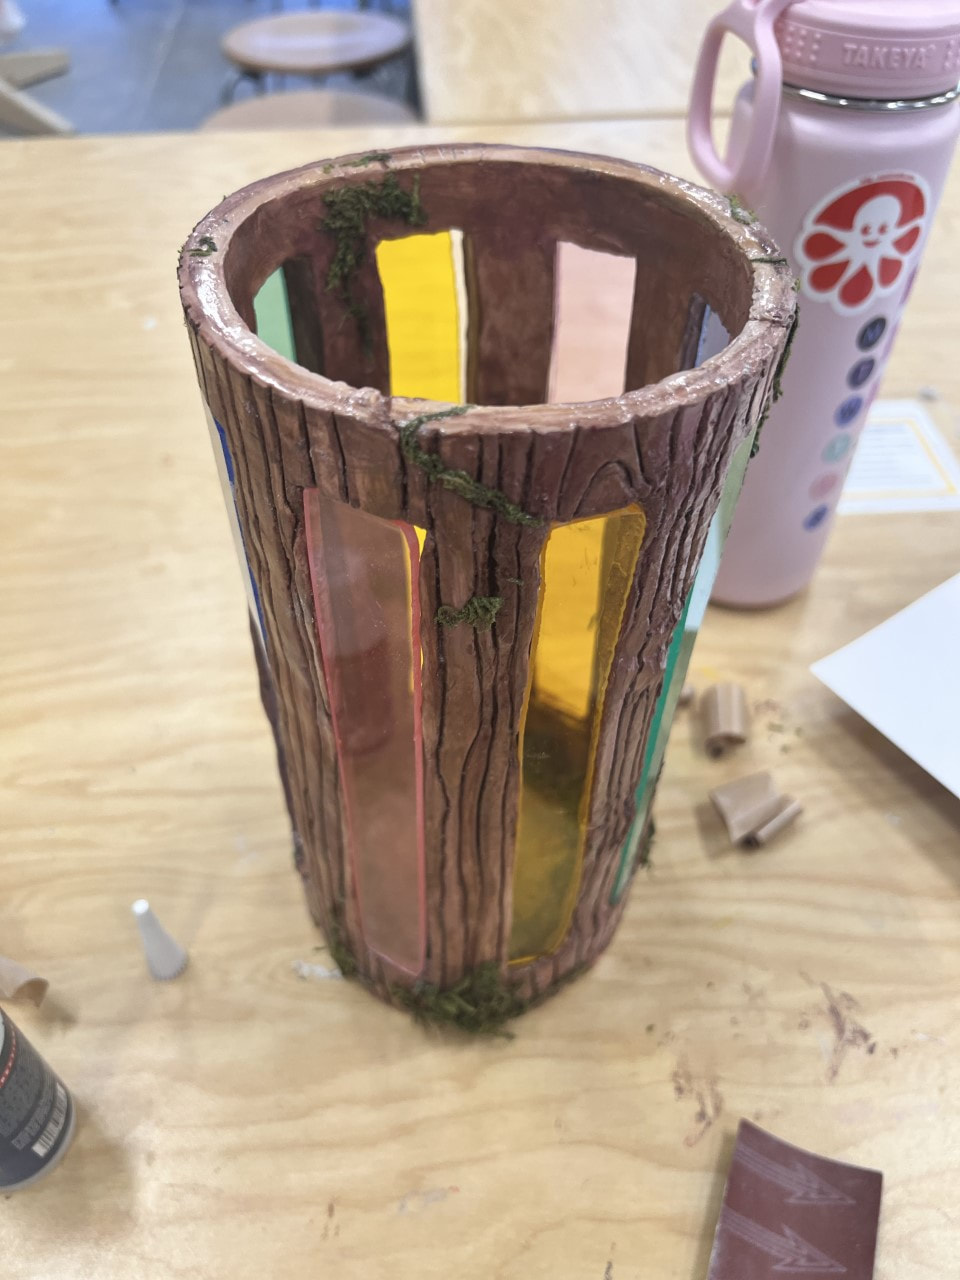
Finishing Interior Spaces!
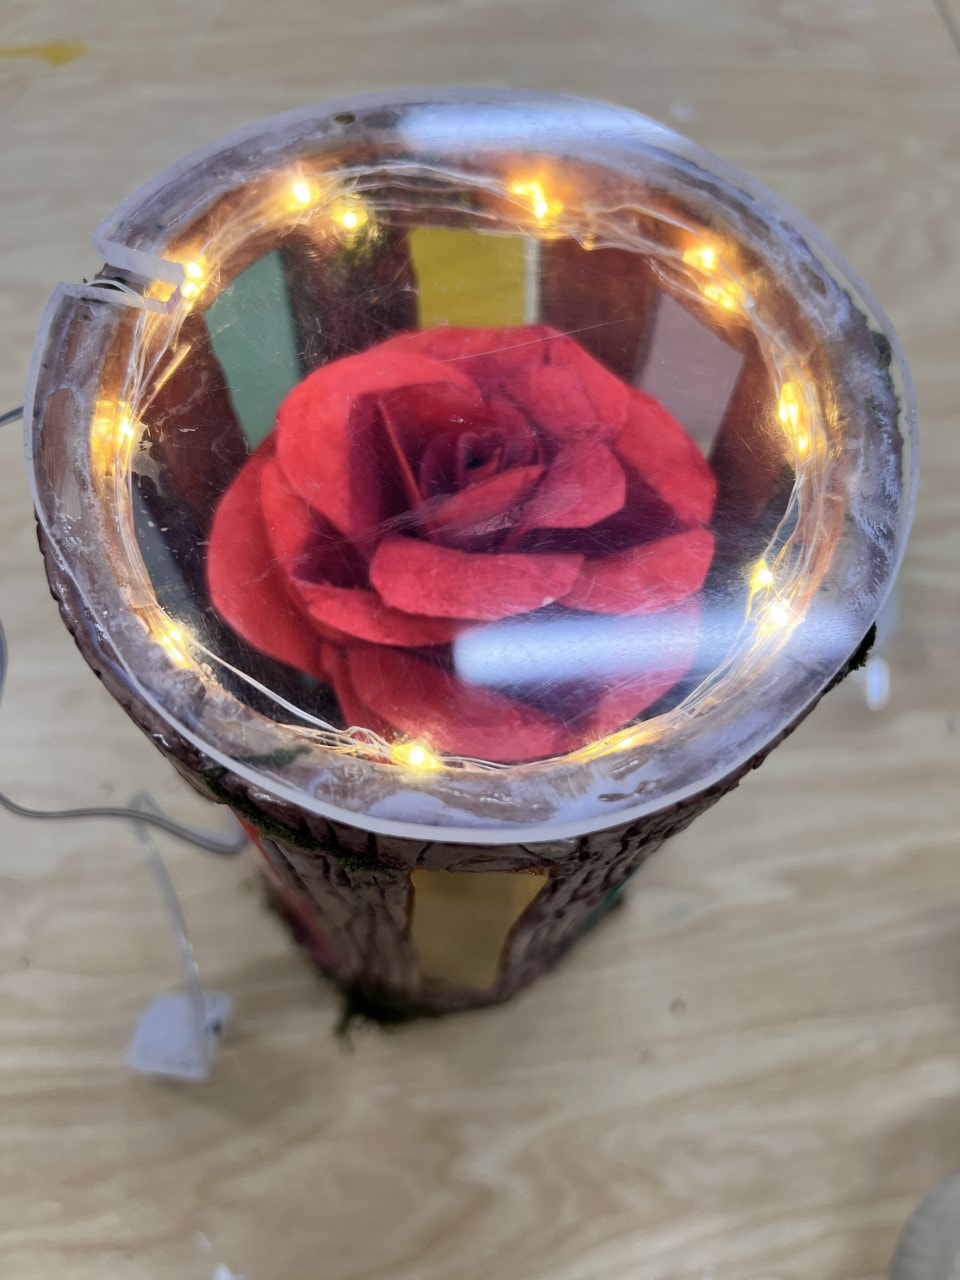
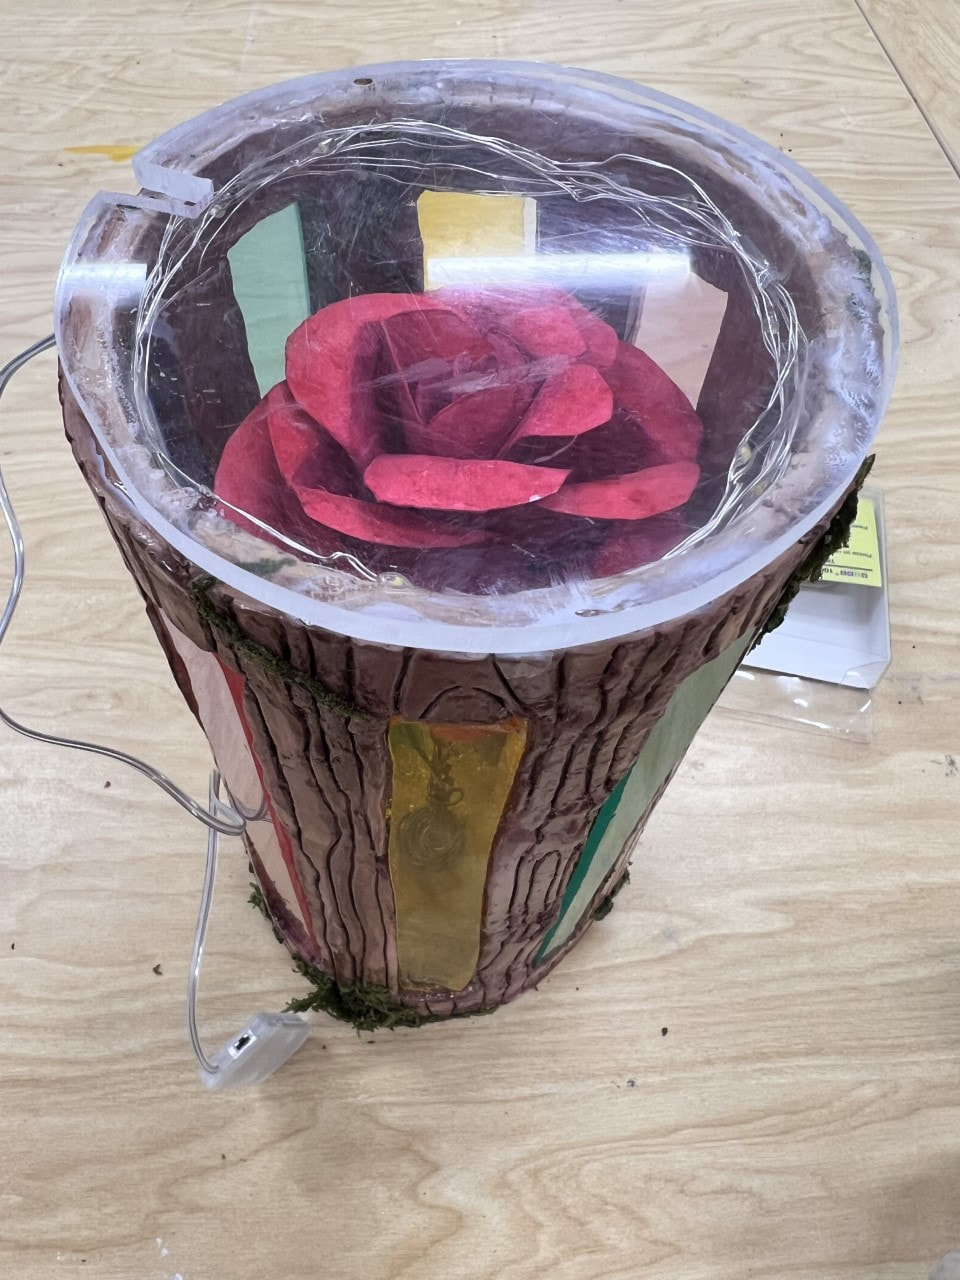
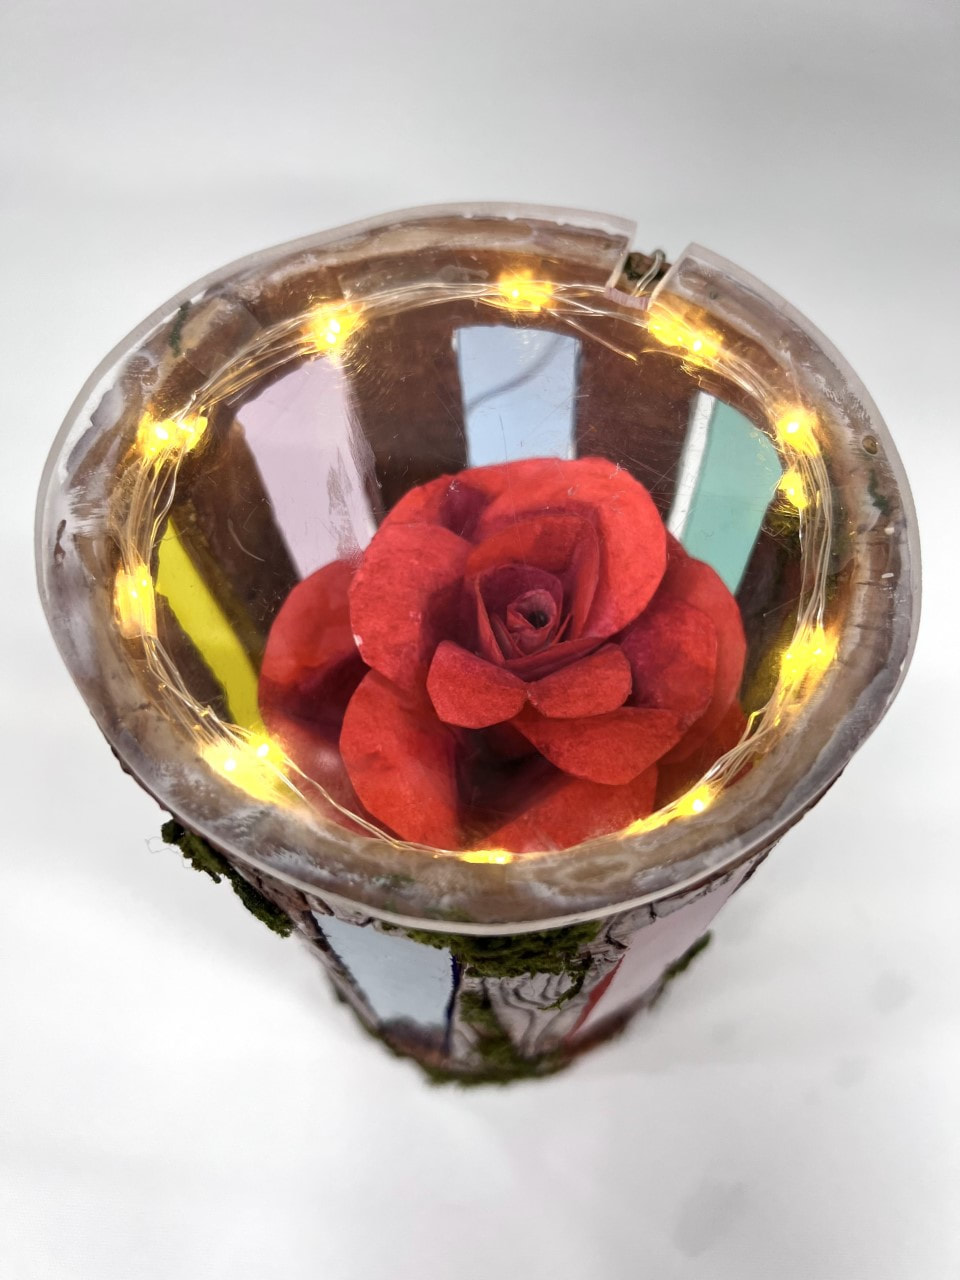
Added LEDs by taking them along the sides of the vase. Glued clear glass to the top of the sculpture. Painting
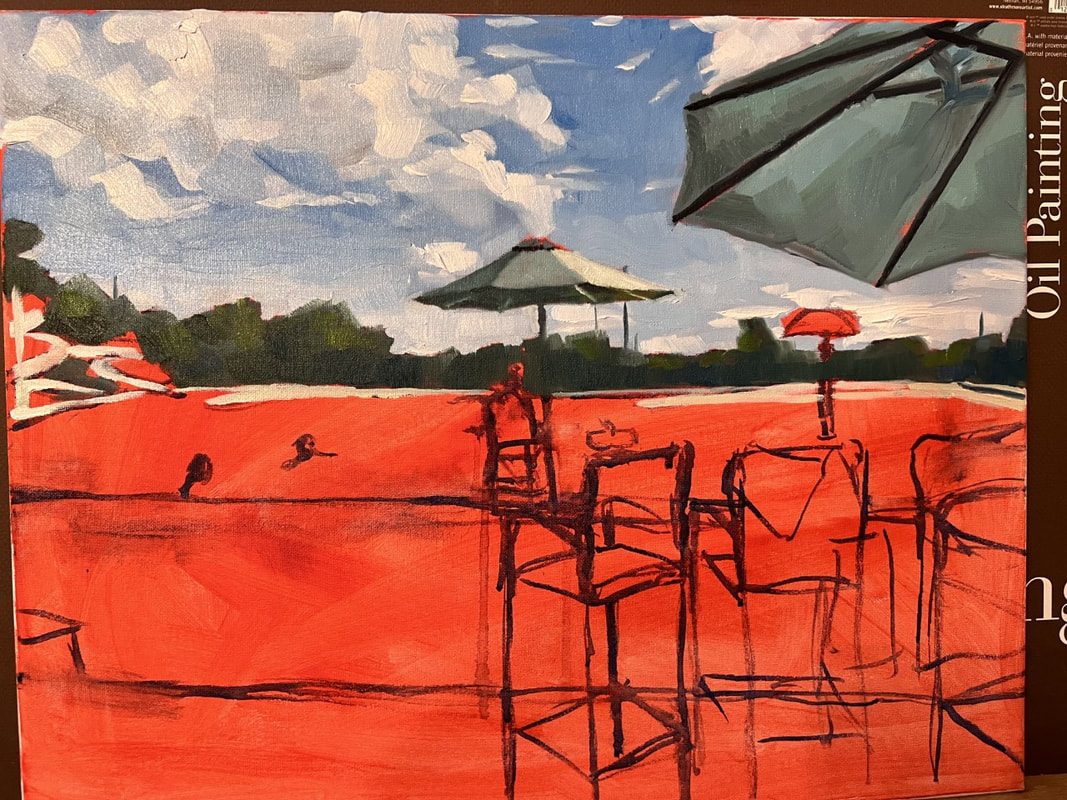
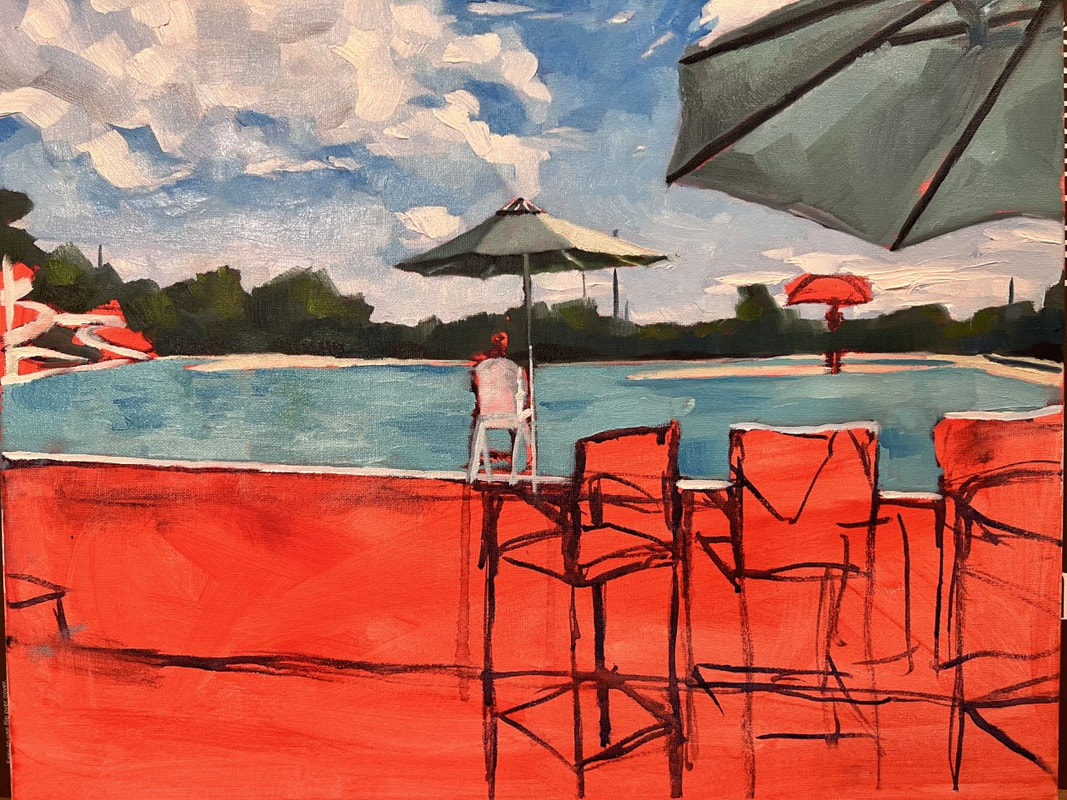
Just for fun, I started another painting. Not really sculpture but I did work on it somewhat during class! Reflection1 challenge you dealt with this week and how you have handled it.
Didn't really encounter any problems this week. Went pretty smoothly! What has gone successfully this week? I liked the way I did the lights I added to the vase. It really adds a little bit of zest! What is your plan for next week? I want to start doing more functional pottery and maybe begin my next "big" idea.
Written1 challenge you dealt with this week and how you have handled it.
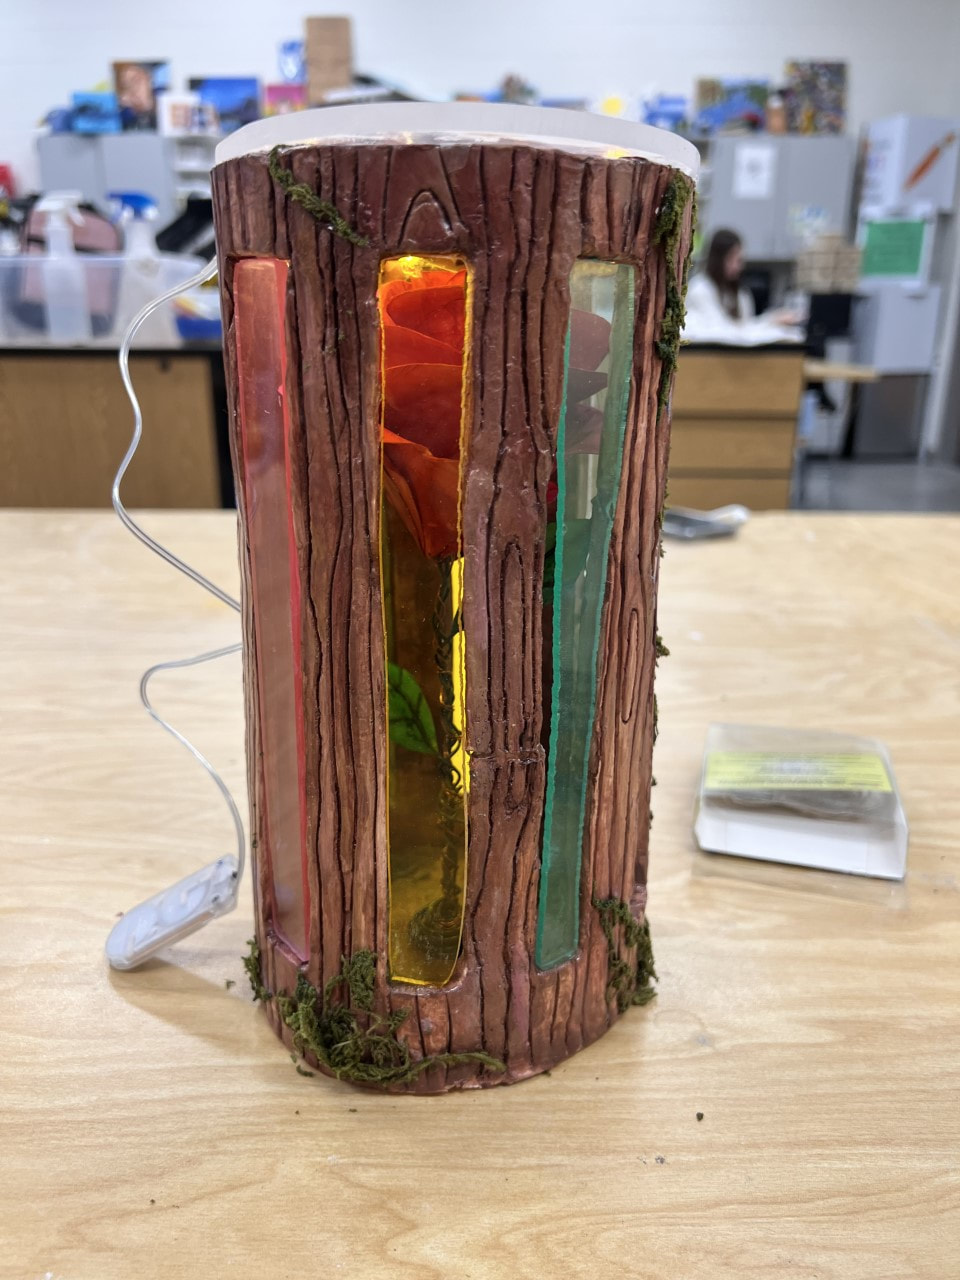
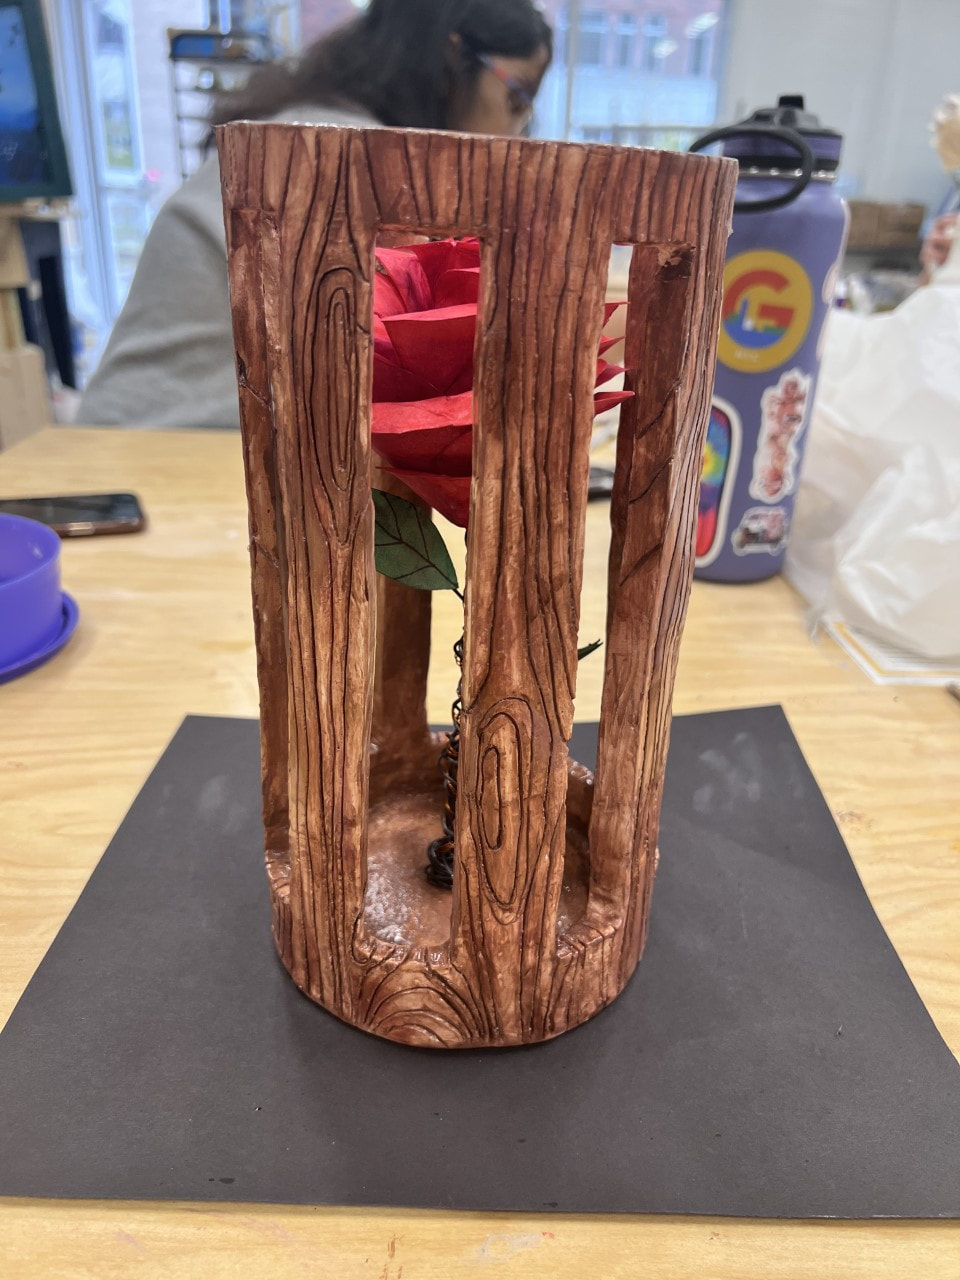
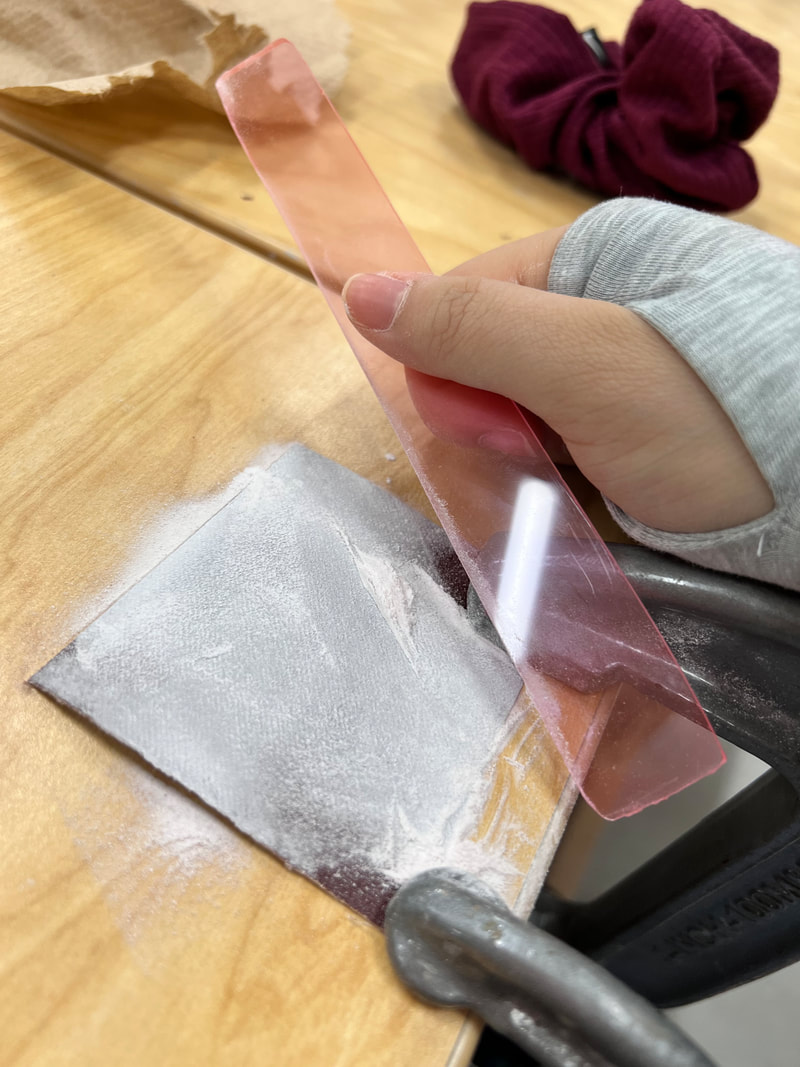
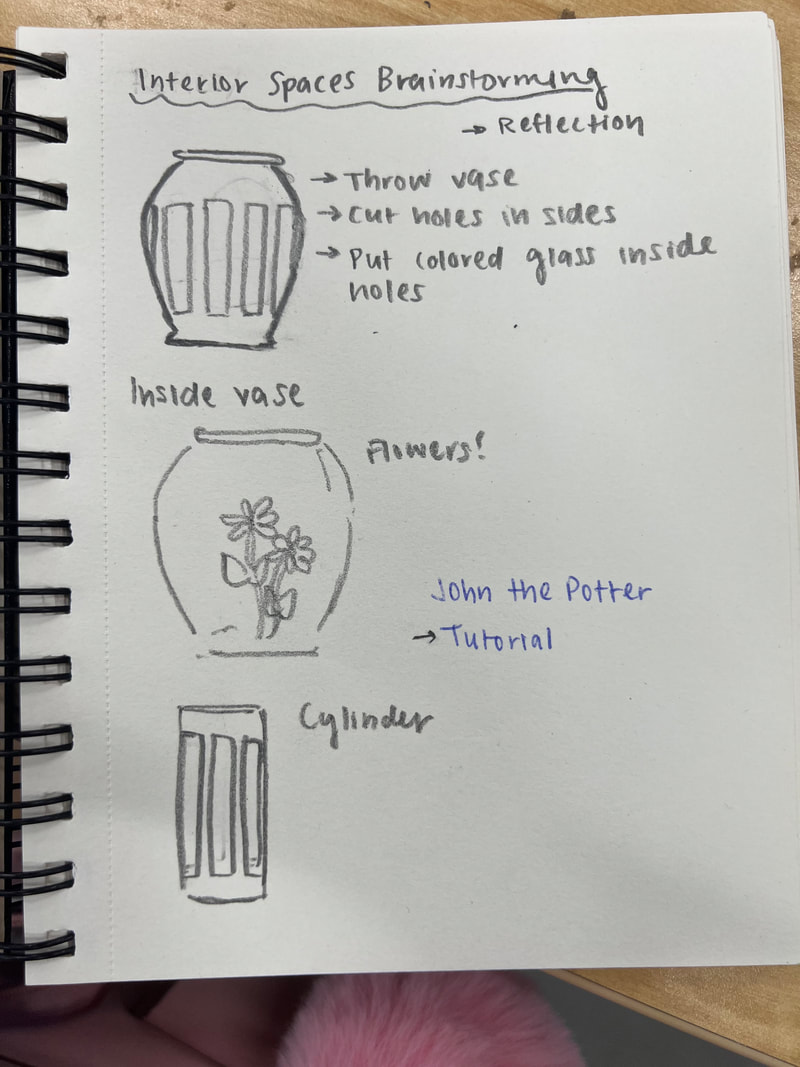
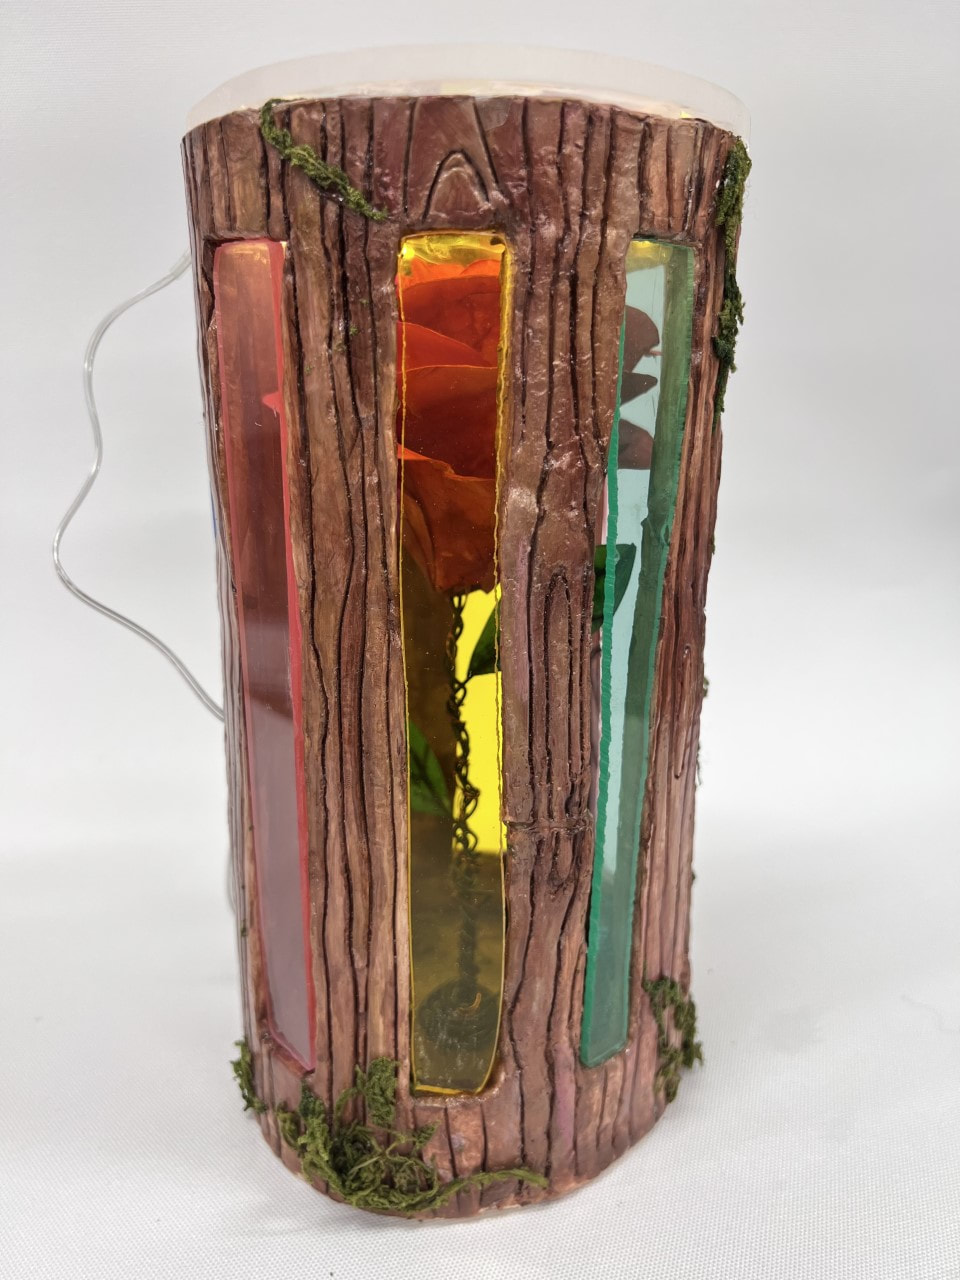
When my glass pieces were cut, they were just the slightest bit off so that they couldn't fit within the small windows of the vase. I was a little stumped about how I would fix this (since we don't have any electric cutters in the art room), but eventually just decided to sand the pieces down with sandpaper. It took a pretty long time, but it did work! What has gone successfully this week? I was surprised that the glass windows turned out so well. Honestly, I was expecting to have to come up with some alternate method because I did not think they would be able to fit. The fact that it works is a hugeee relief. What is your plan for next week? I was thinking it could be cool if I added some LEDs in the vase and turned it into some kinda lamp. I would need to think of a way to cut a small hole in the lid, but it would be really cool. I'll try to see if I can buy a small roll of LEDs over the weekend. 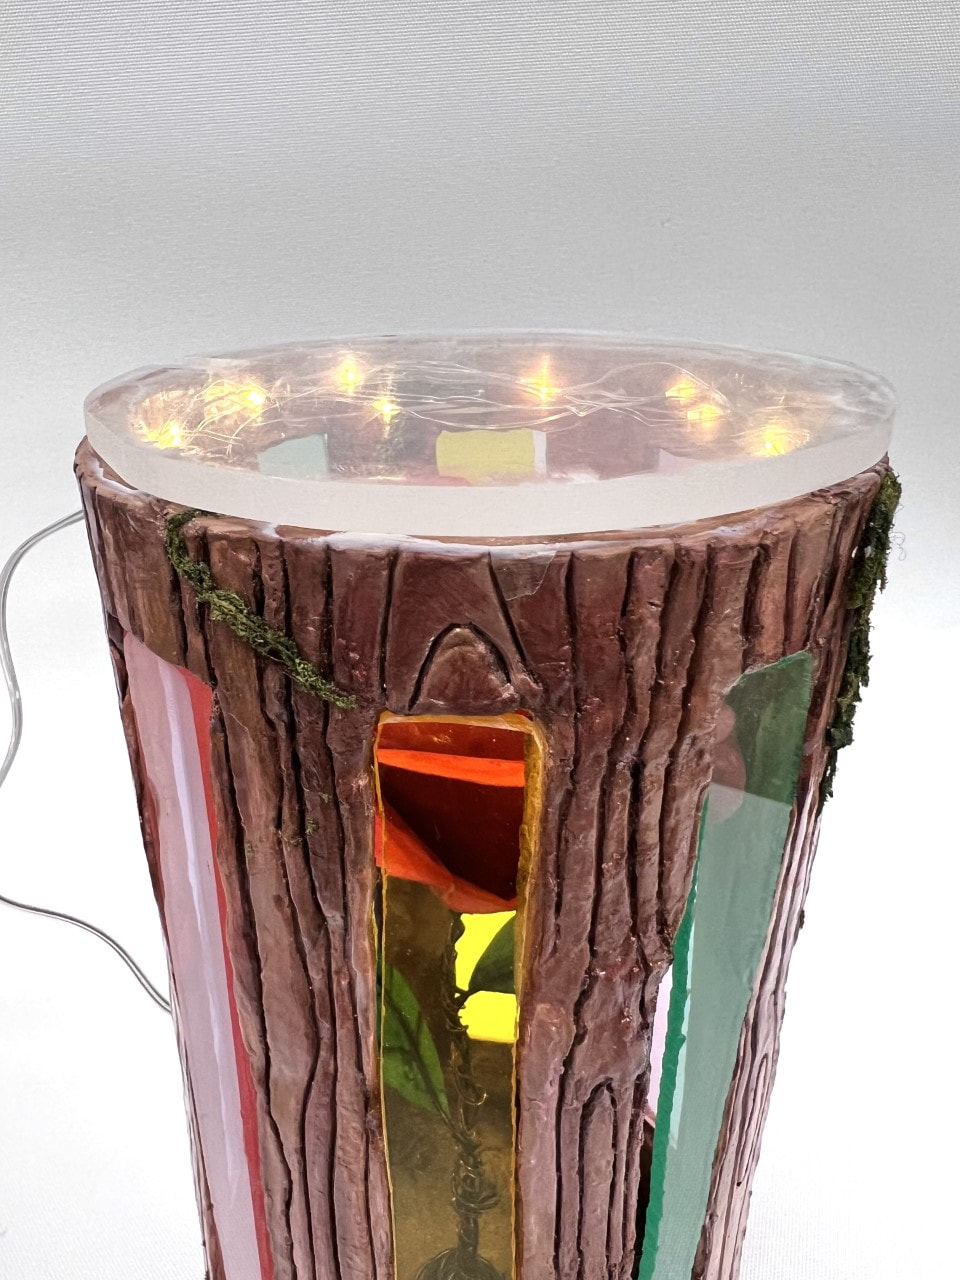 Title: Something Enclosed Media: Multimedia (Clay, paper, wire, glass) Brainstorming Sketch
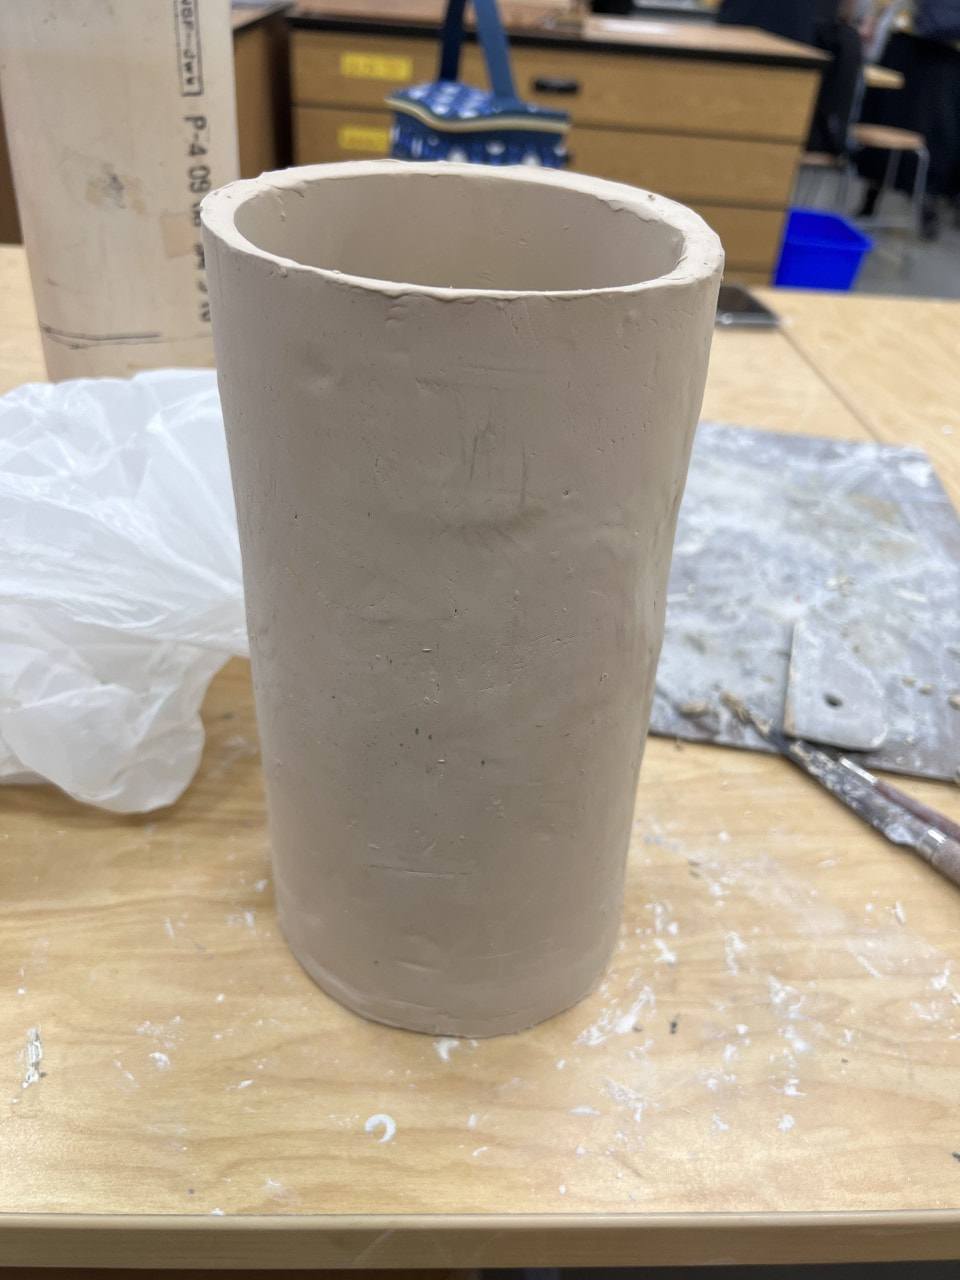
Step 1: CylinderMonica's extremely exciting wheel throwing time!
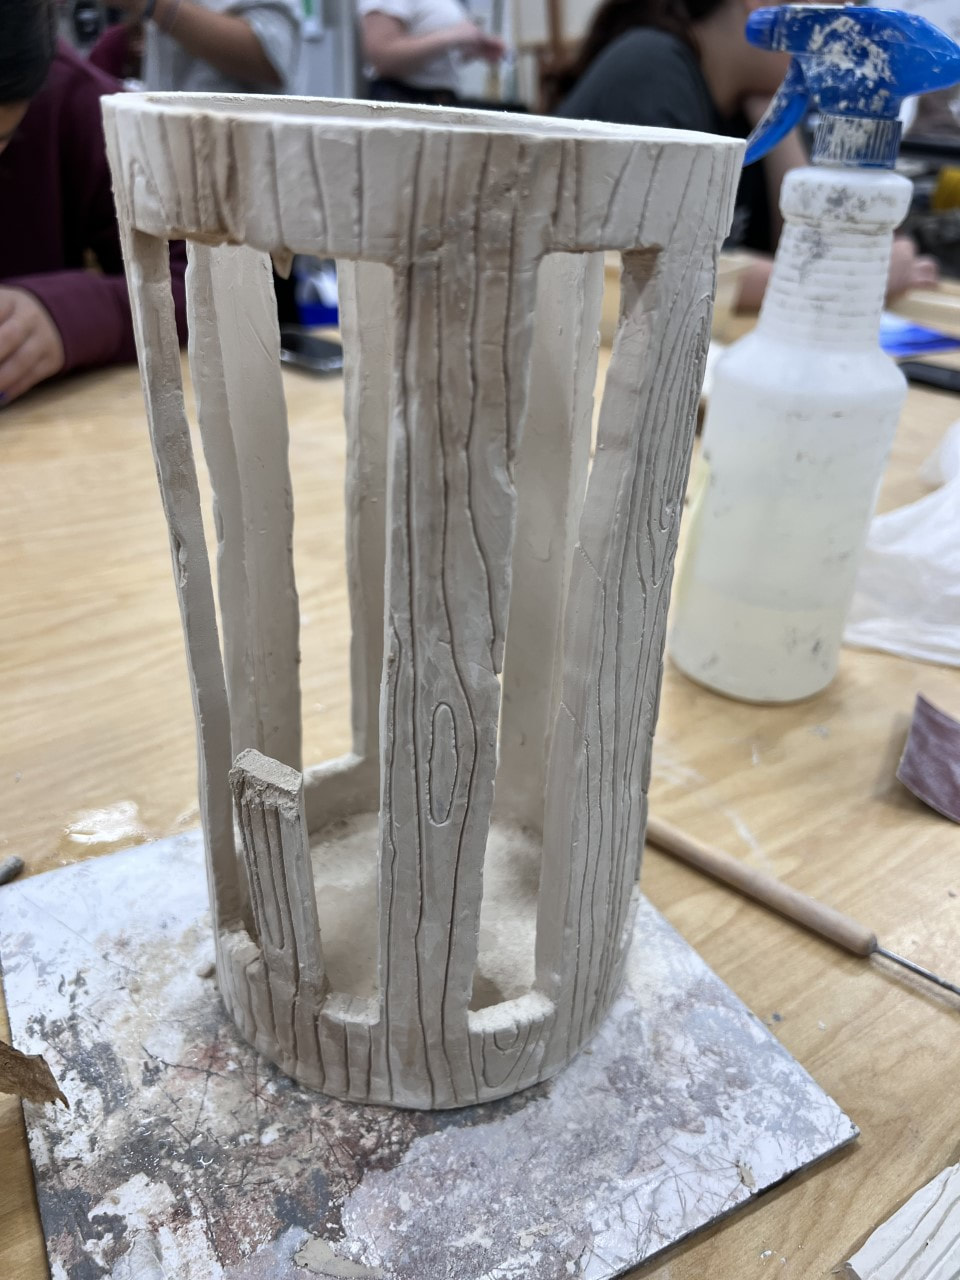
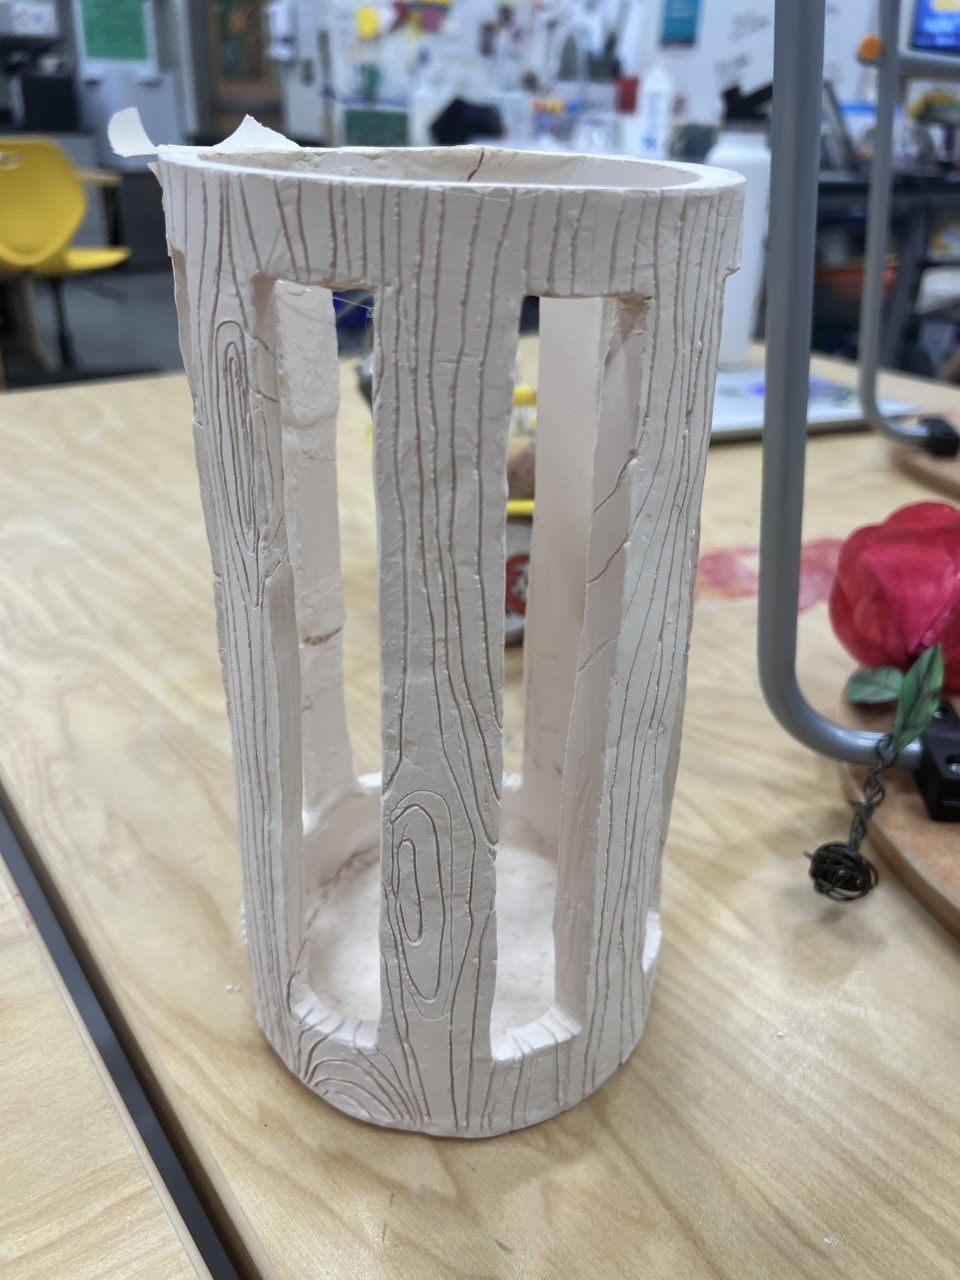
I wanted to try throwing a cylinder for this piece, because I had never thrown before and thought it was exciting. Spoiler: it wasn't exciting, and I was really, really bad at it. My first and third attempts looked the best (I may or may not have asked Ms. Sudkamp to help me), but there was no way I was going to get the height and width that I desired with such little experience in throwing. Thus, I used a mold instead to form a cylinder:
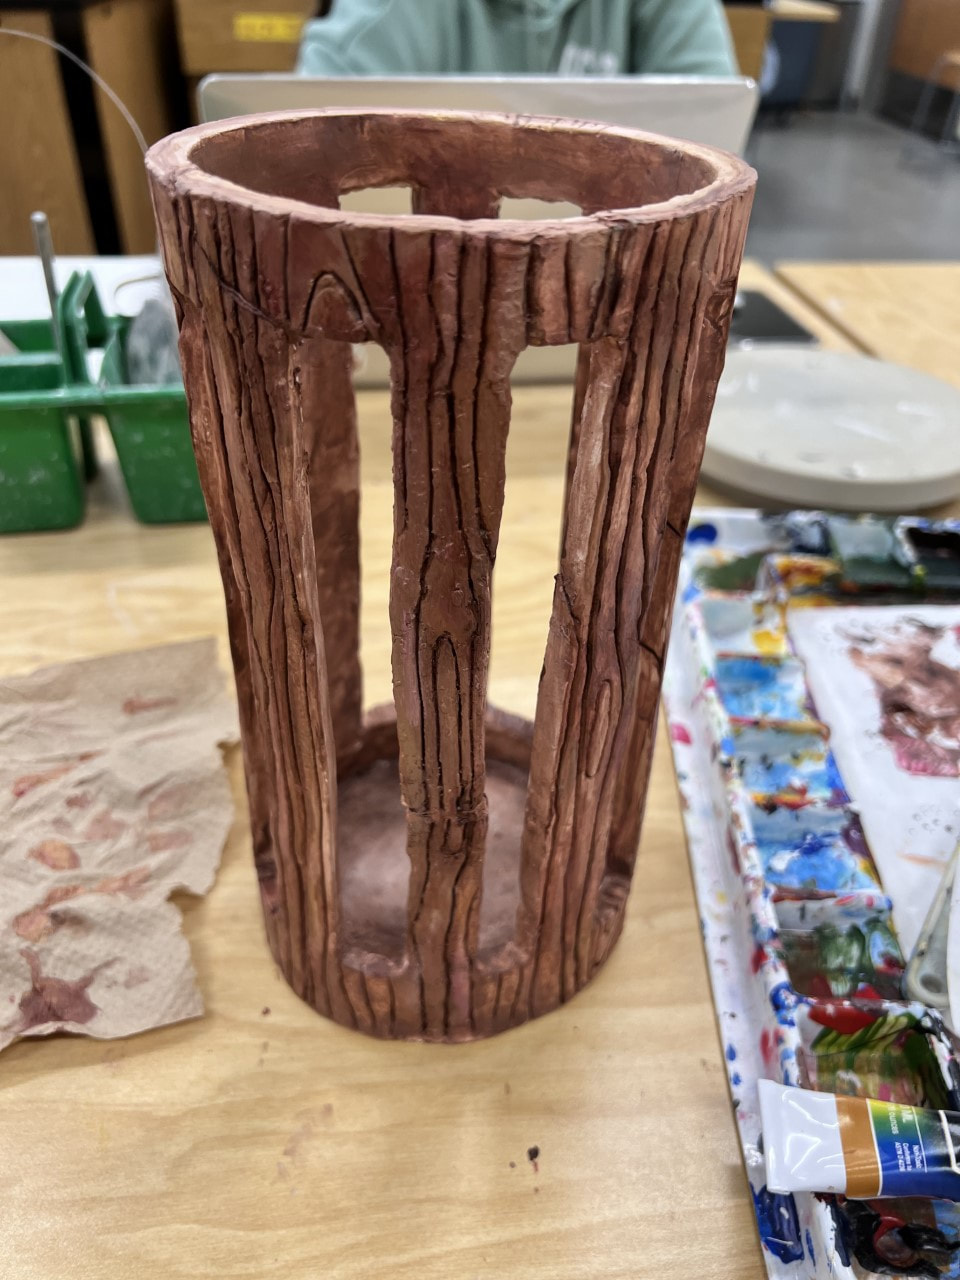
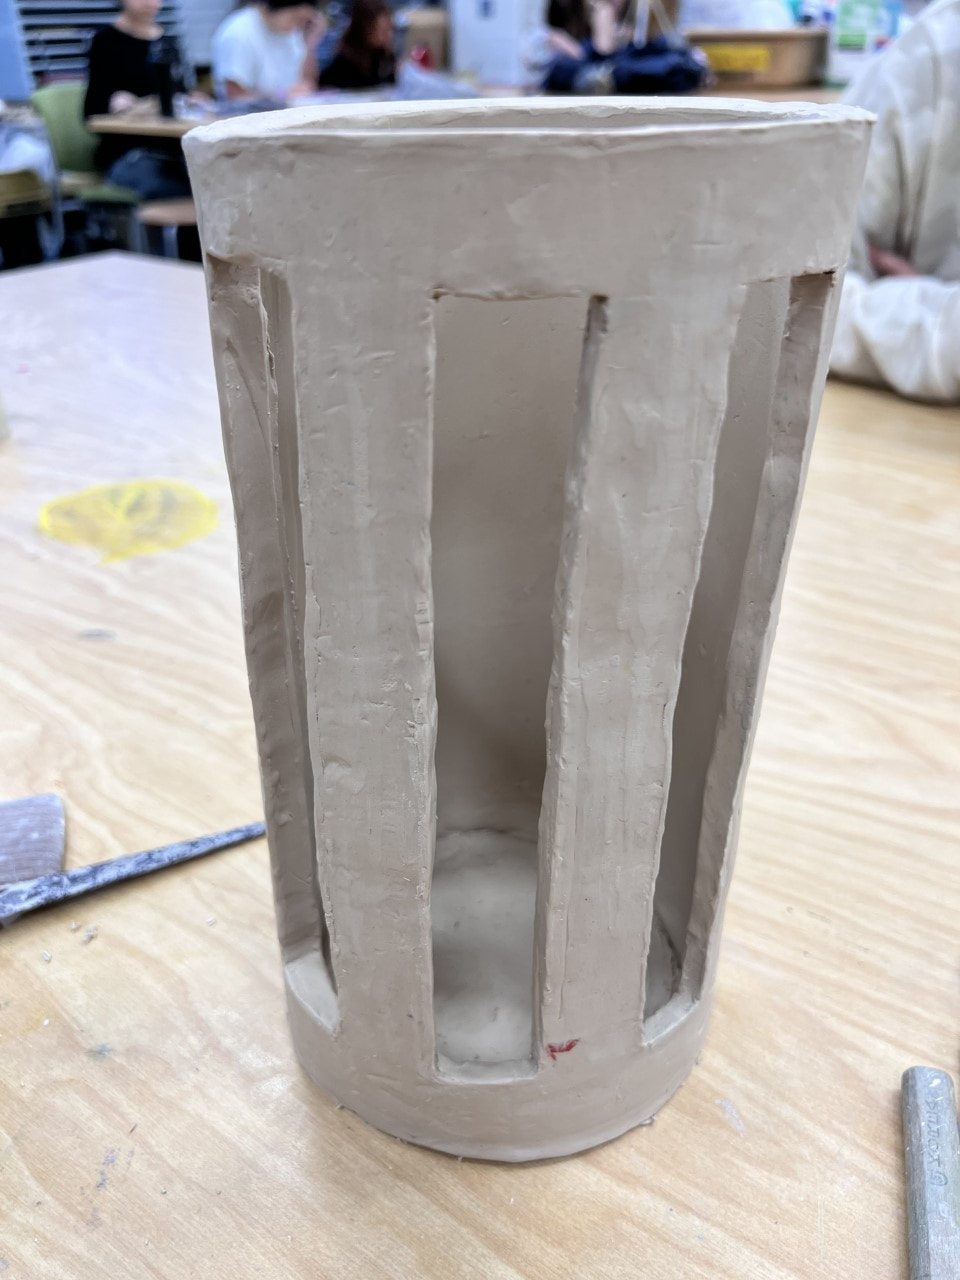
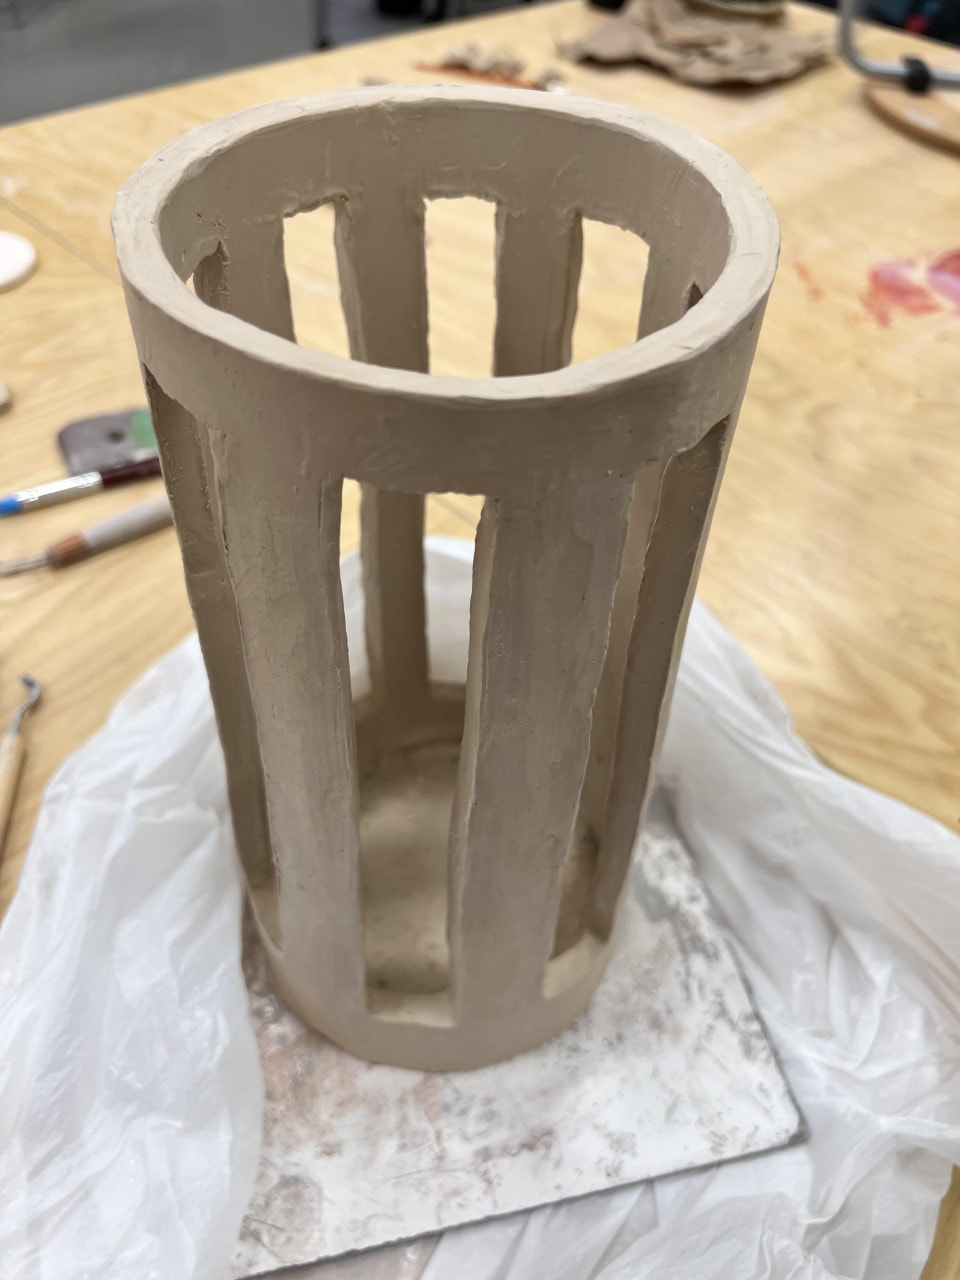
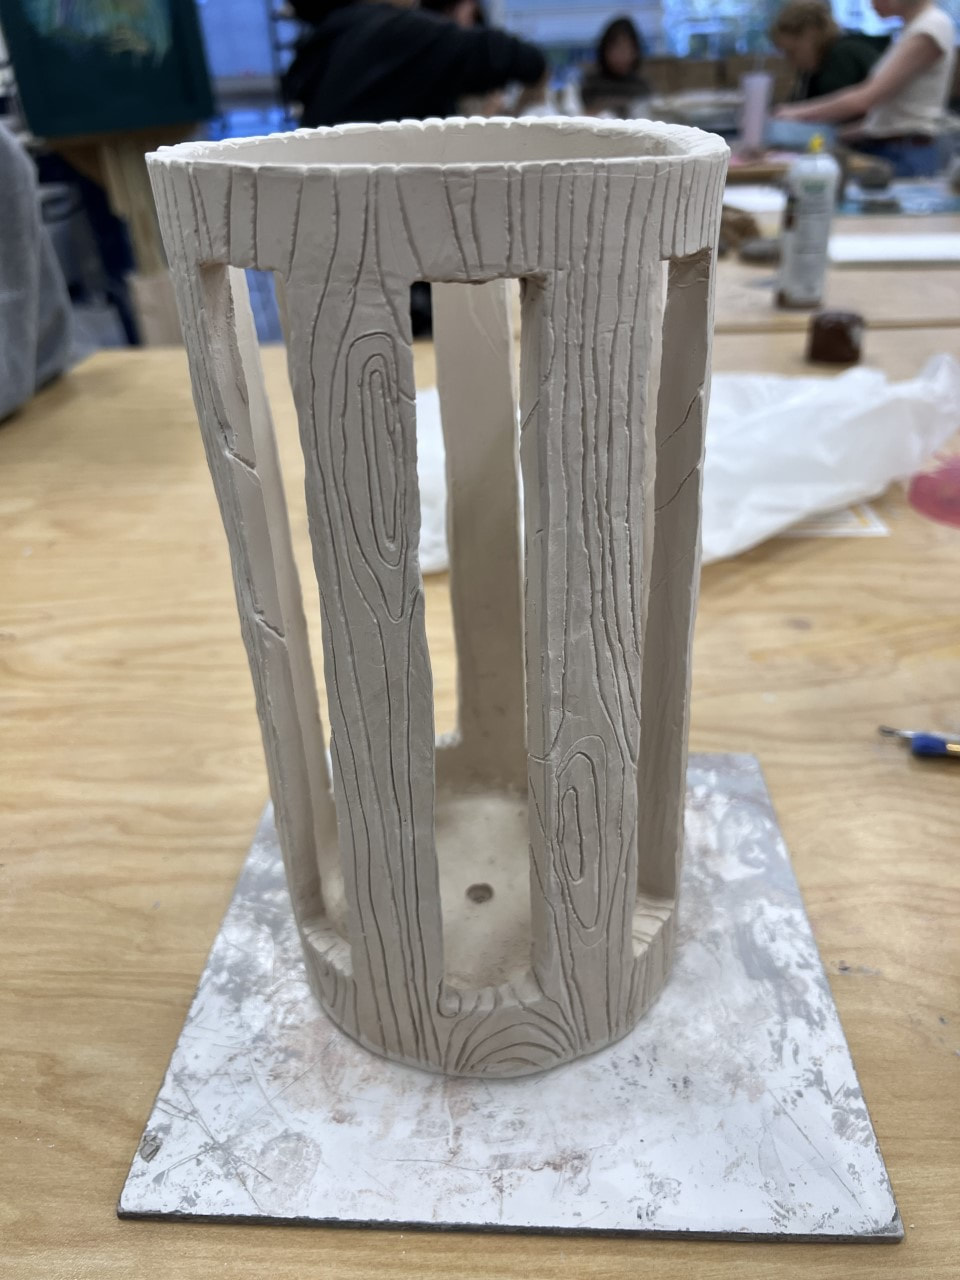
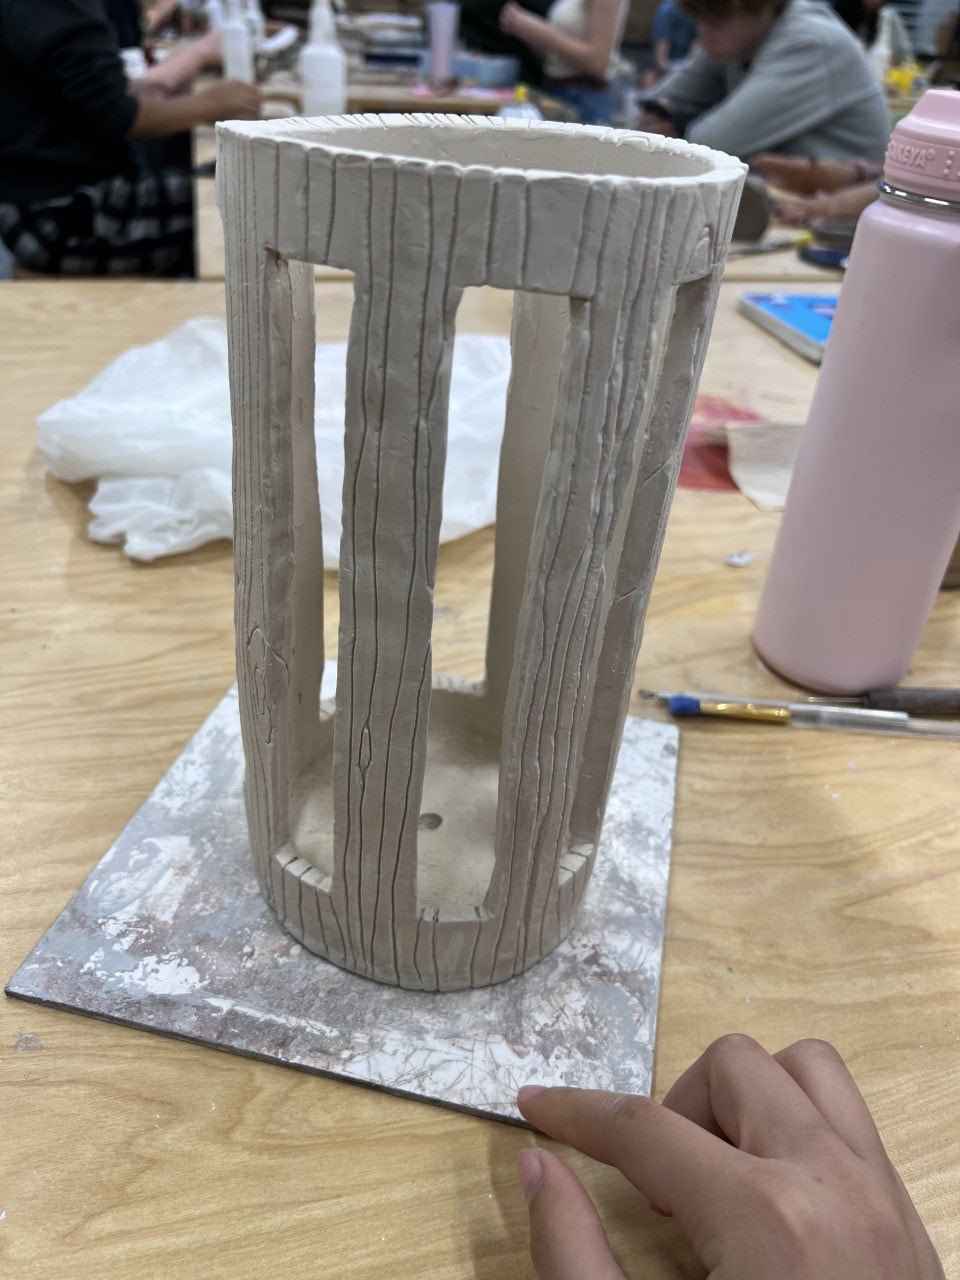
Not going to lie, making a cylinder with the molding method was pretty tough too! The clay kept sticking to the table and it was soooo annoying. Luckily, I was able to form the shape without issue. When it came to the color of the pot, I was debating between making it plain white, off-white, or even a wooden texture. I eventually decided a wooden texture would be best, so I got to work carving the wood lines into the leather-hard clay.
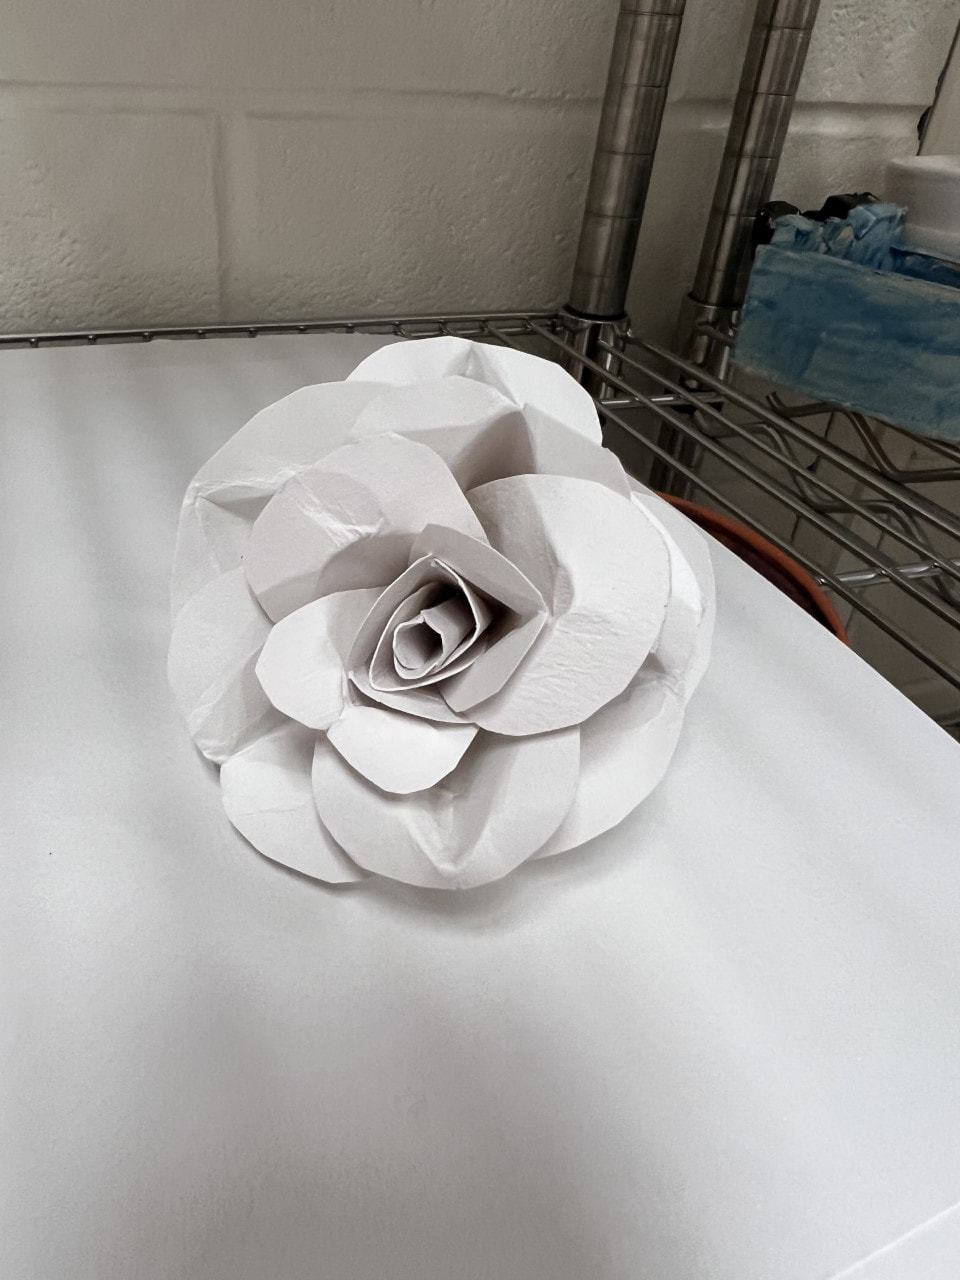
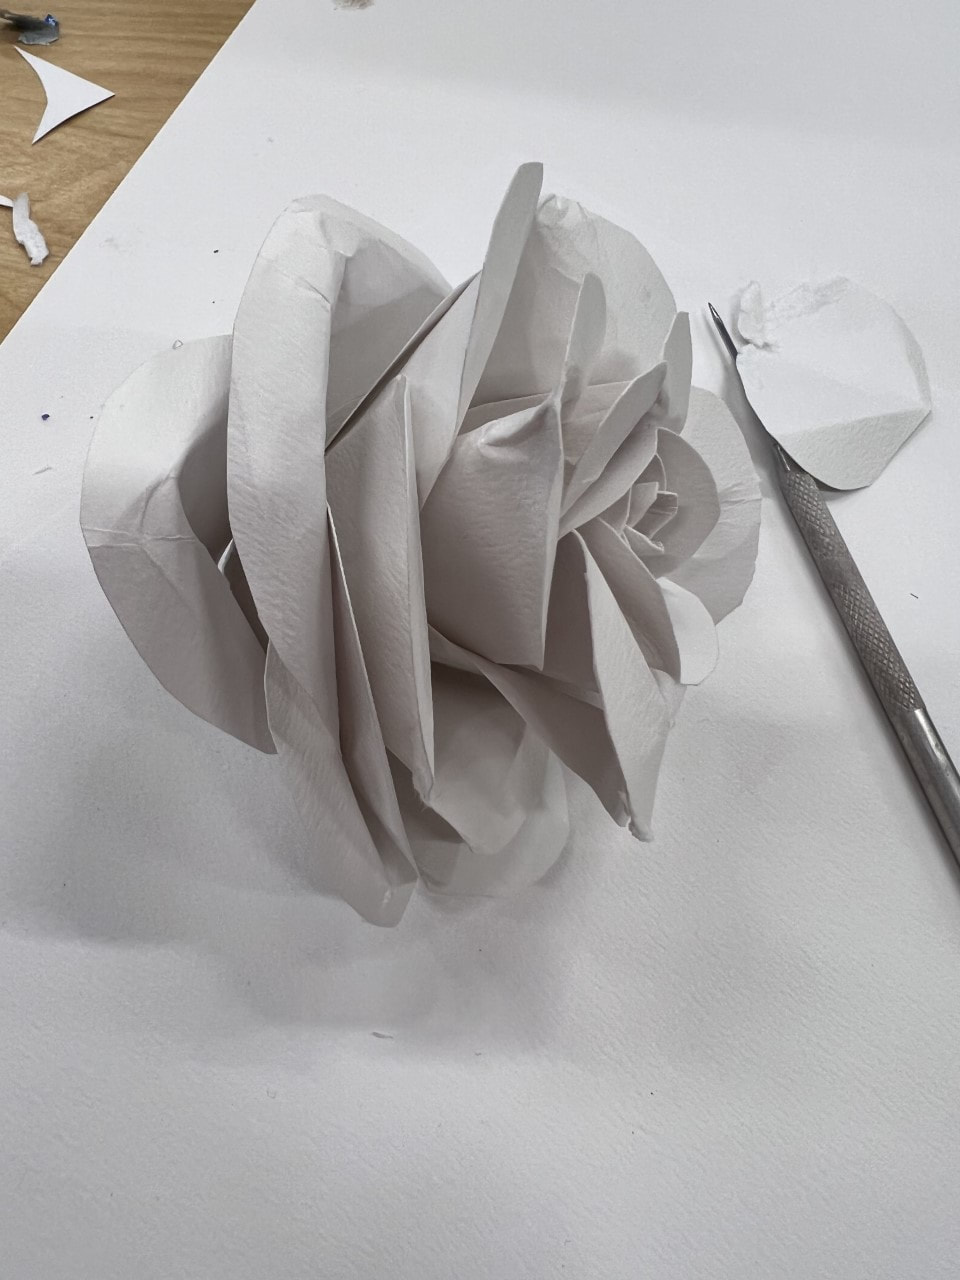
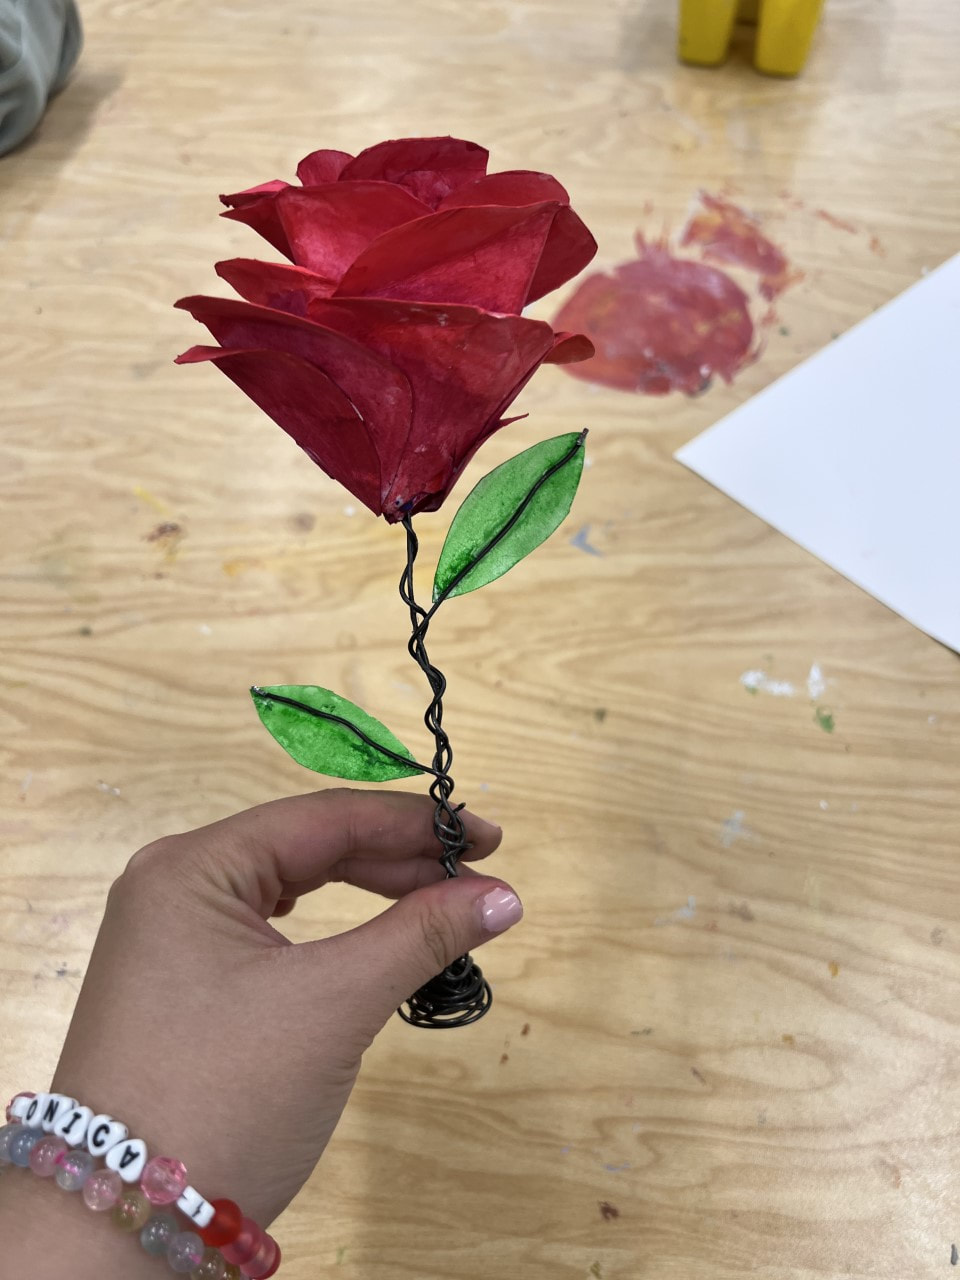
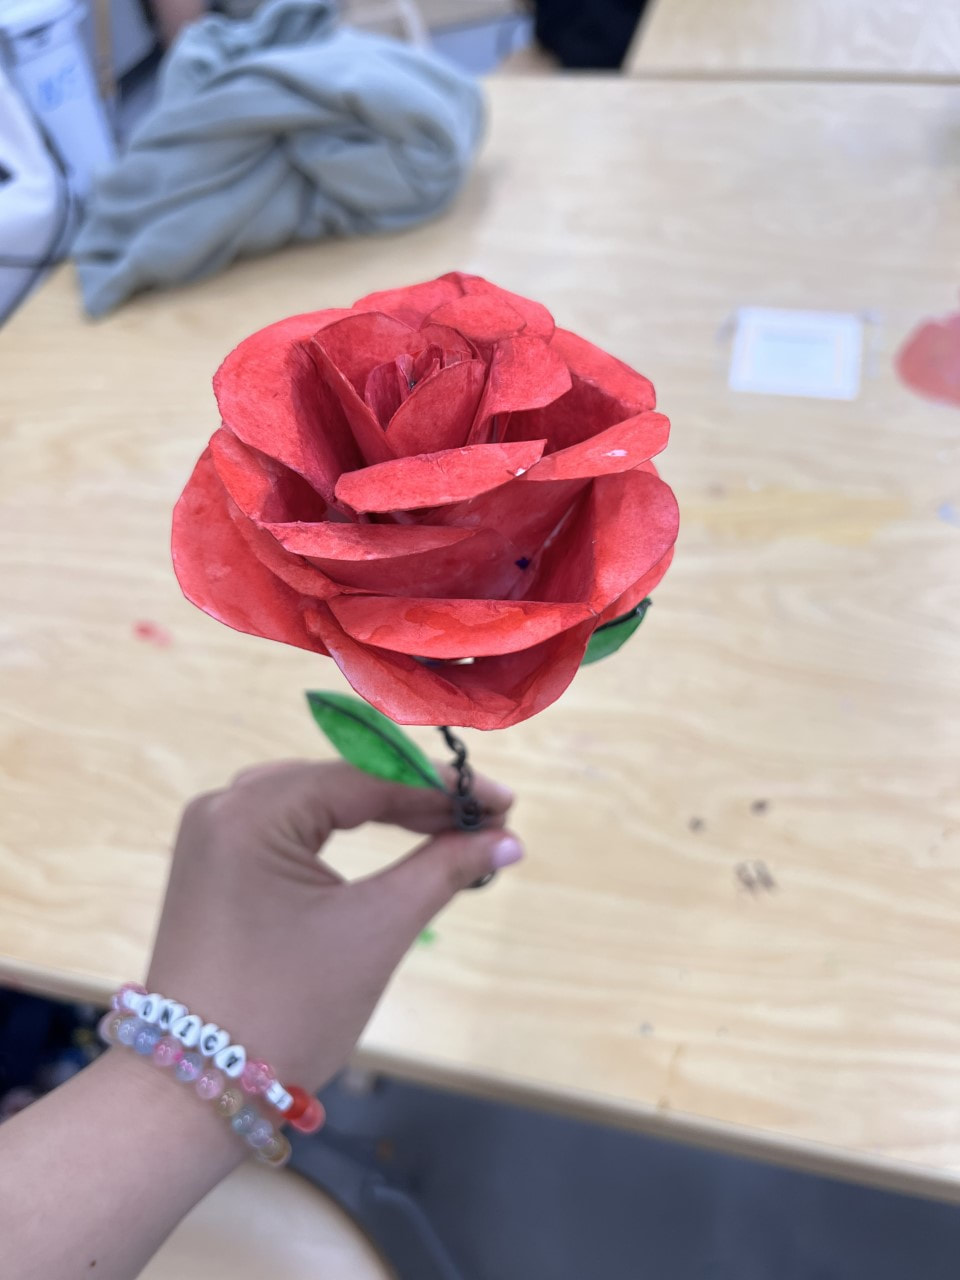
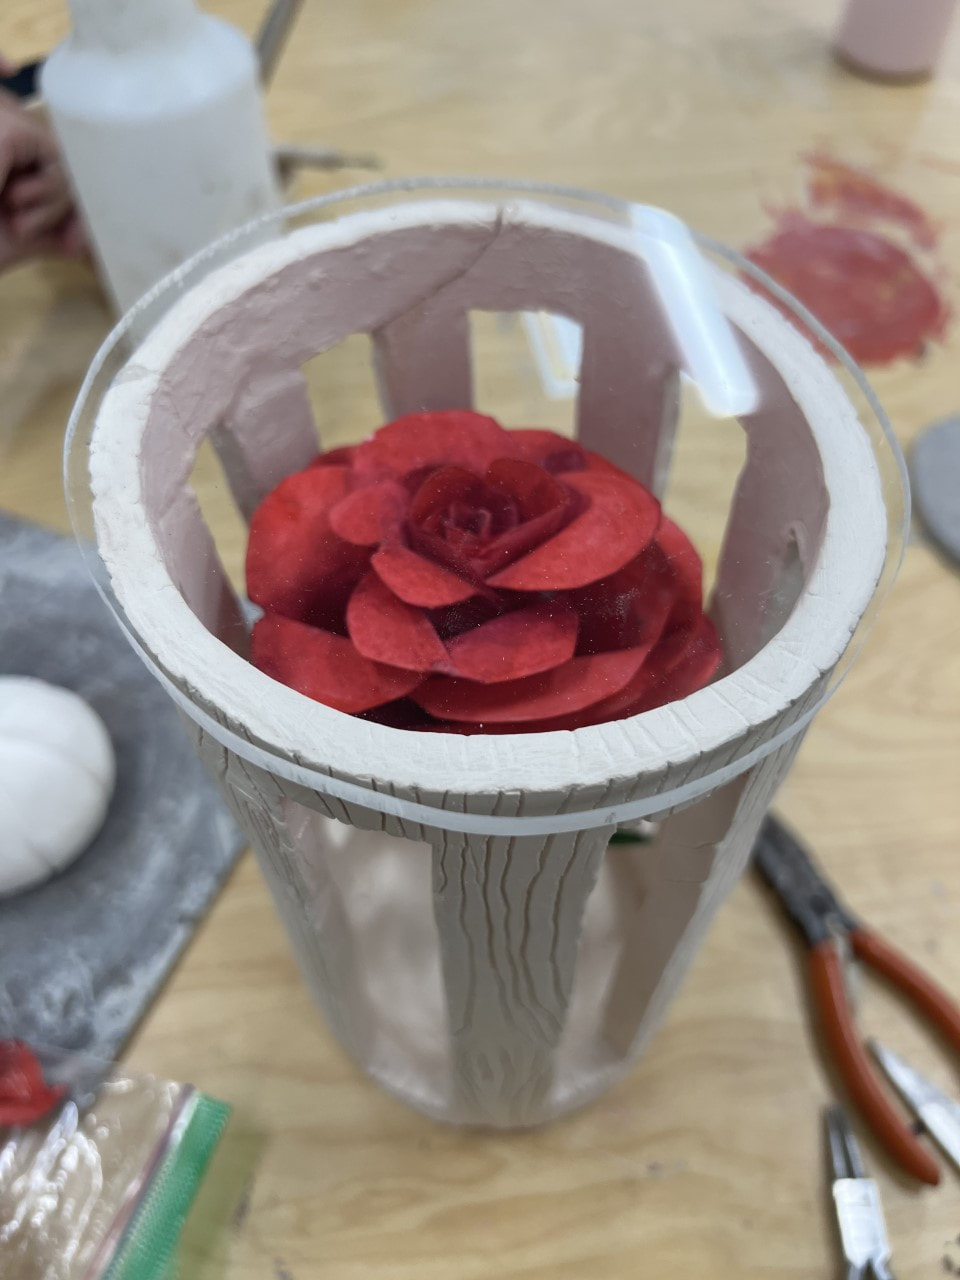
Step 2: FlowerNext, I started working on my flower while my pot was firing. I made the main "flower" part out of watercolor paper, since I figured it would be easy to color then. Initially, I was a bit worried that a paper flower would be too flimsy, but the thick watercolor paper is surprisingly durable. I probably dropped this flower like 10 different times, and it still hasn't gotten a single dent. For this flower, I cut various teardrop shaped papers and folded them to resemble petals. Then, I used superglue to stick the paper together (no, normal glue didn't work). I'm lucky I still had the leftover superglue from the Who Art I project. Otherwise, I would be unimaginably screwed.
For the stem and leaves, I wanted to use wire to provide a sturdy support. I used Ms. Sudkamp's black/gray wire and twisted it into a gnarled stem, then cut a few extra wire pieces and twisted them into stems that jutted out of the main root. I glued pieces of watercolor paper onto these wires for the leaves. I also made a small base out of wire at the root of the stem, just so it's easier to attach to the vase when the time comes. *These wires were so hard to cut. Honestly, it was a whole workout.
Step 2.5: Combining & GlazingThe vase is done firing! Unfortunately, the broken piece apparently didn't fire right and broke yet again once we took it out. Luckily though, Ms. Sudkamp had some special superglue, so I was able to fix it again! Yay! The below pictures show the glue around the various breaks in the vase.
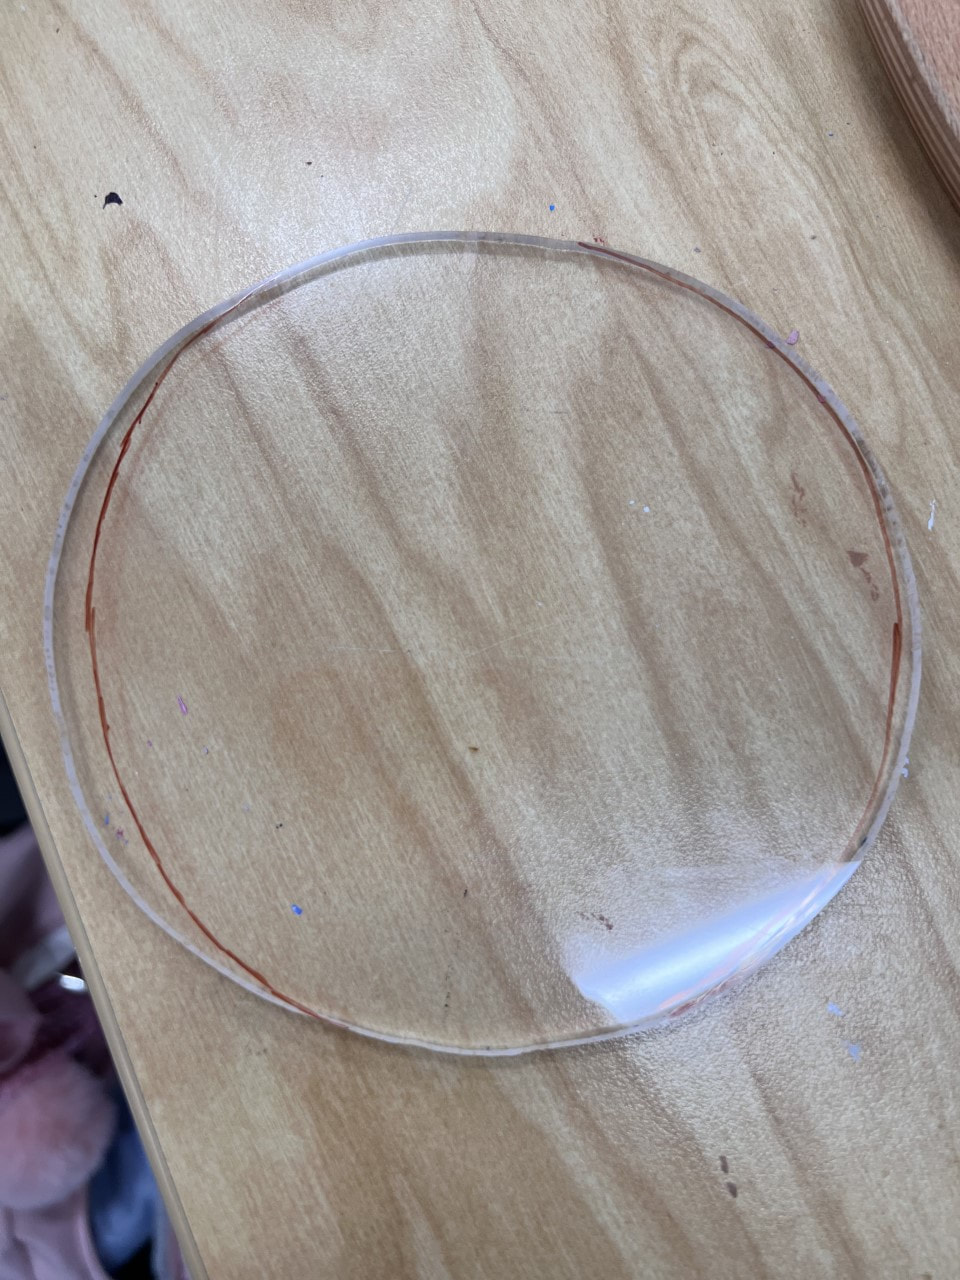
While I was waiting for the glue to dry, I decided to get a head start on my lid. I wanted the lid to be made of glass so viewers could look down and see the rose inside. Luckily, our school's carpentry teacher was willing to help me out, so he cut a piece for the lid. Thank you so much!
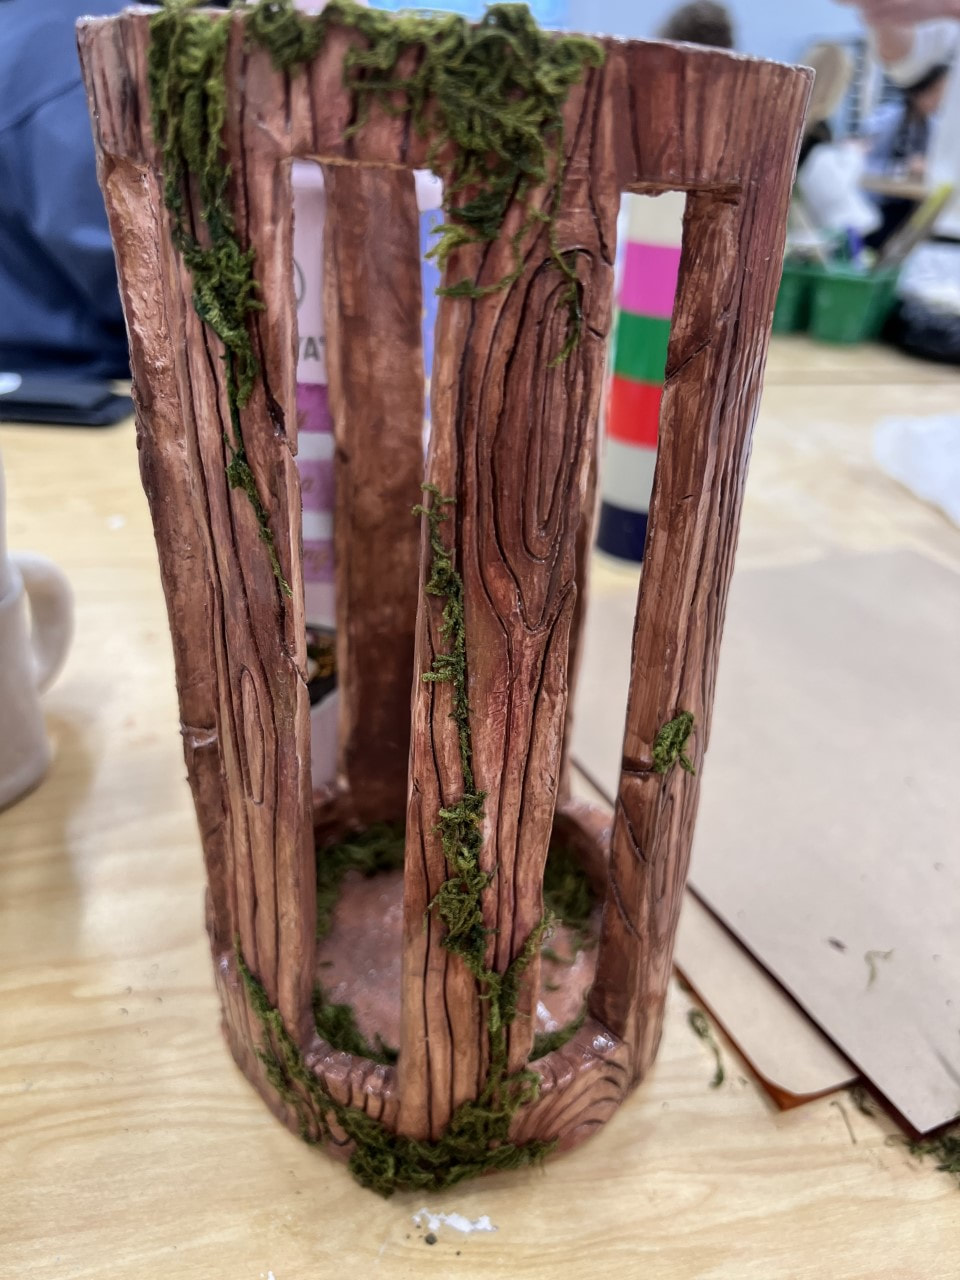
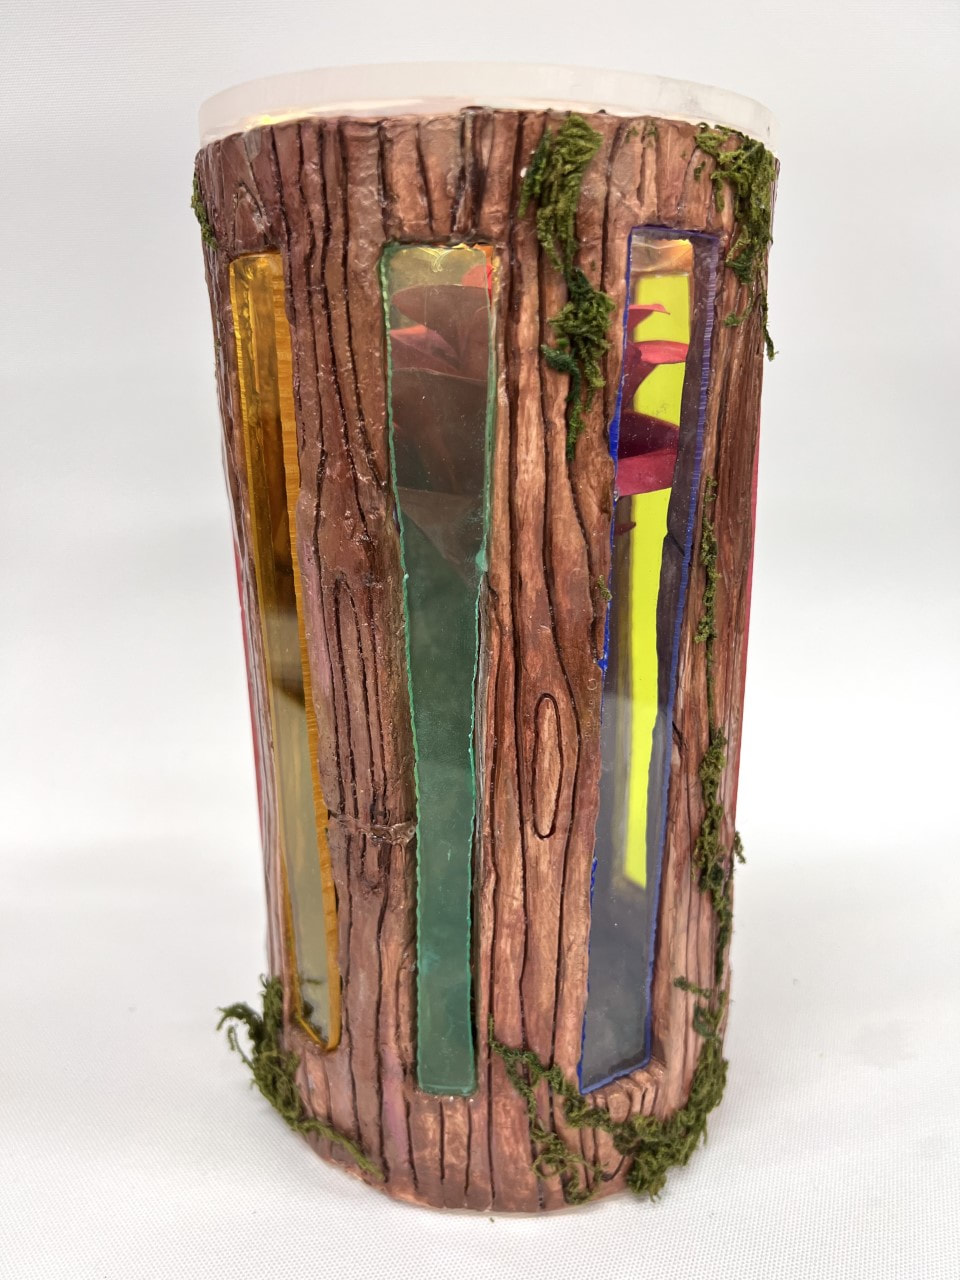
Coloring and glazing (using spray-on glaze) + adding some moss.
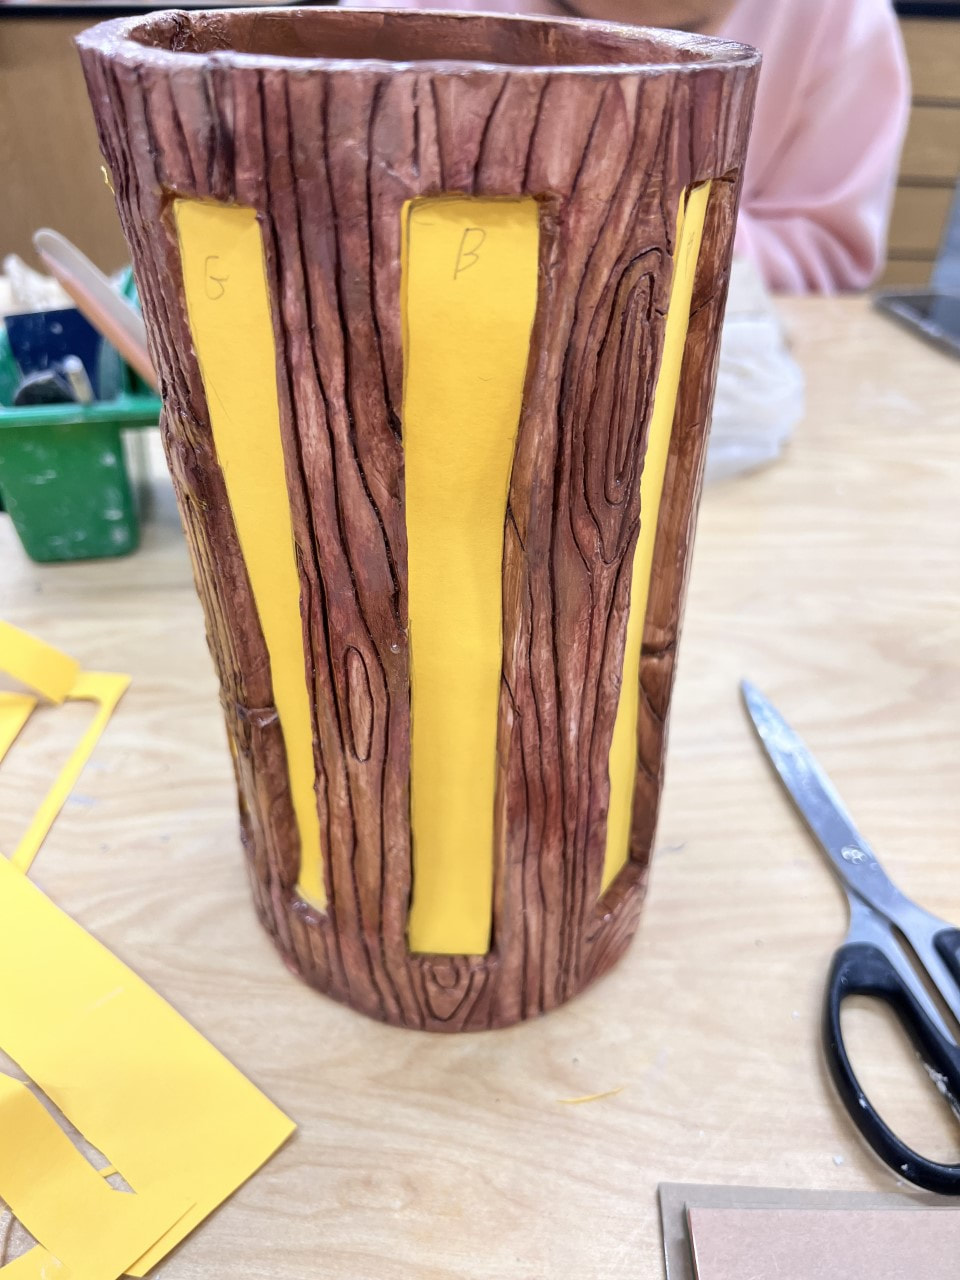
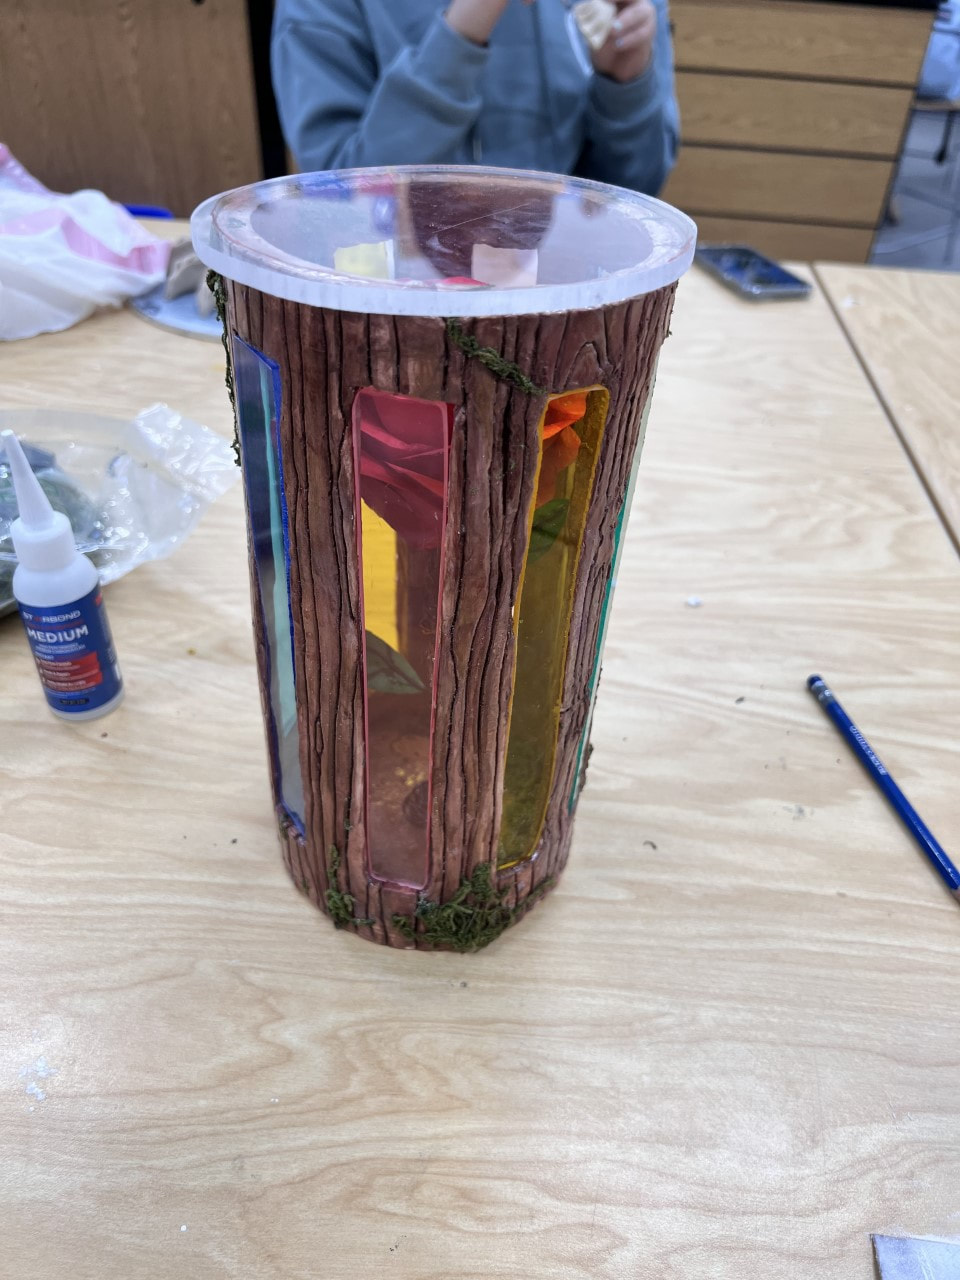
Step 3: Plexiglass (Windows & Lid)
Step 4: LEDsLights to help illuminate the flower.
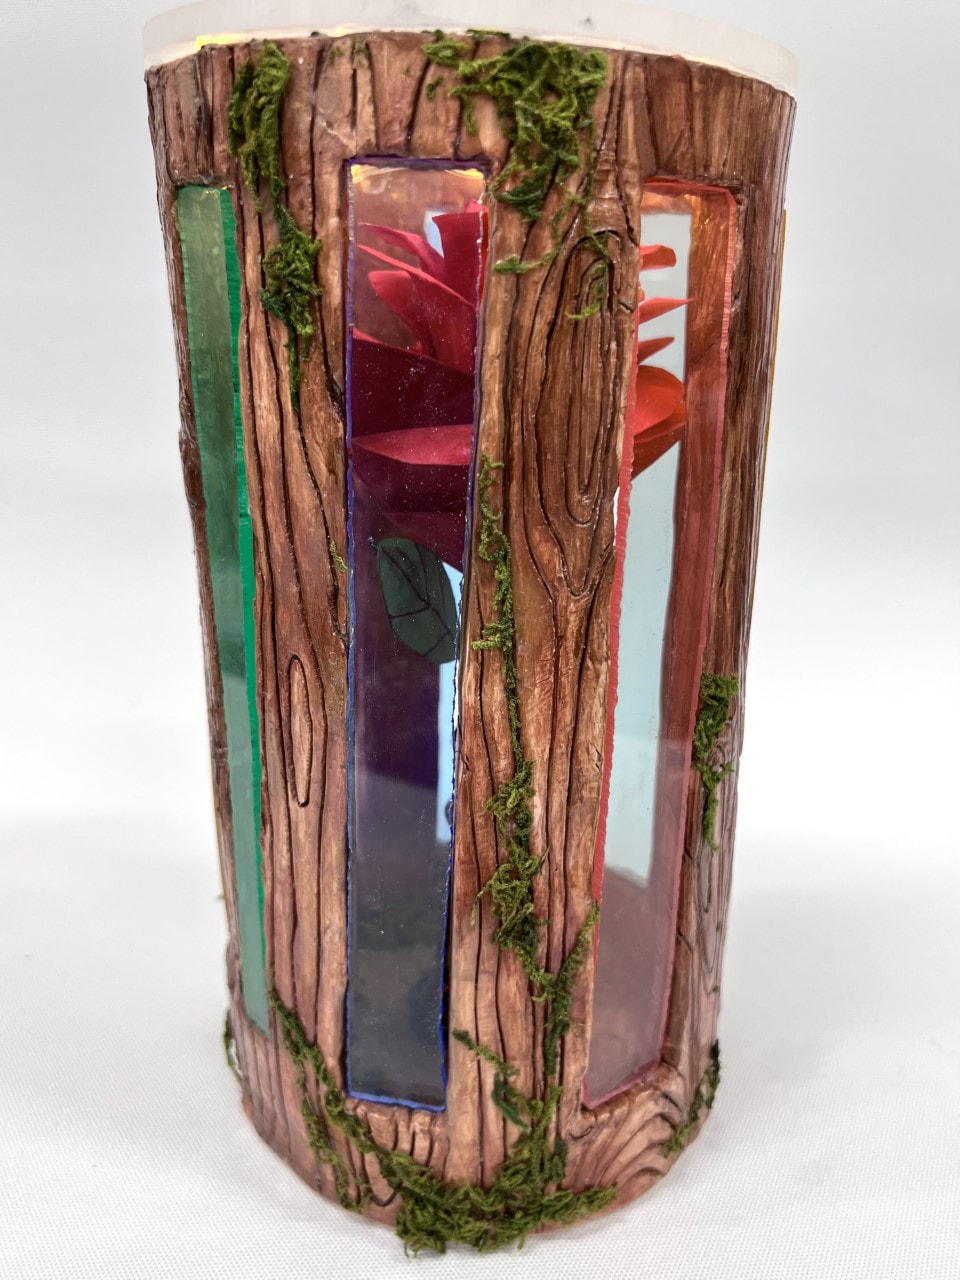
Final Photos
Analysis1. Describe your piece. Explain what you have made & the process. How did you set up your design?
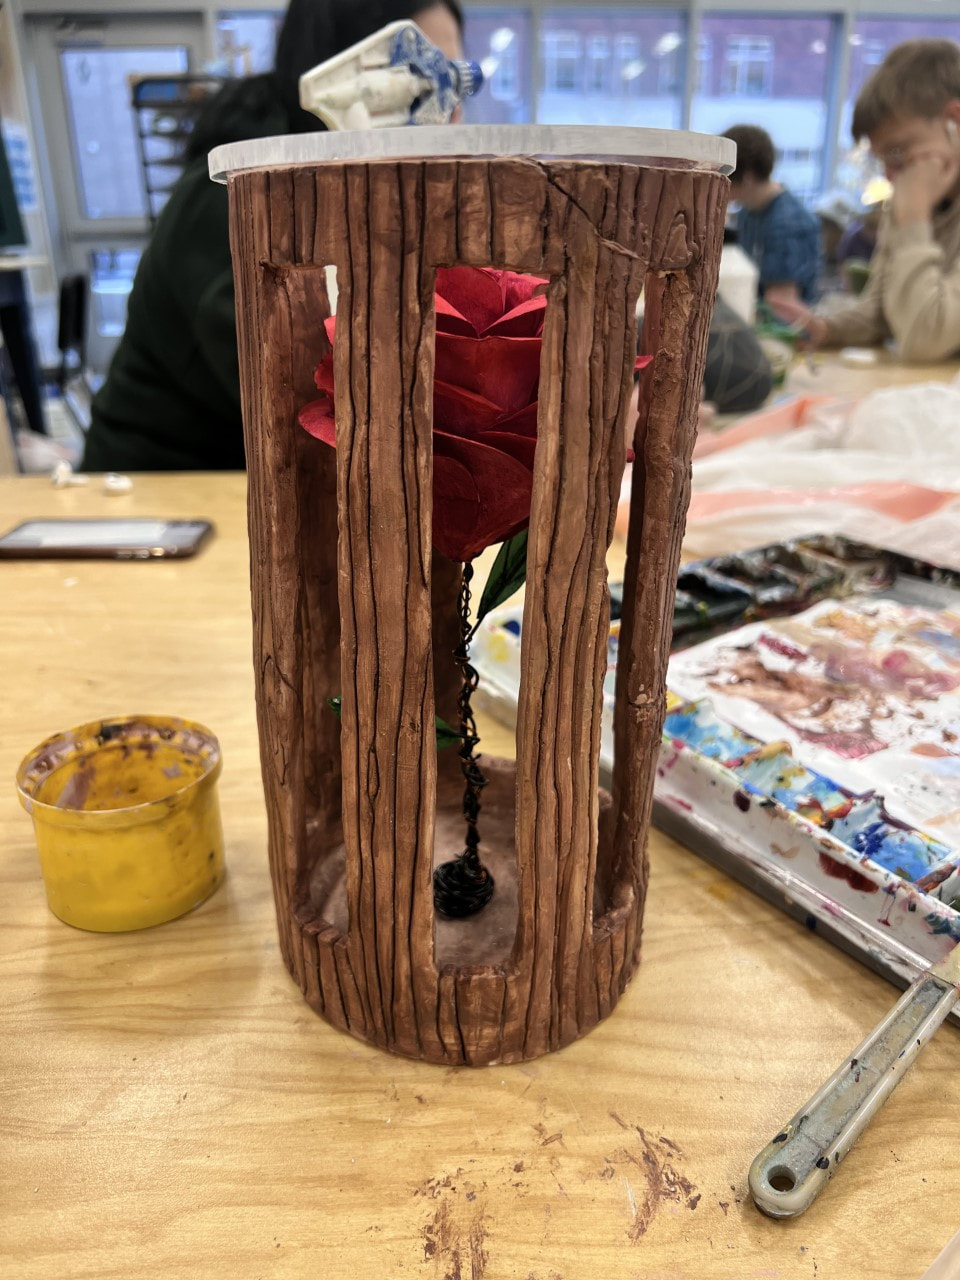
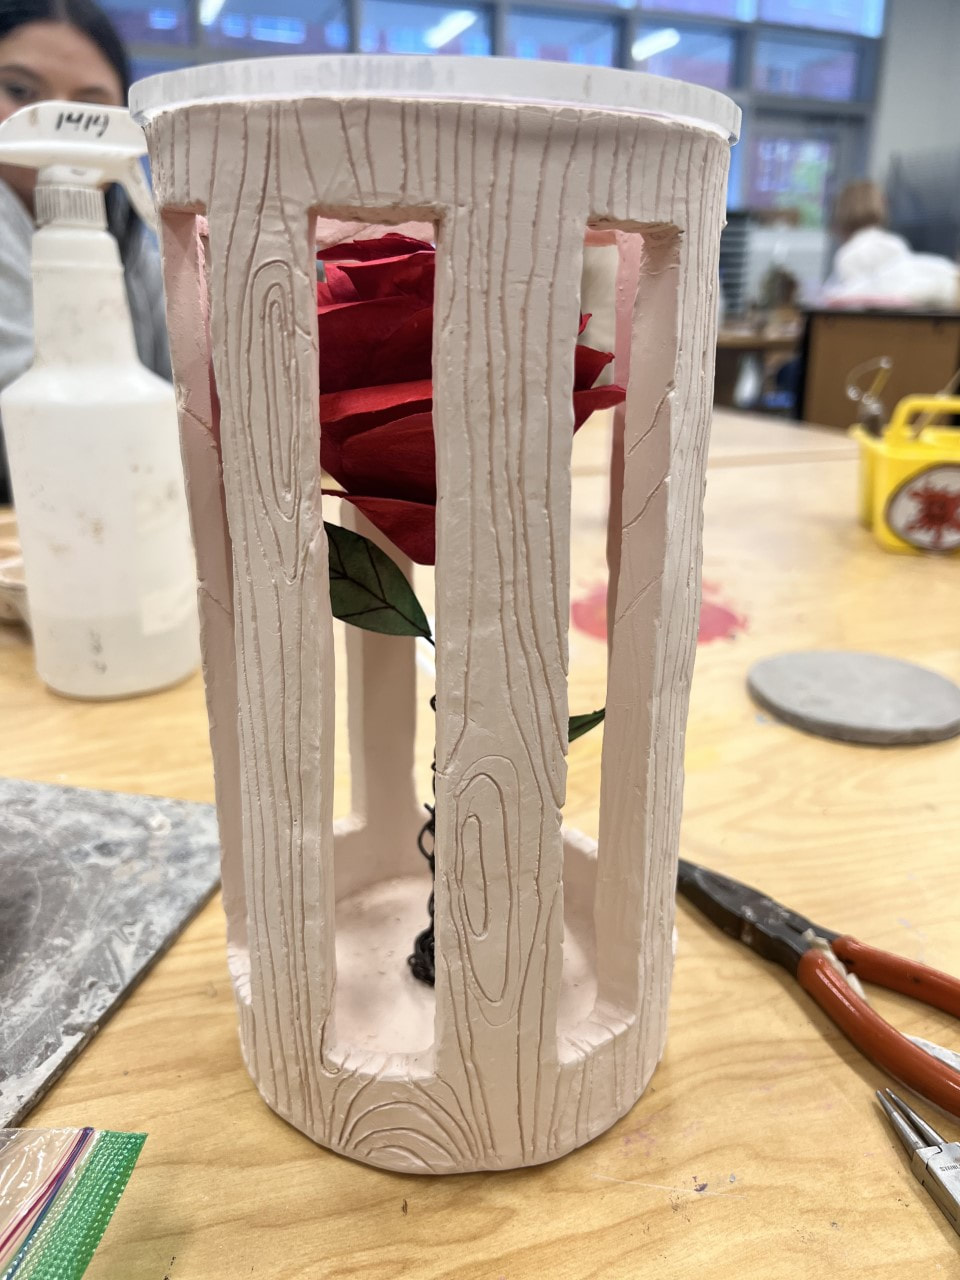
I made a clay vase, painted like wood, containing a flower on the inside. I added some windows in the vase and filled them with colored glass to add some visual interest. The process was very long, and very tedious (see above for more detailed notes!) 2. Analyze your piece. Talk about what is successful and what you might have changed if you were to do it again. I think... ALL of it was successful. 😎 Haha, just kidding. I did have my fair bit of troubles making this piece, especially when my piece literally broke into pieces. Don't know how I managed to salvage it after that, but it's a good thing I did. Now I know: don't sand your pieces too hard. If I were better at throwing, I would have tried to make a rounded vase instead of a cylinder. Too bad I truly suck at it lol. 3. Interpret your meaning in the art. Do you feel like it shows the feeling or mood it should have? This piece is a representation the true self, visible through "windows" of the persona. Here, the flower is the soul and the wooden vase is one's outward personality. The vase can be seen as merely covering the flower, or as being a cage for the flower. That's what I wanted to convey at least--hopefully, it comes through alright. Personally, I think it does, but the meaning is a bit more abstract than what I usually do. A lot of people told me that it reminds them of Beauty and the Beast. Maybe that's a good sign...? 4. Judge your piece. Overall, how do you feel about your piece? Do you feel proud of this piece? I feel really proud of this piece. Not that I want to toot my own horn, but it's pretty cool looking! I spent a lot of time on the little details (such as the lines for the wood, or the moss on the vase), and I think they really paid off. Ms. Sudkamp gave me the seal of approval too! Prompt: Create a piece that represents you through objects. 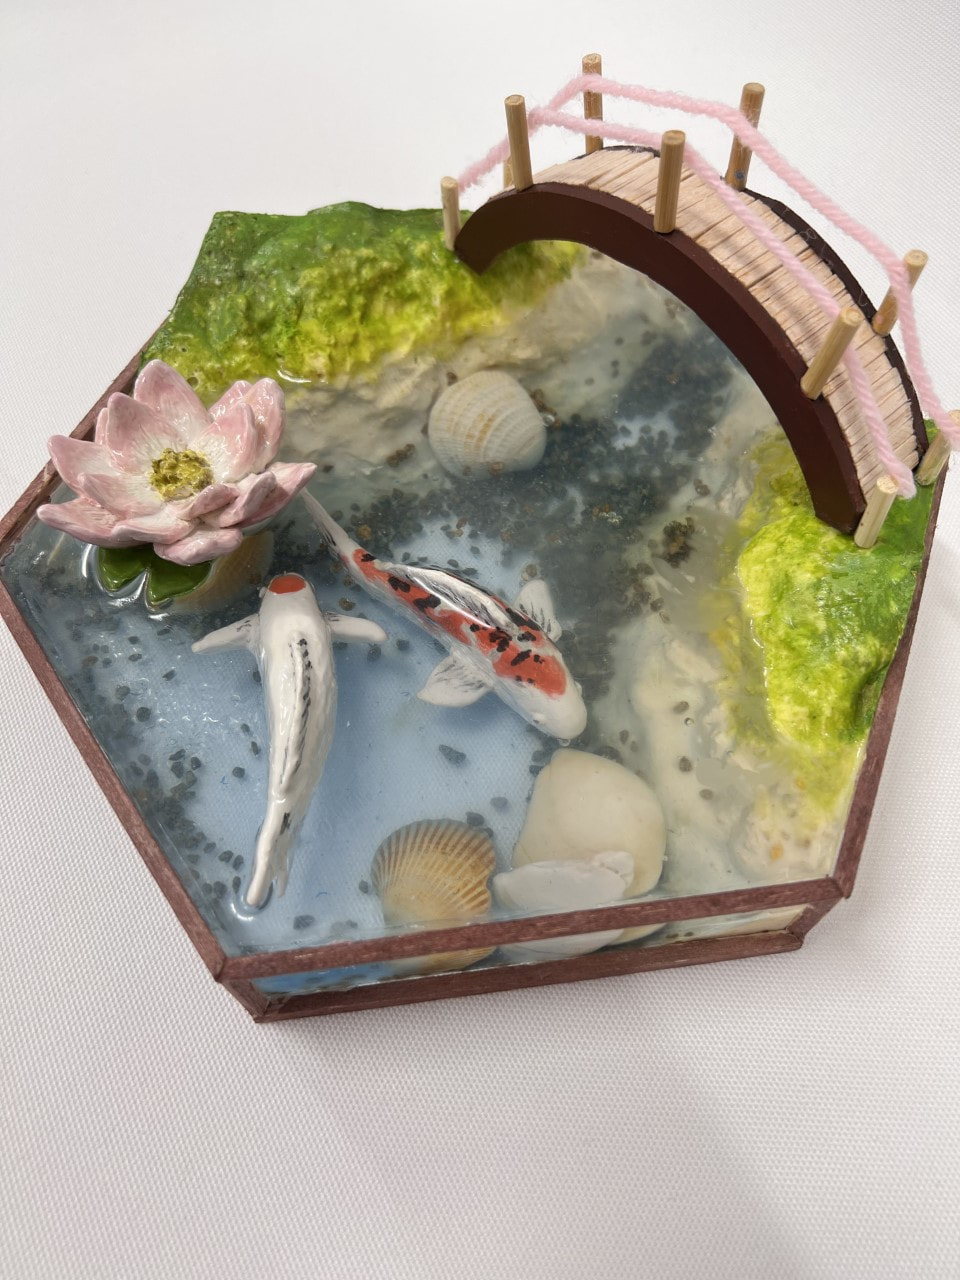 Title: Yin and Yang Medium: Mixed Media Brainstorming Sketch
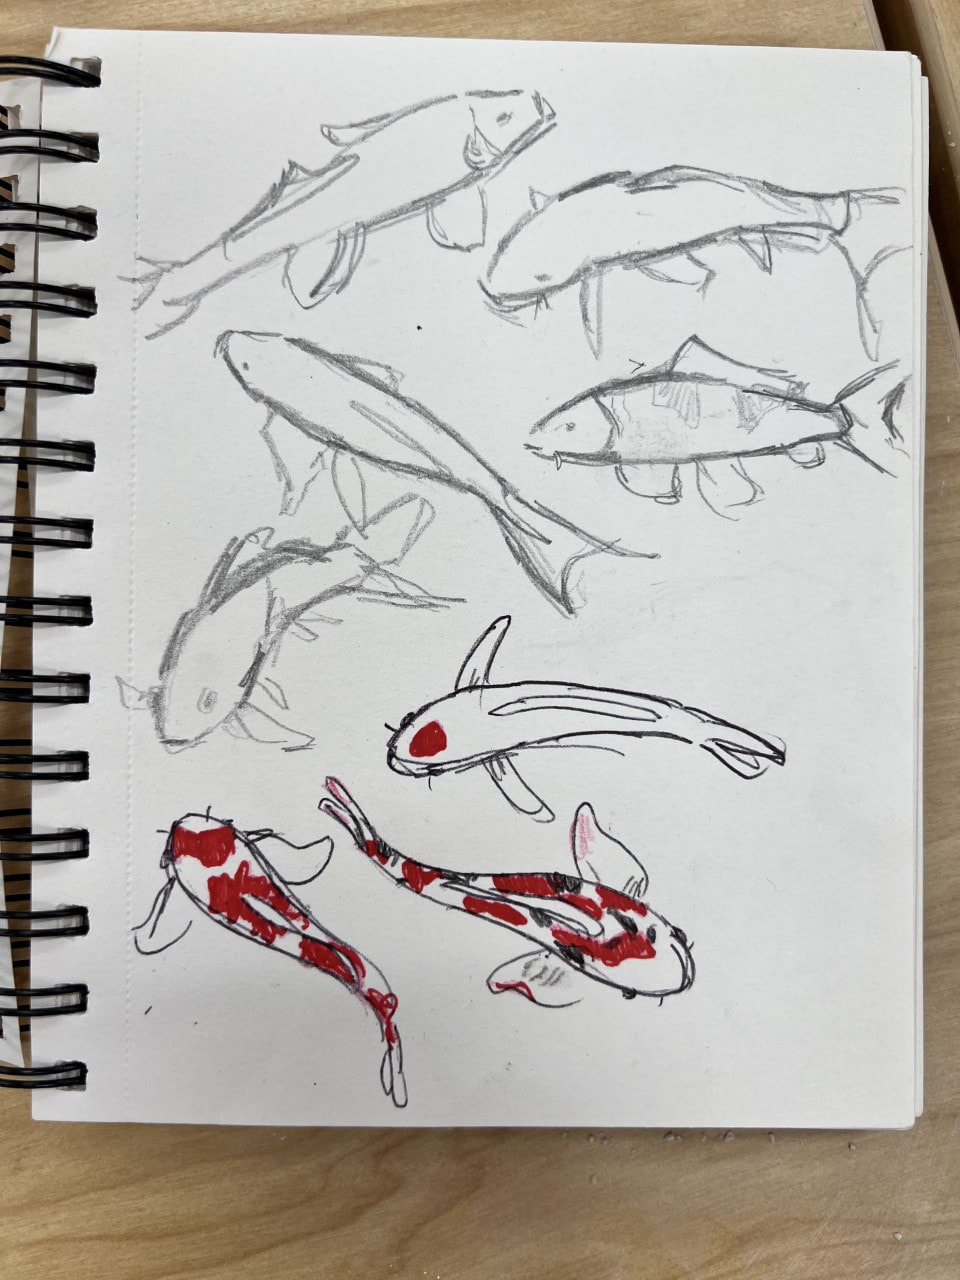
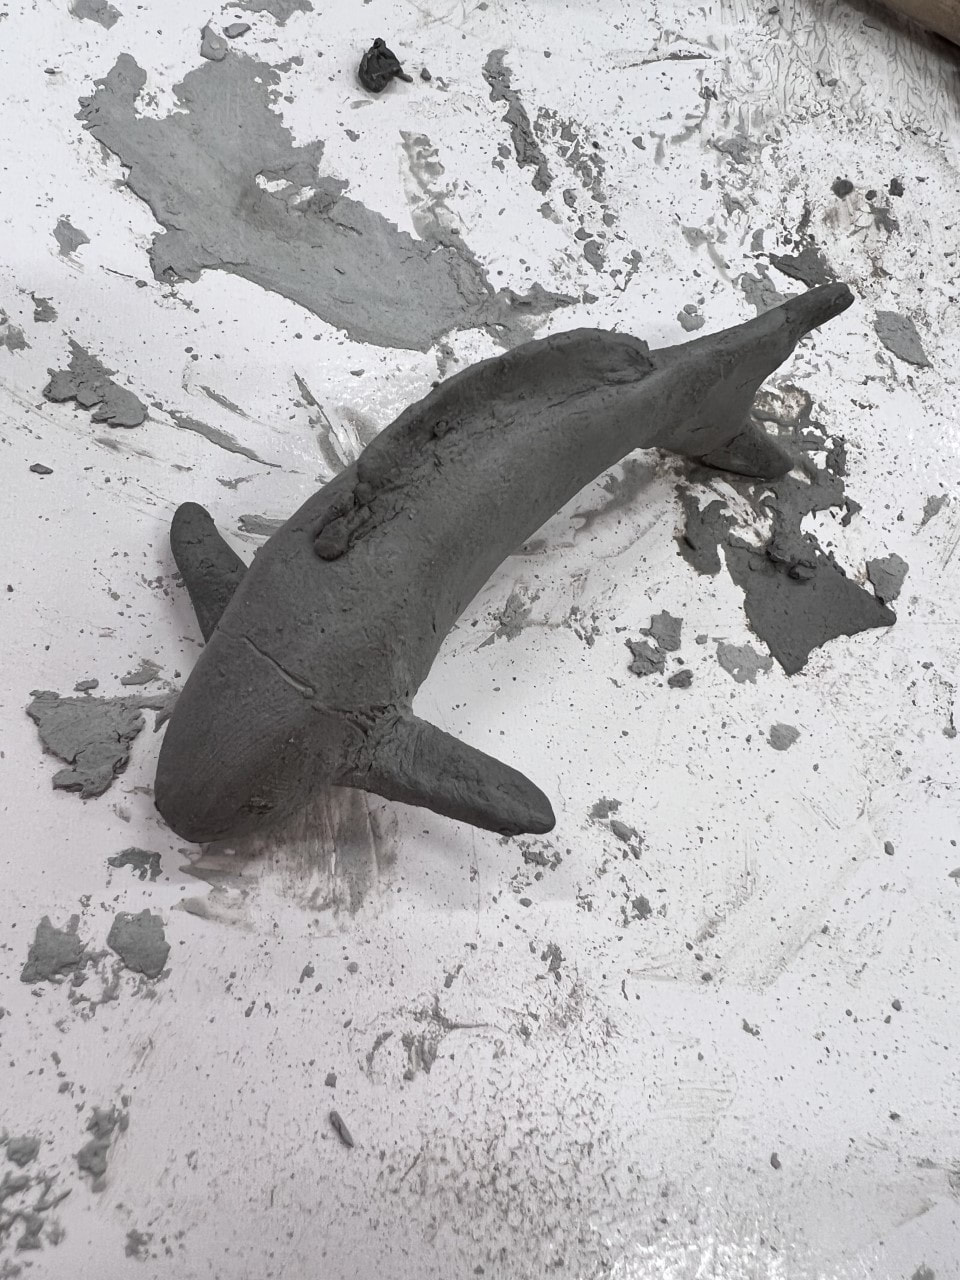
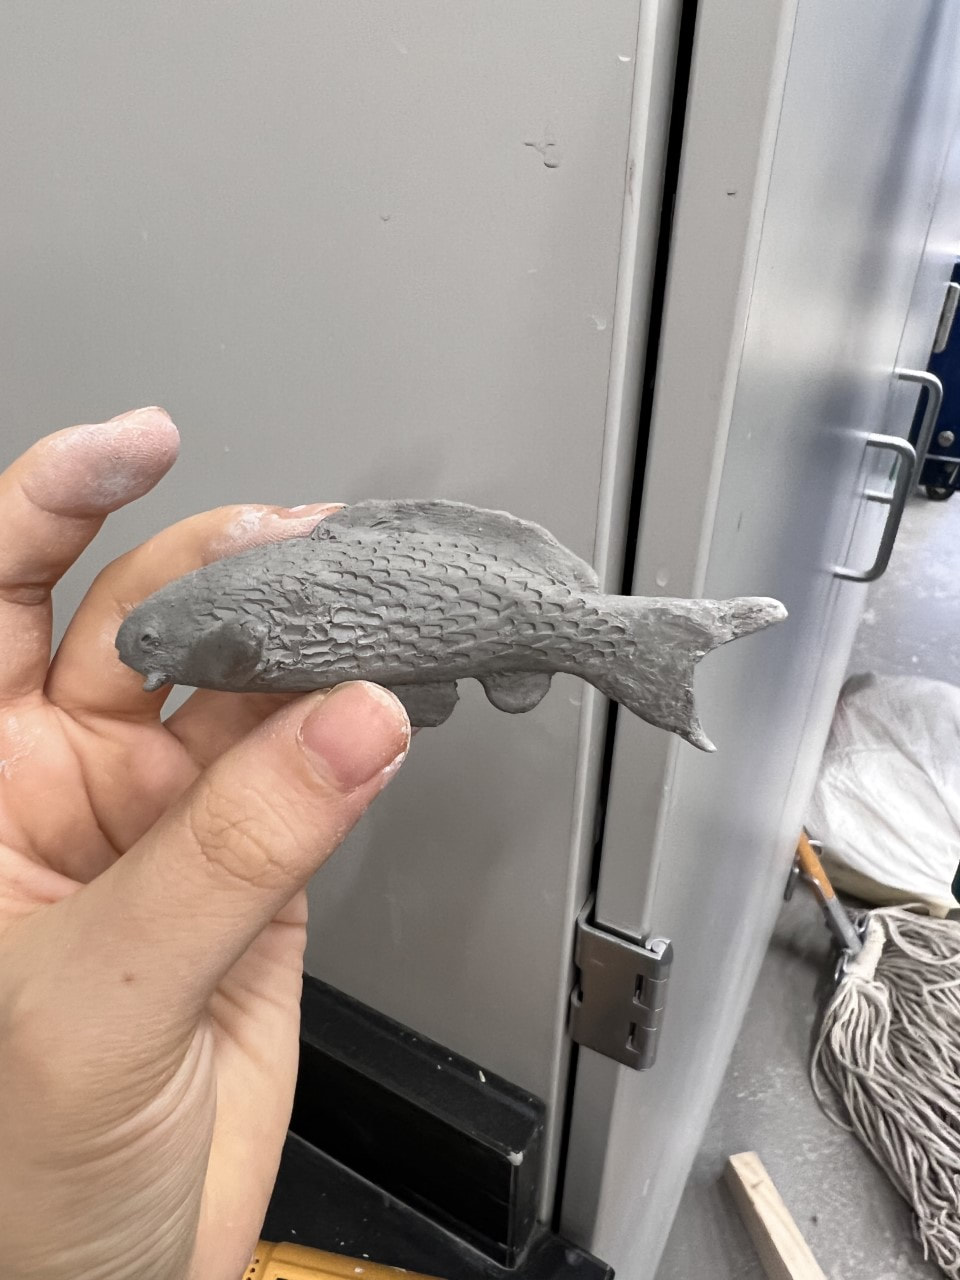
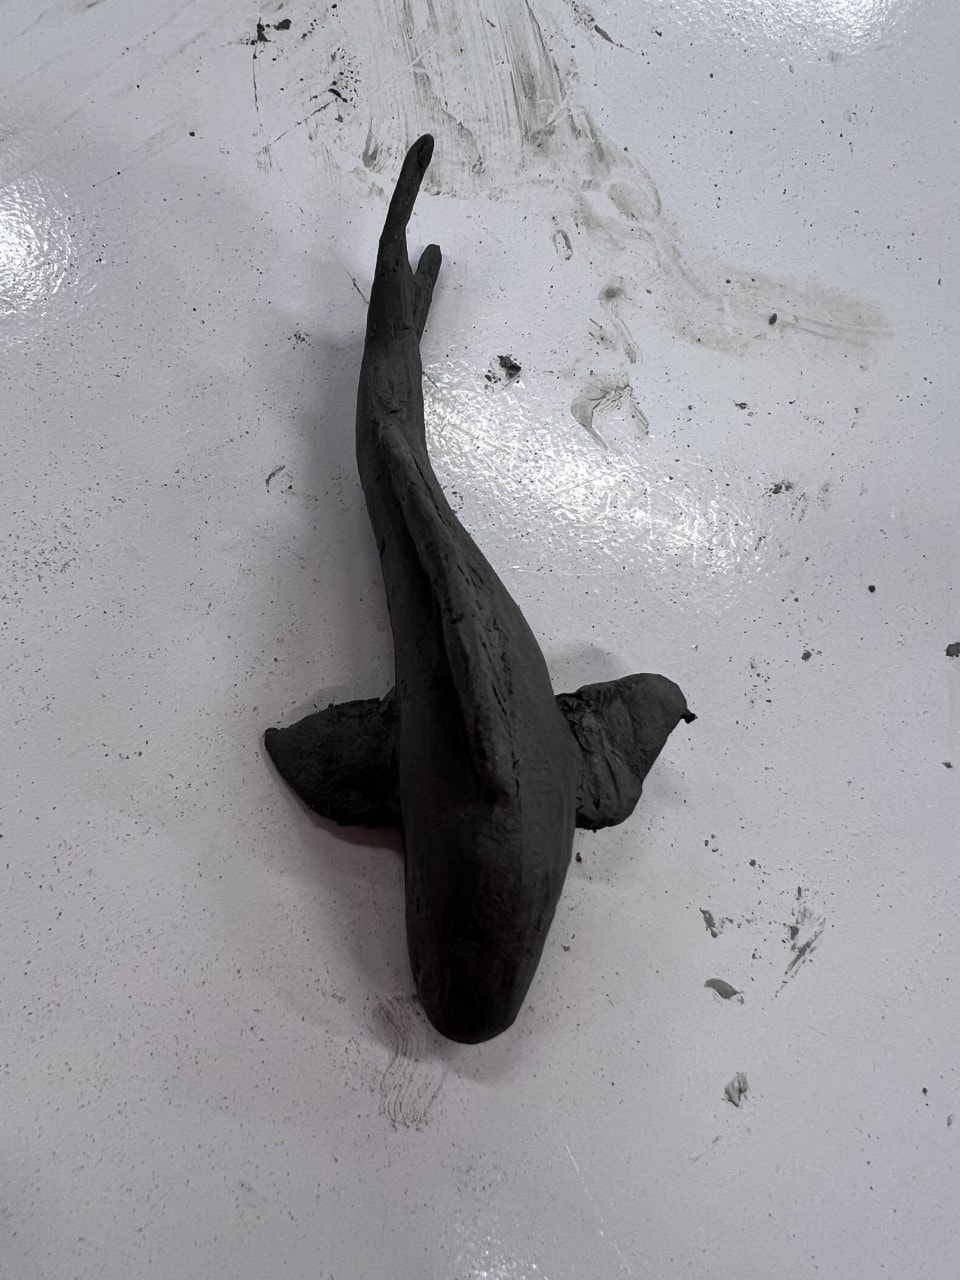
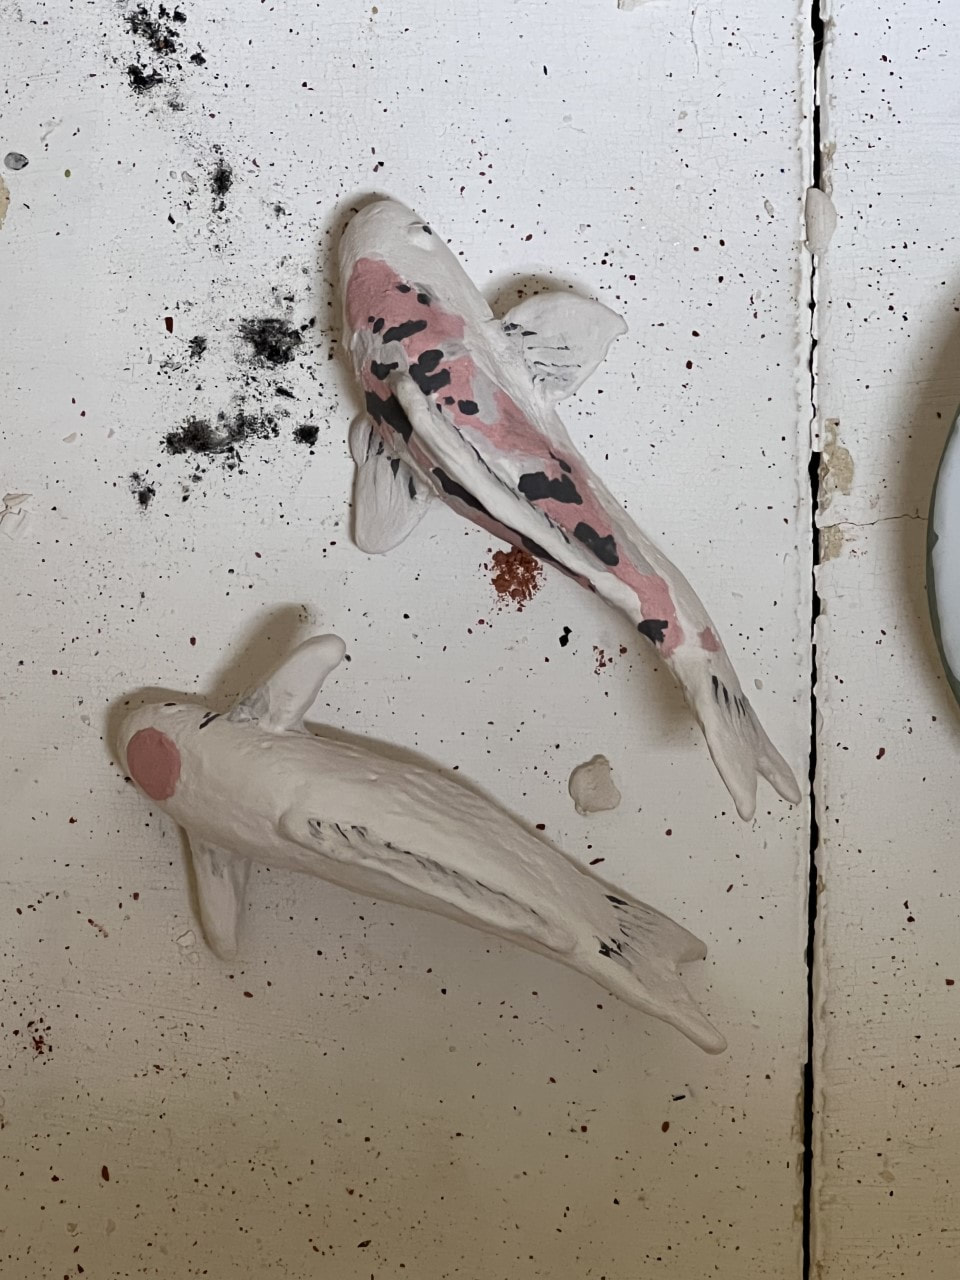
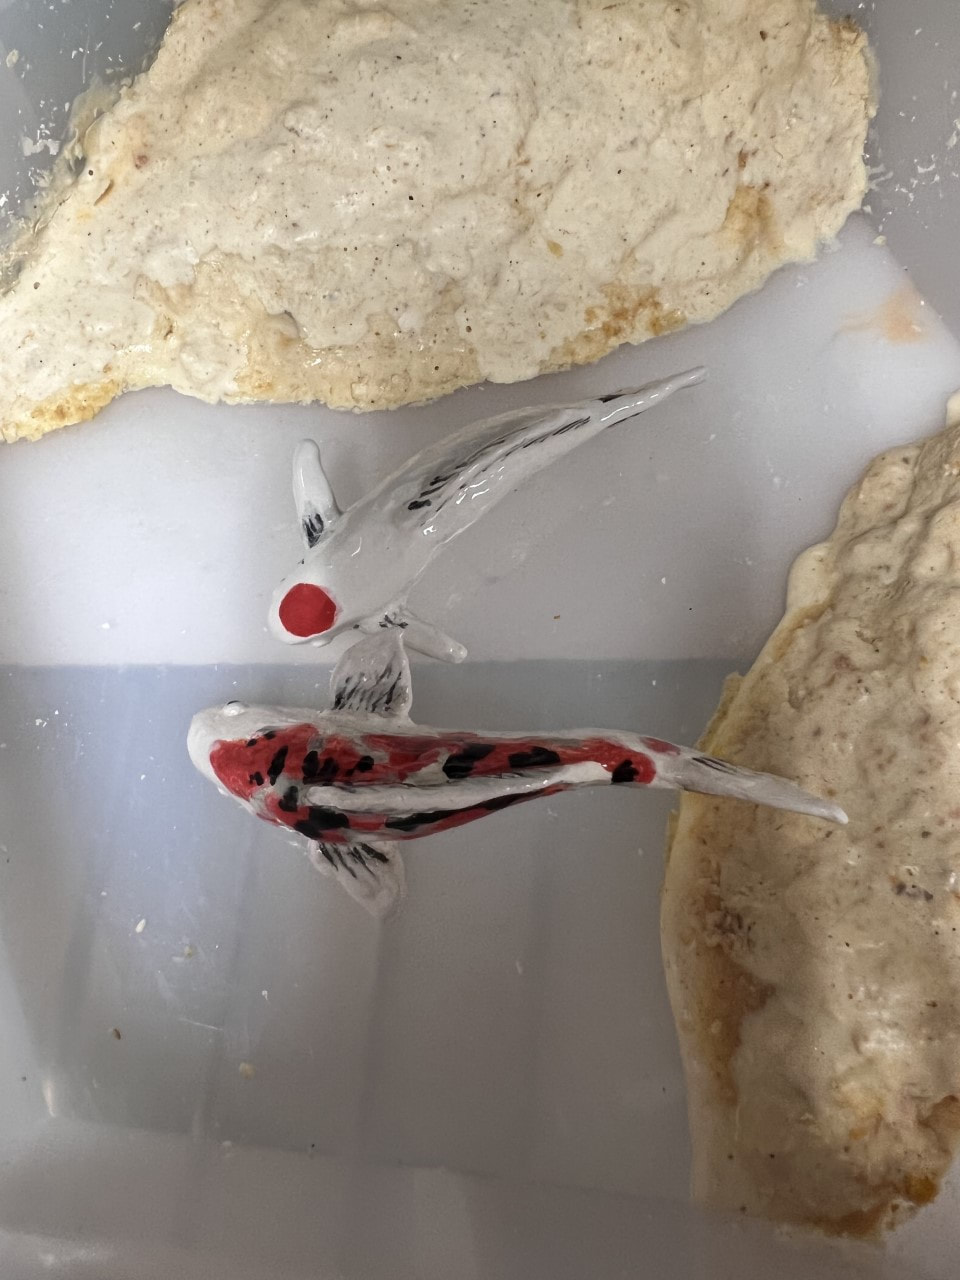
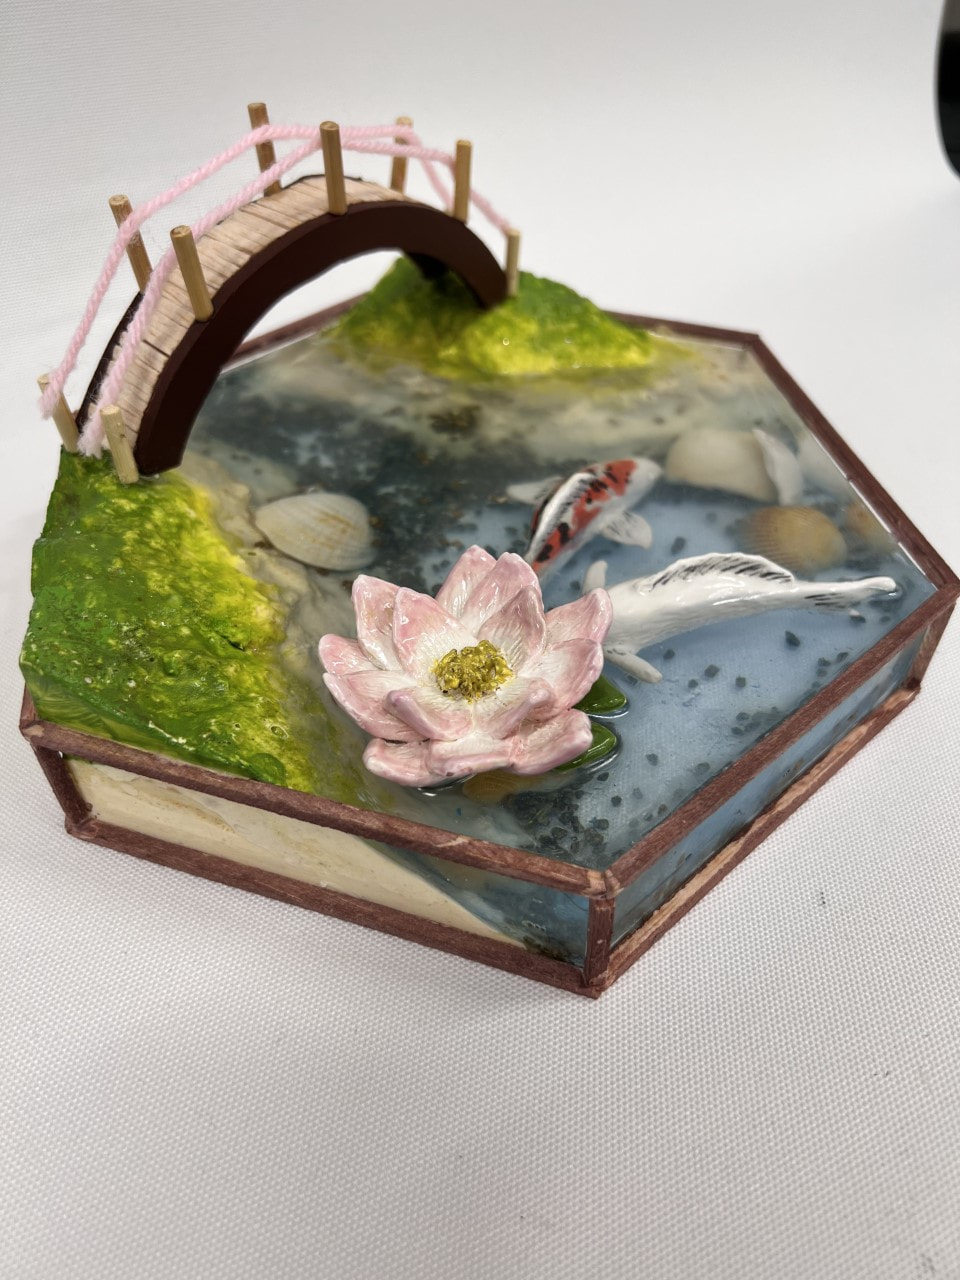
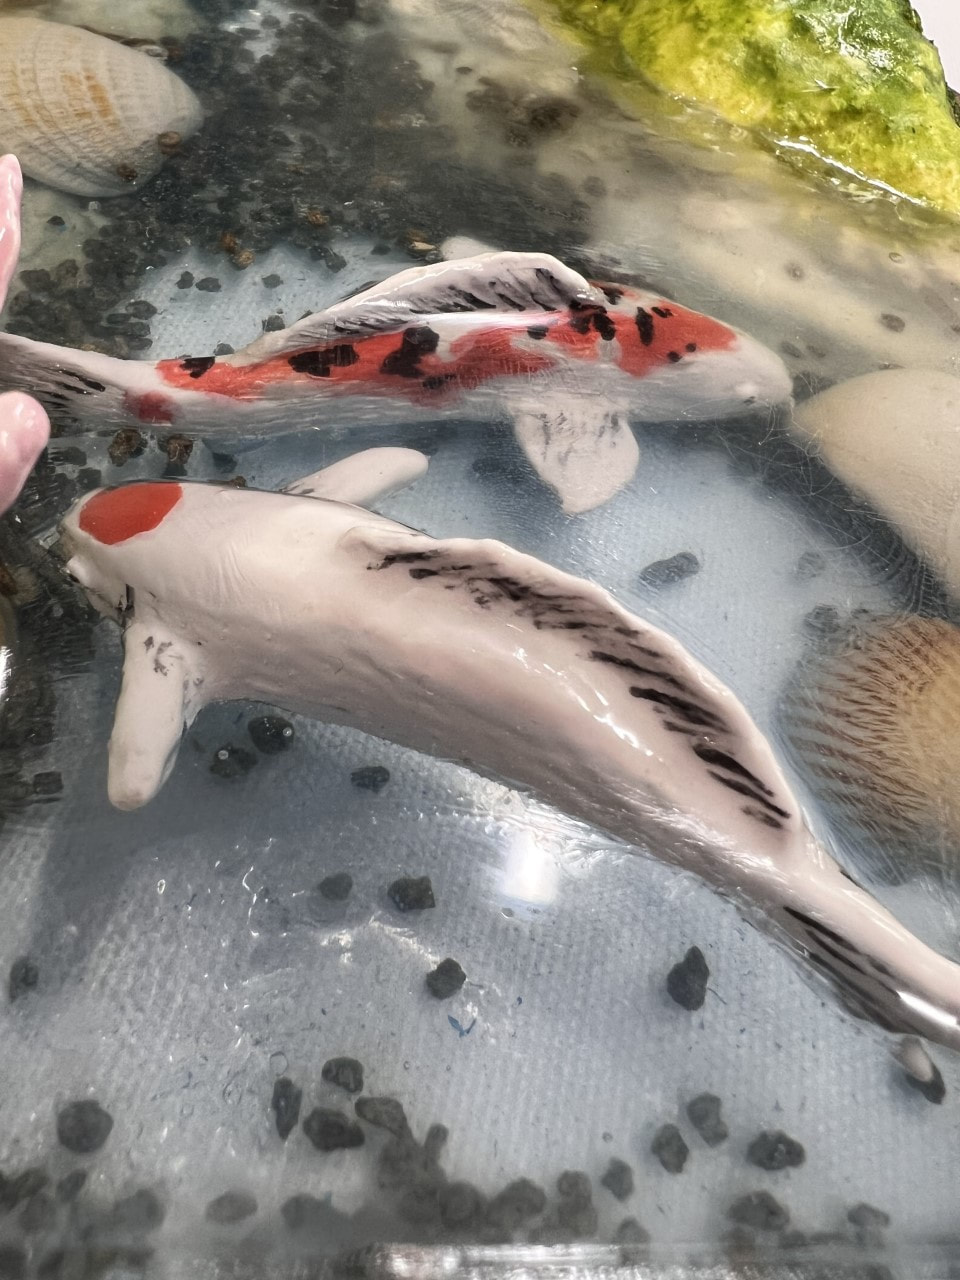
There were a few things I needed to consider first, however. One major question I had was how to make the water. Originally, I was thinking of somehow making a thin film of clear glue--but that wouldn't work if I wanted my water to be relatively thick. Eventually, I decided on using clear resin instead. Step 1: FishSince this was my first time touching clay in nearly a decade, I was really struggling at first when making my koi fish. My first fish ended up looking more like a missile than a fish tbh (I didn't take a picture of it though). Because of this, I decided to do some form sketches to get an idea of what a fish would look like at all angles.
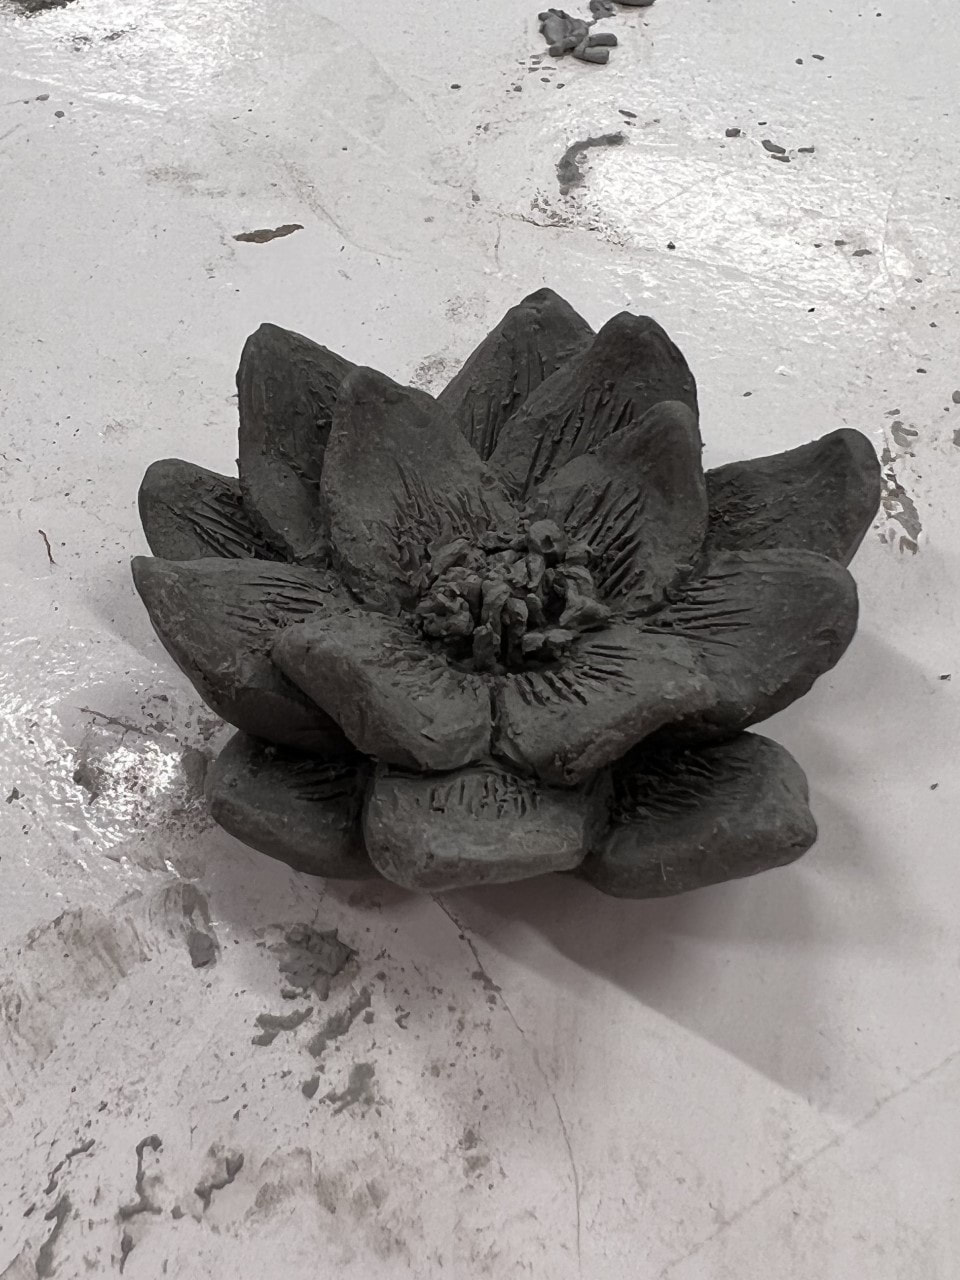
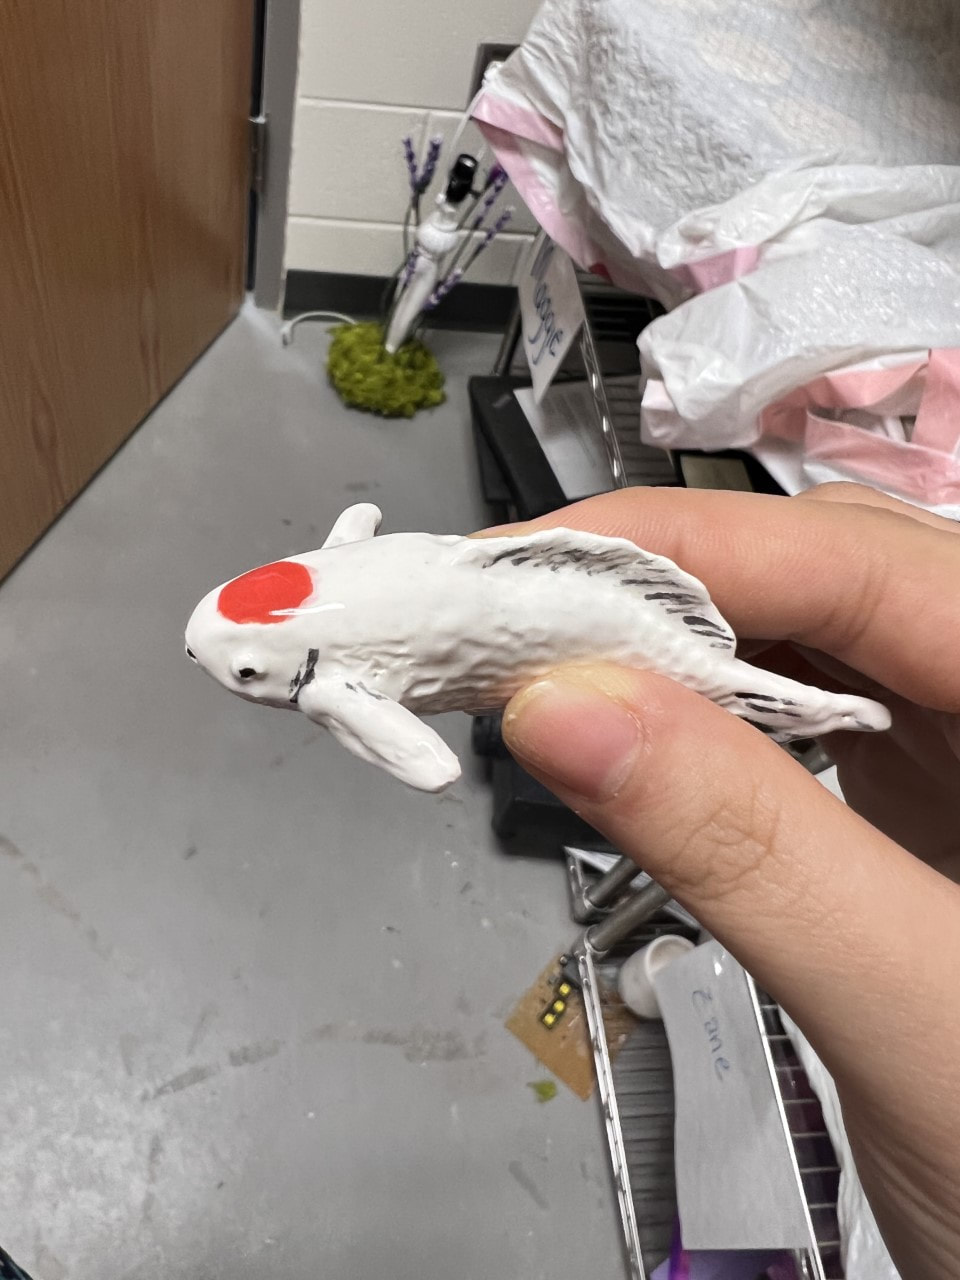
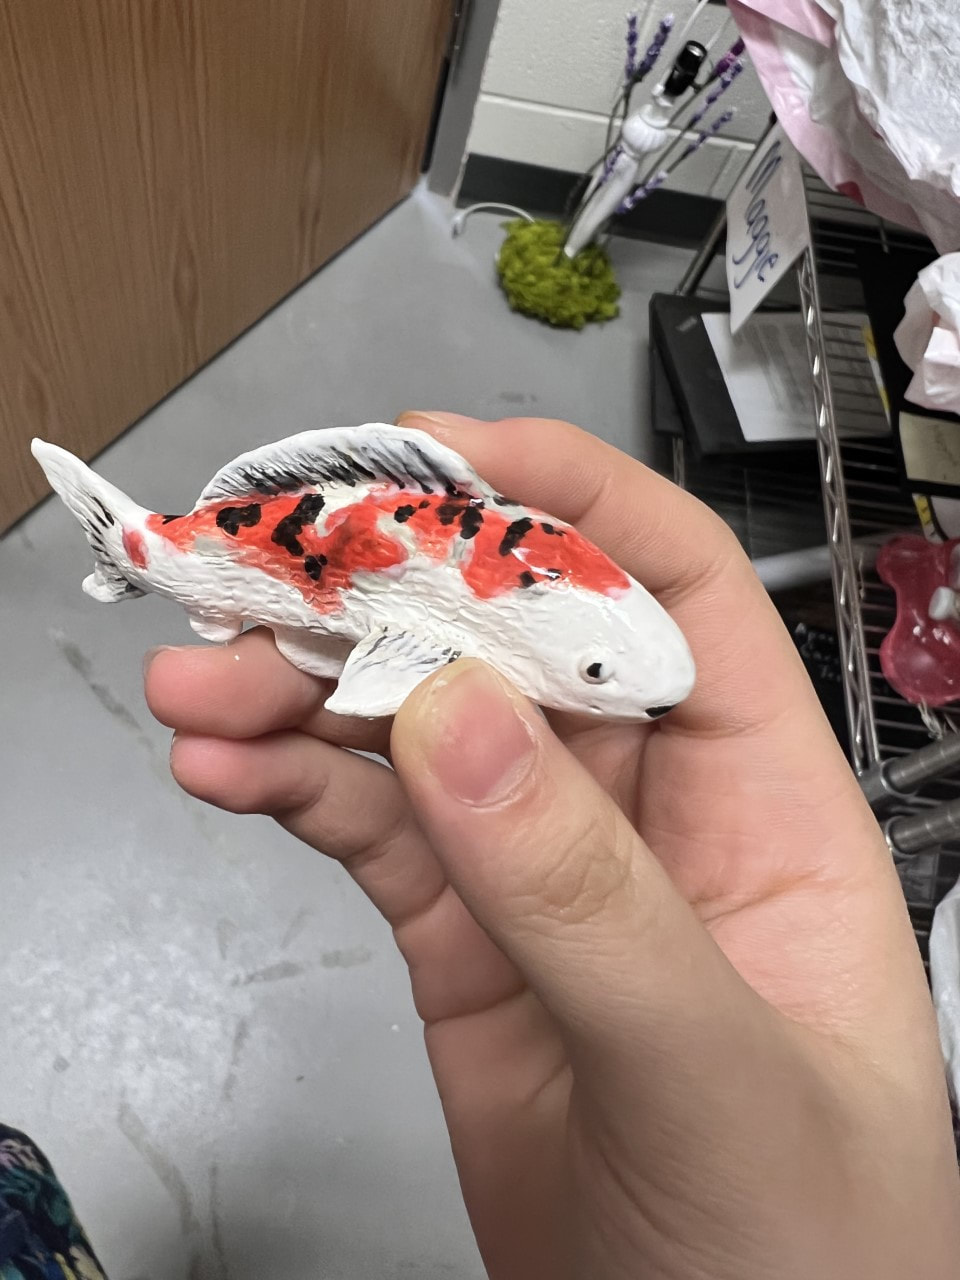
Clay (+ Bonus lotus flower!)
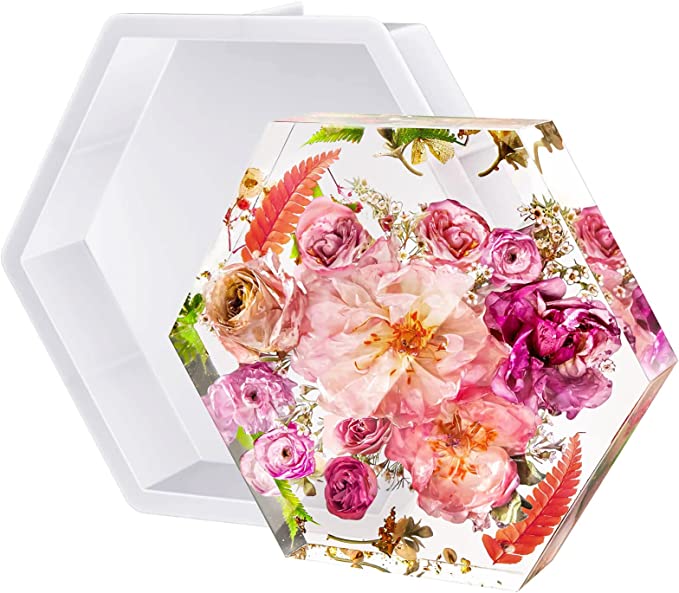
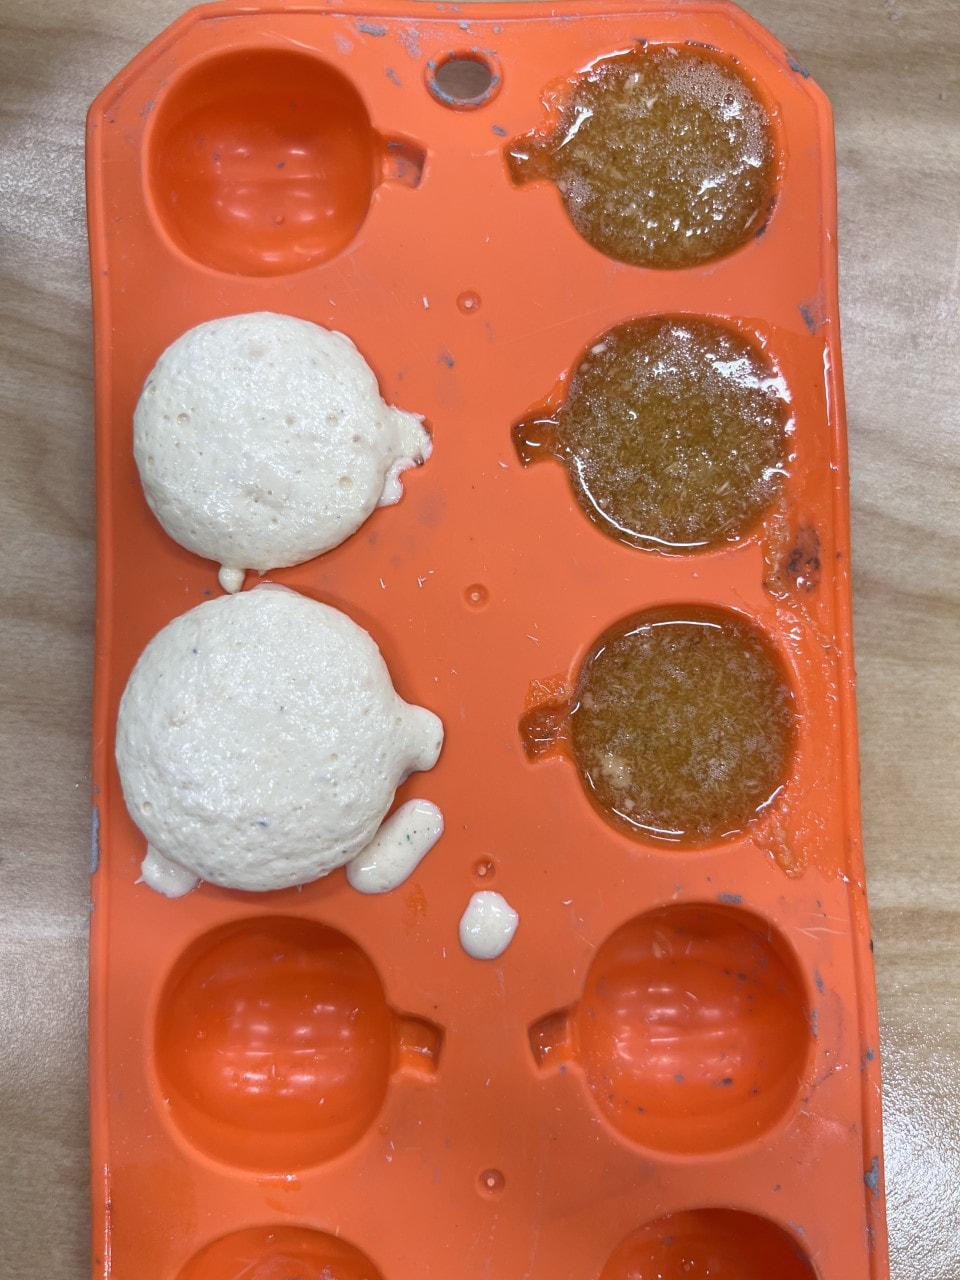
Glazing Step 1.5: Choosing a Mold
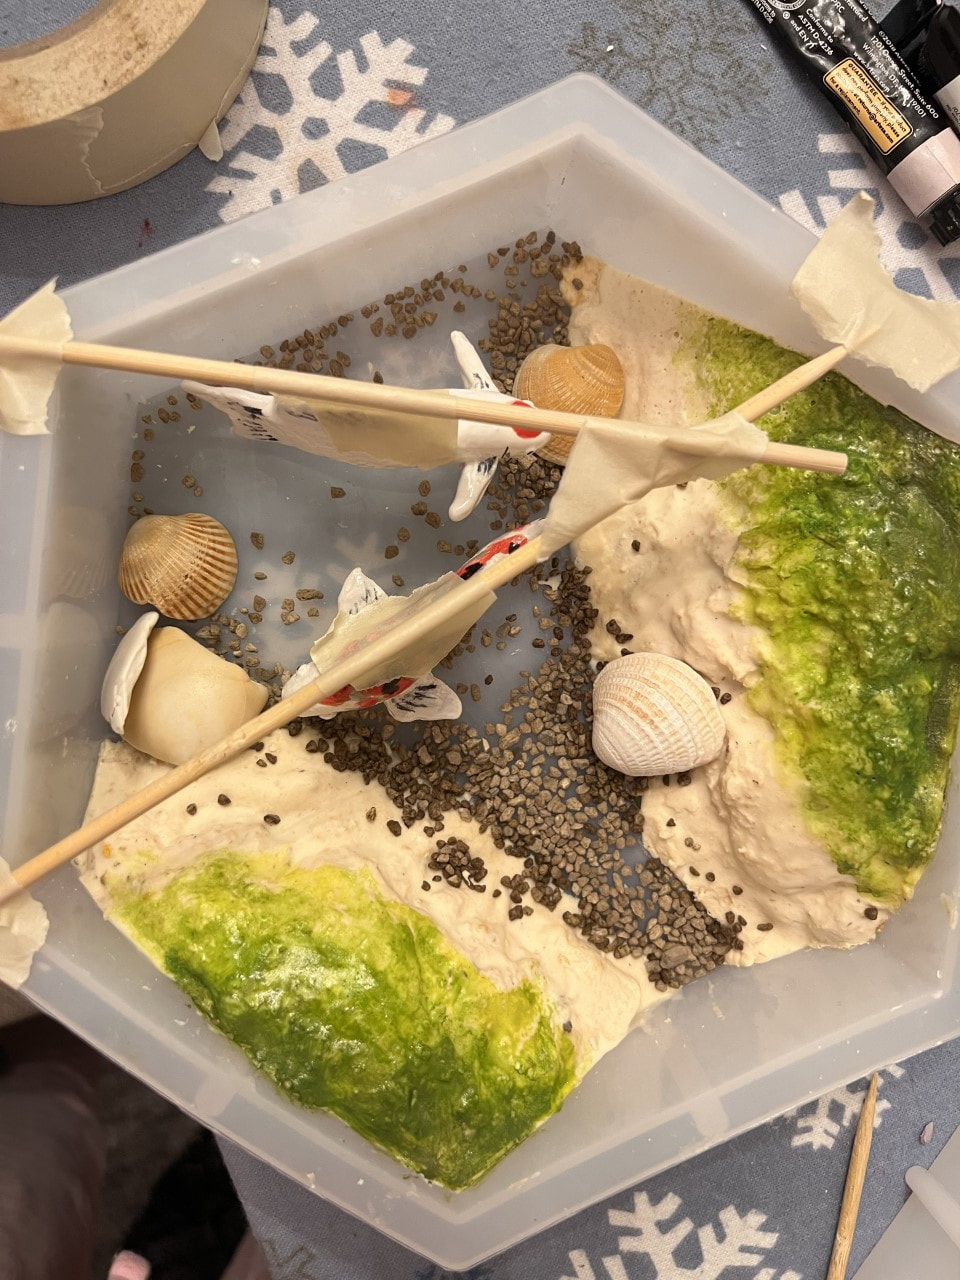
Step 2: LandThe beginning of a long, looooong list of tough stuff. Seriously was fighting for my life trying to think of how to make the land. I had various ideas--maybe I could make the land with clay and glaze it, then fill the resin in? But that wouldn't work since the clay would shrink in the kiln. Maybe I could use clear resin and color it? But I wouldn't be able to stack it since the consistency is basically liquid. Maybe I could just straight up use dirt? Luckily, Ms. Sudkamp advised me to use some of the opaque resin she had & add sawdust in for texture. I tested out this technique in some small molds.
Mixture: Opaque resin, sawdust, watercolor
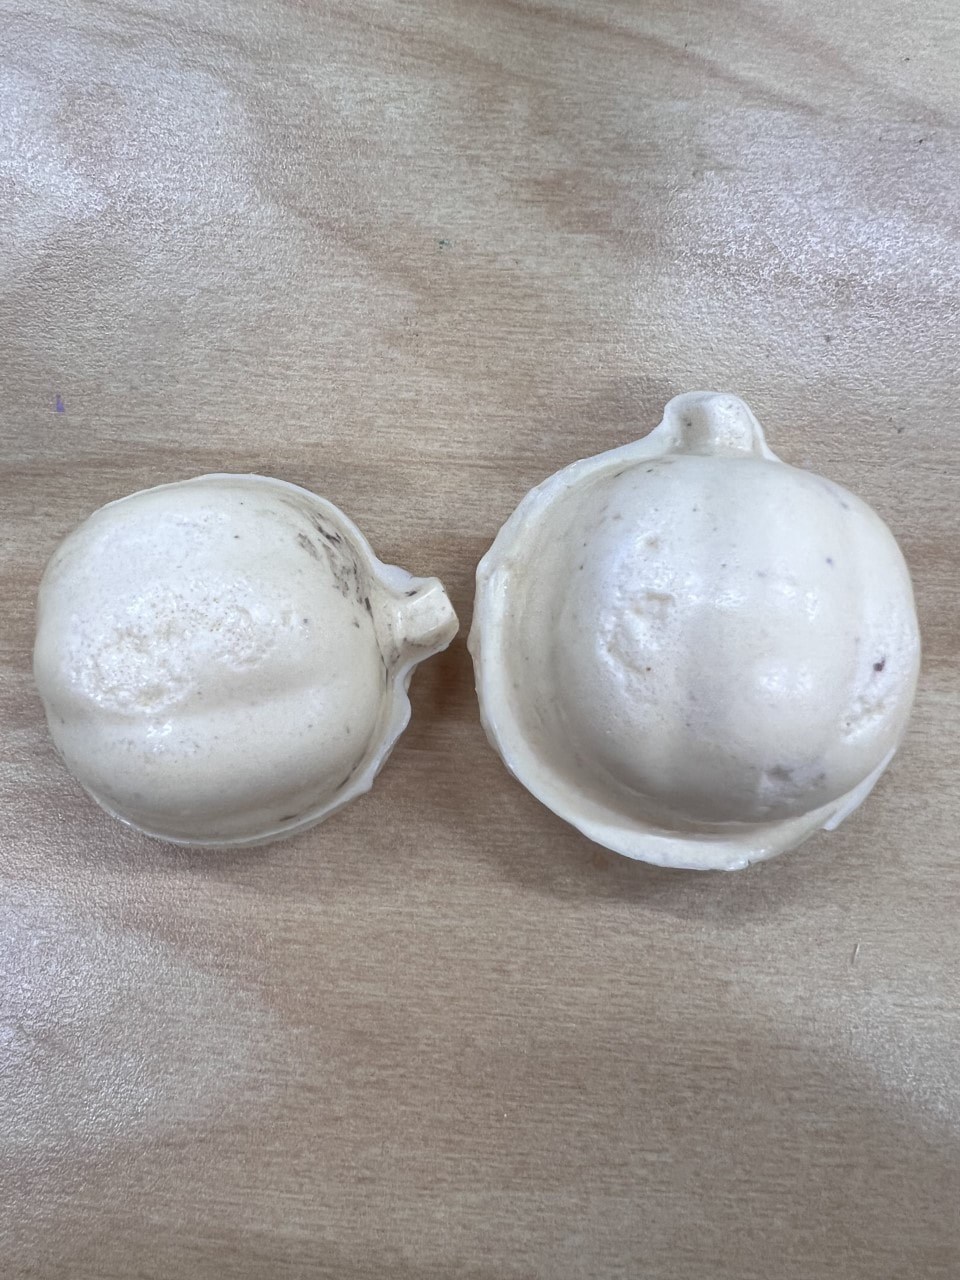
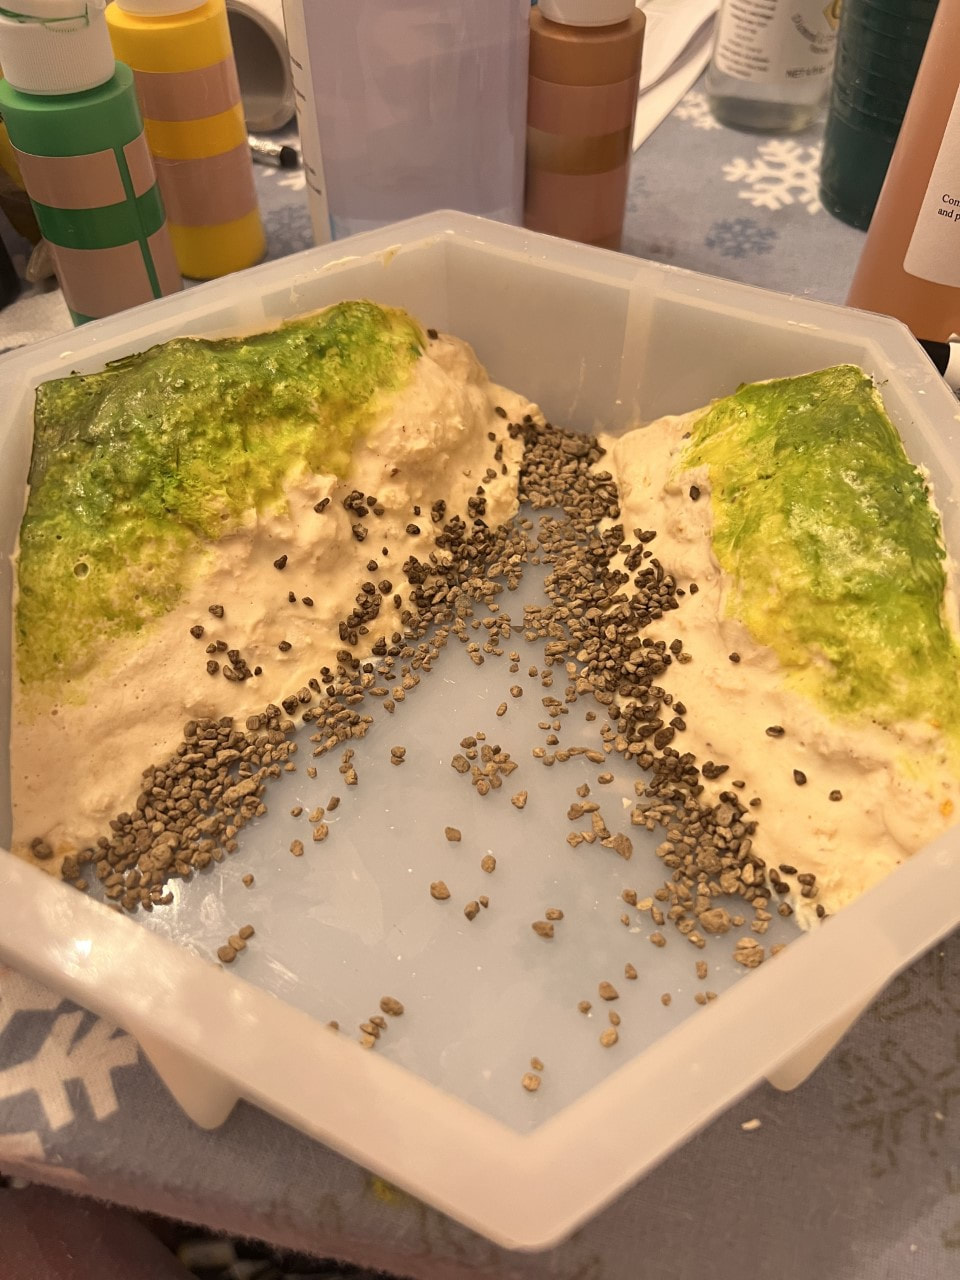
Left: Beginning of process, opaque resin layered and cured. Right: End of process, painted top of resin with green, added small pebbles (later added seashells also). Step 3: Resin
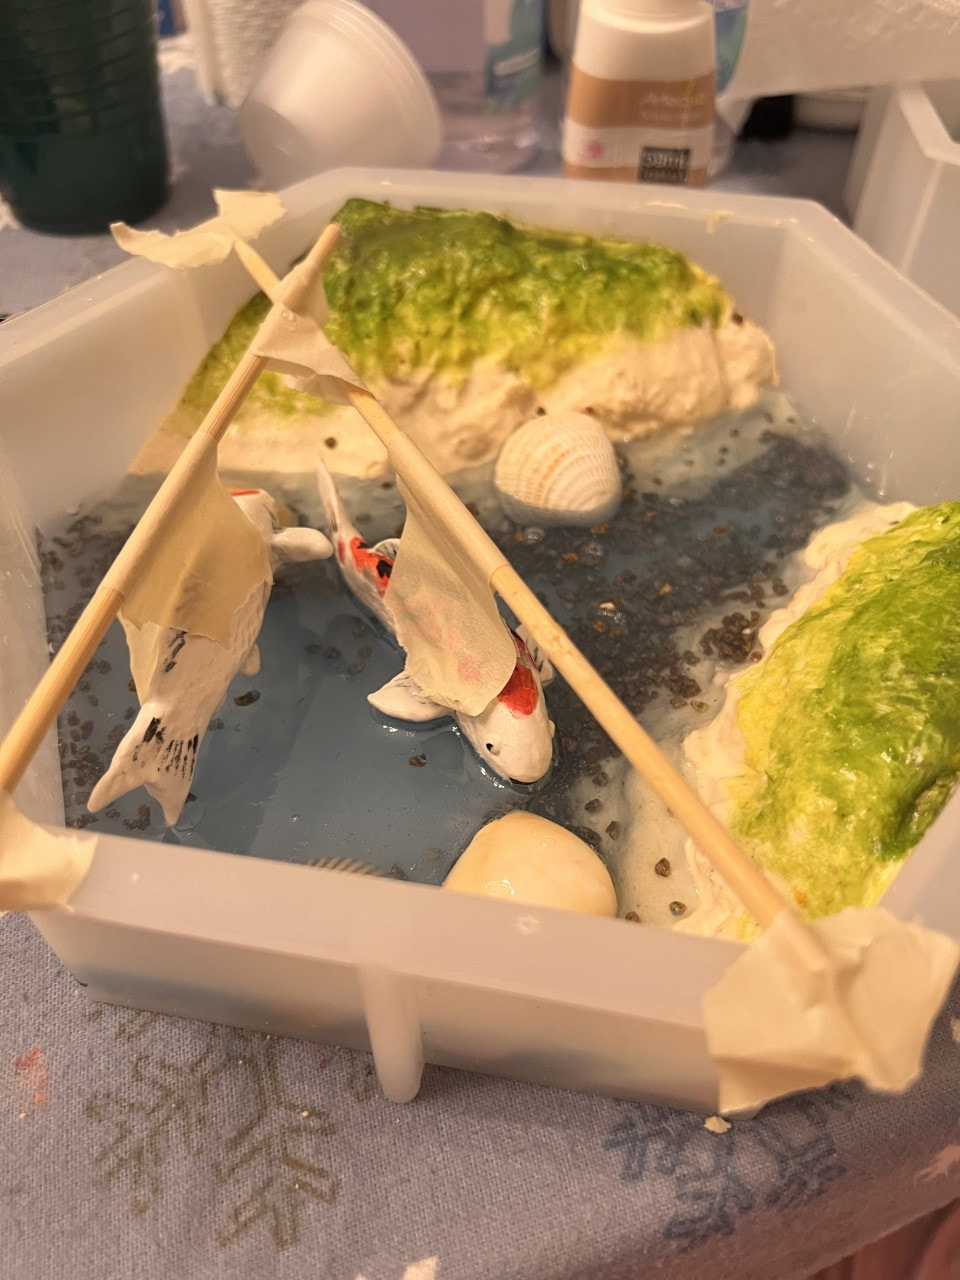
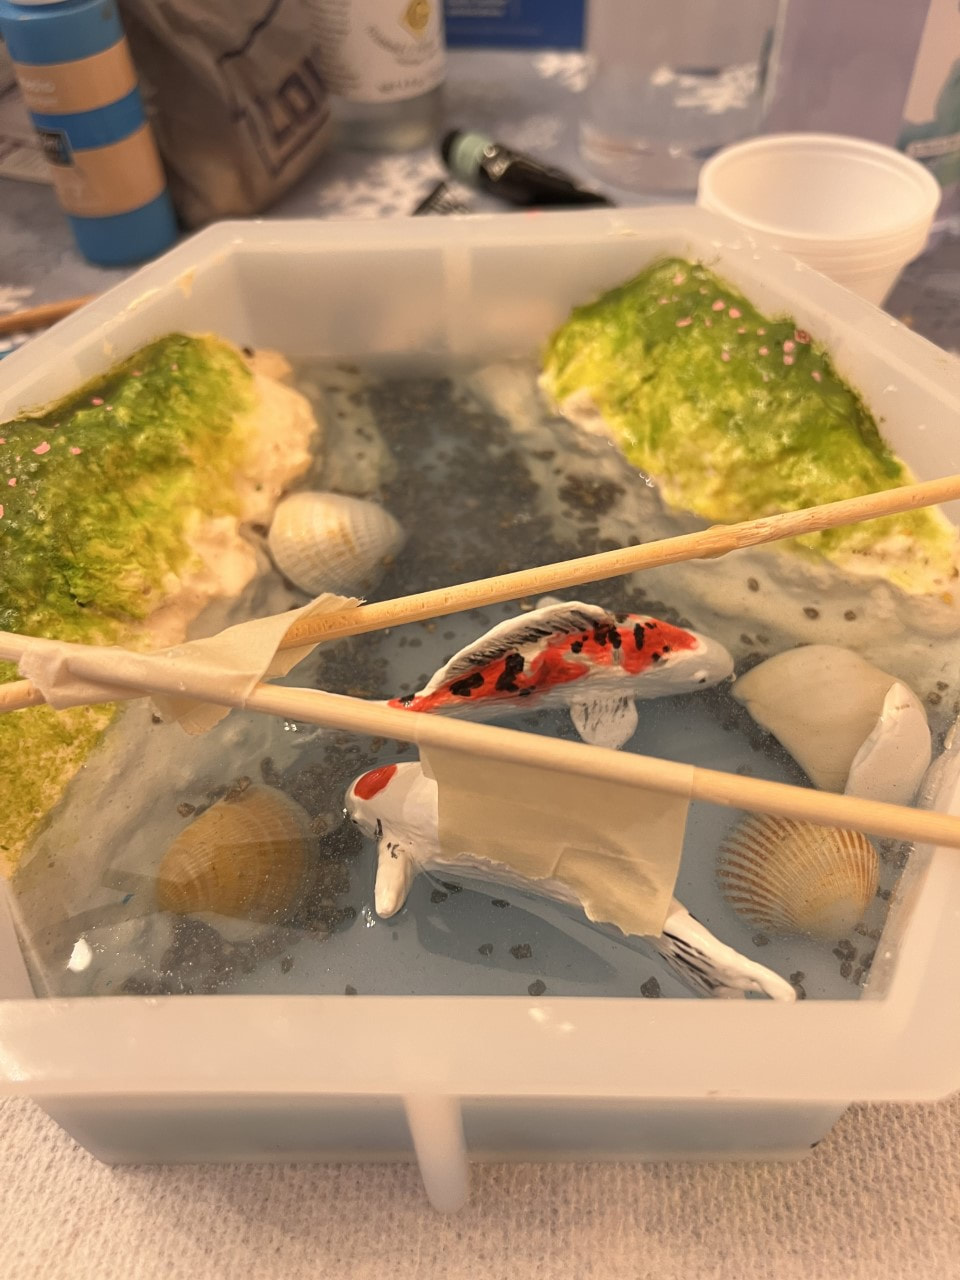
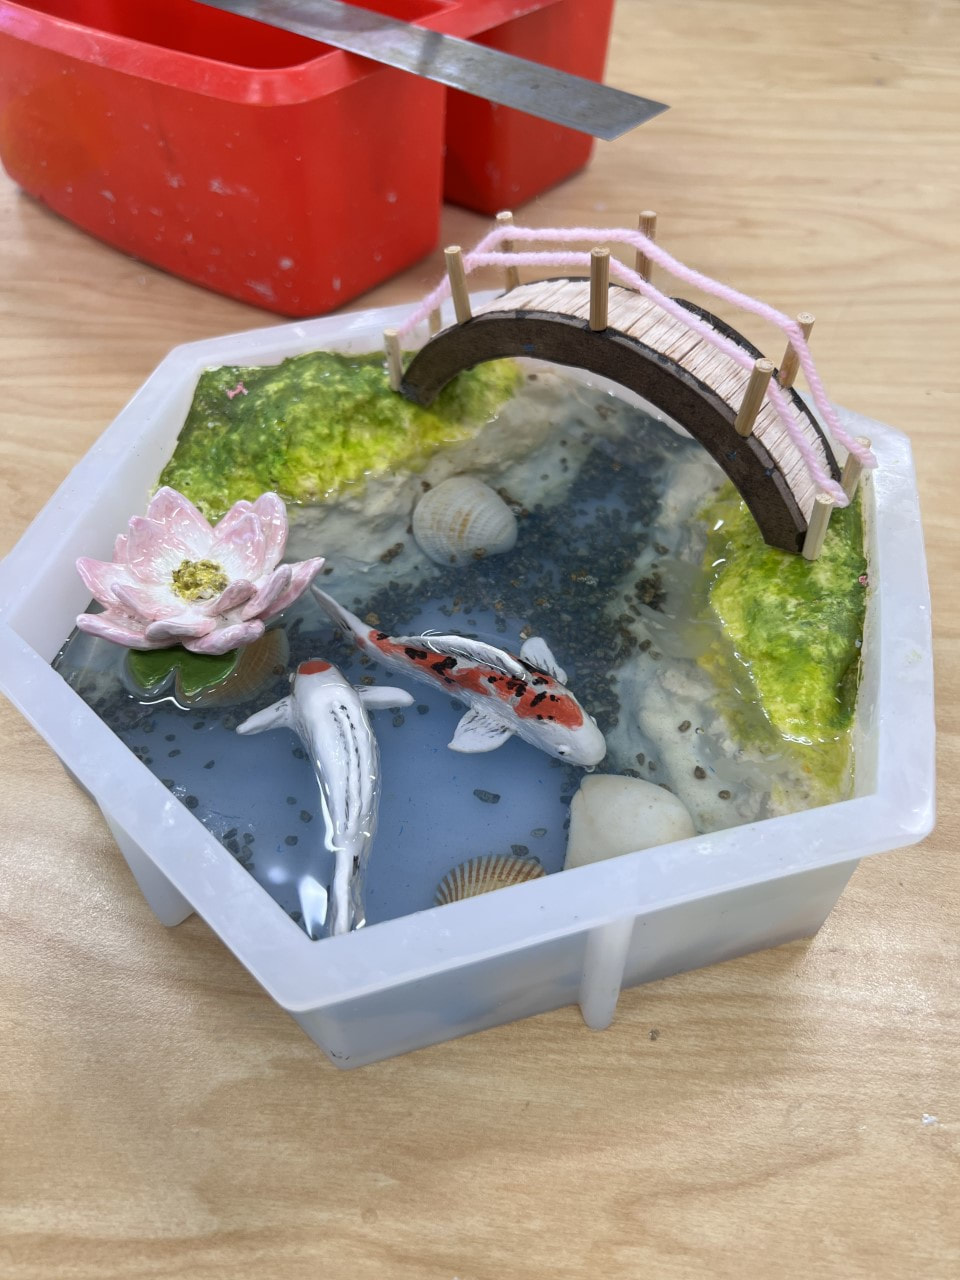
Next, I had to add the resin. Since I didn't want the resin to seal in the tape as well, I had to pour the resin in three parts--I decided to vary the colors in each of these parts to form a blue ombre, just to spice it up a little.
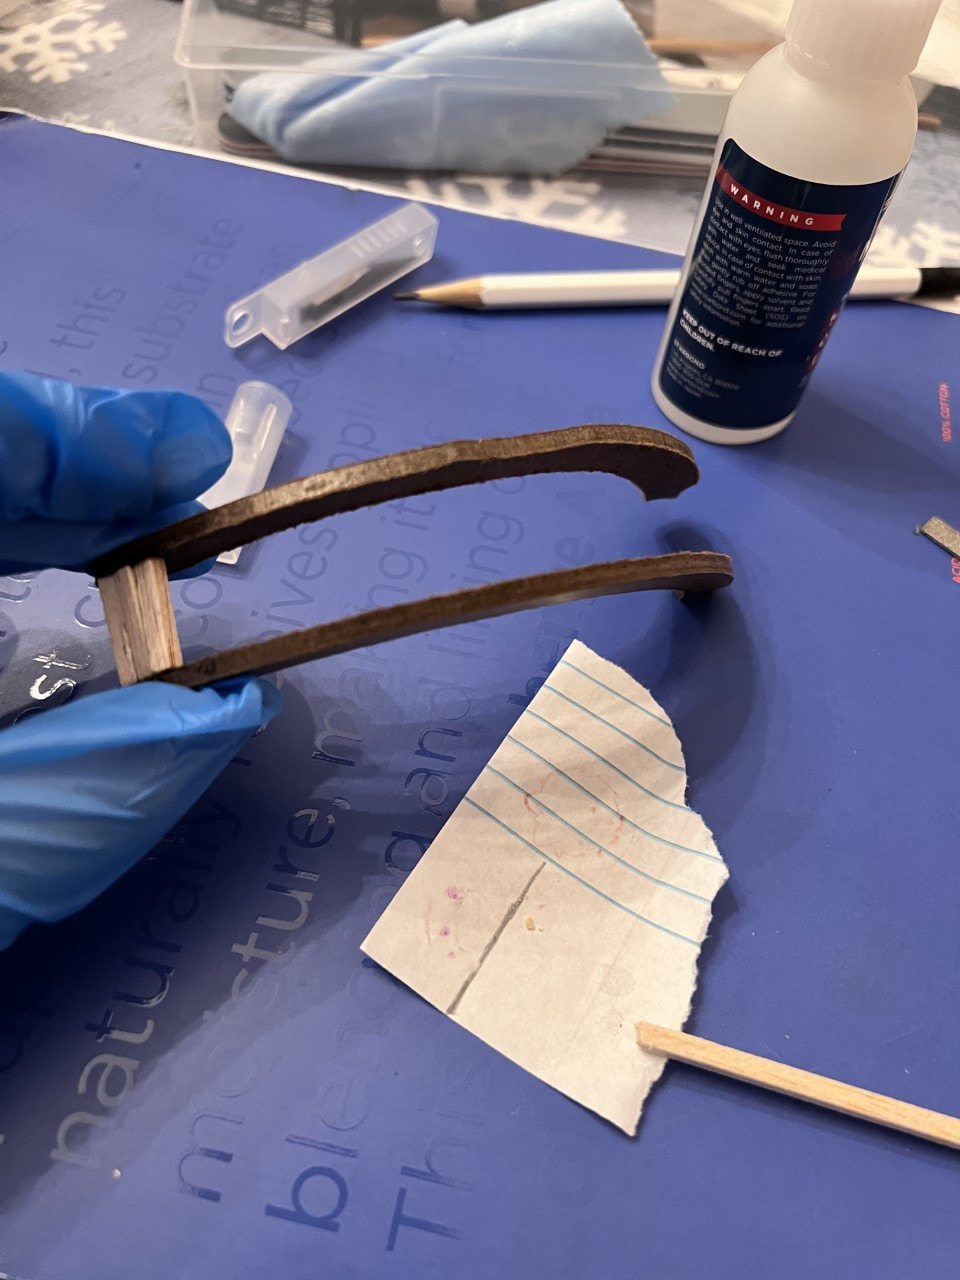
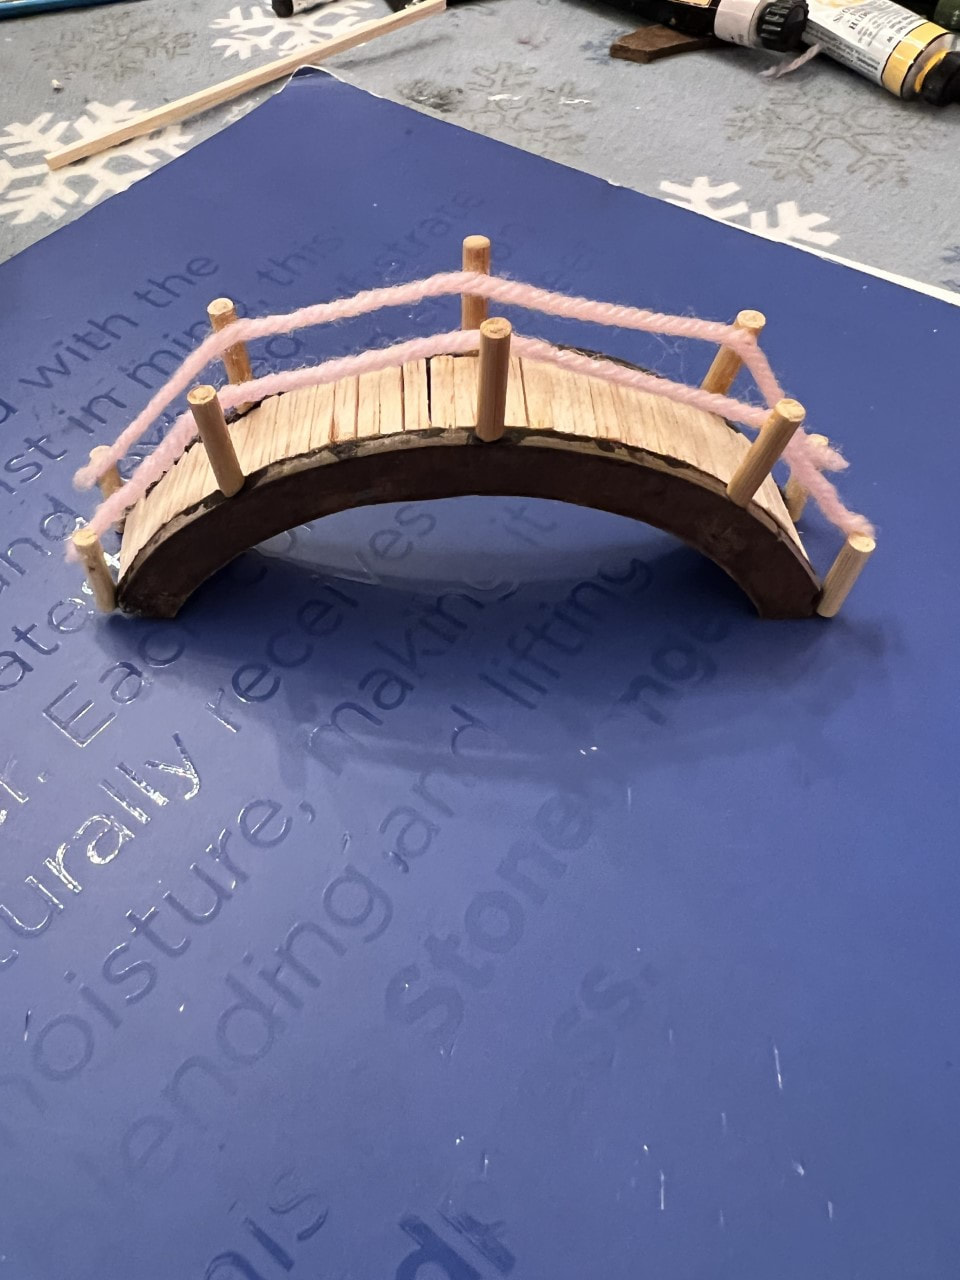
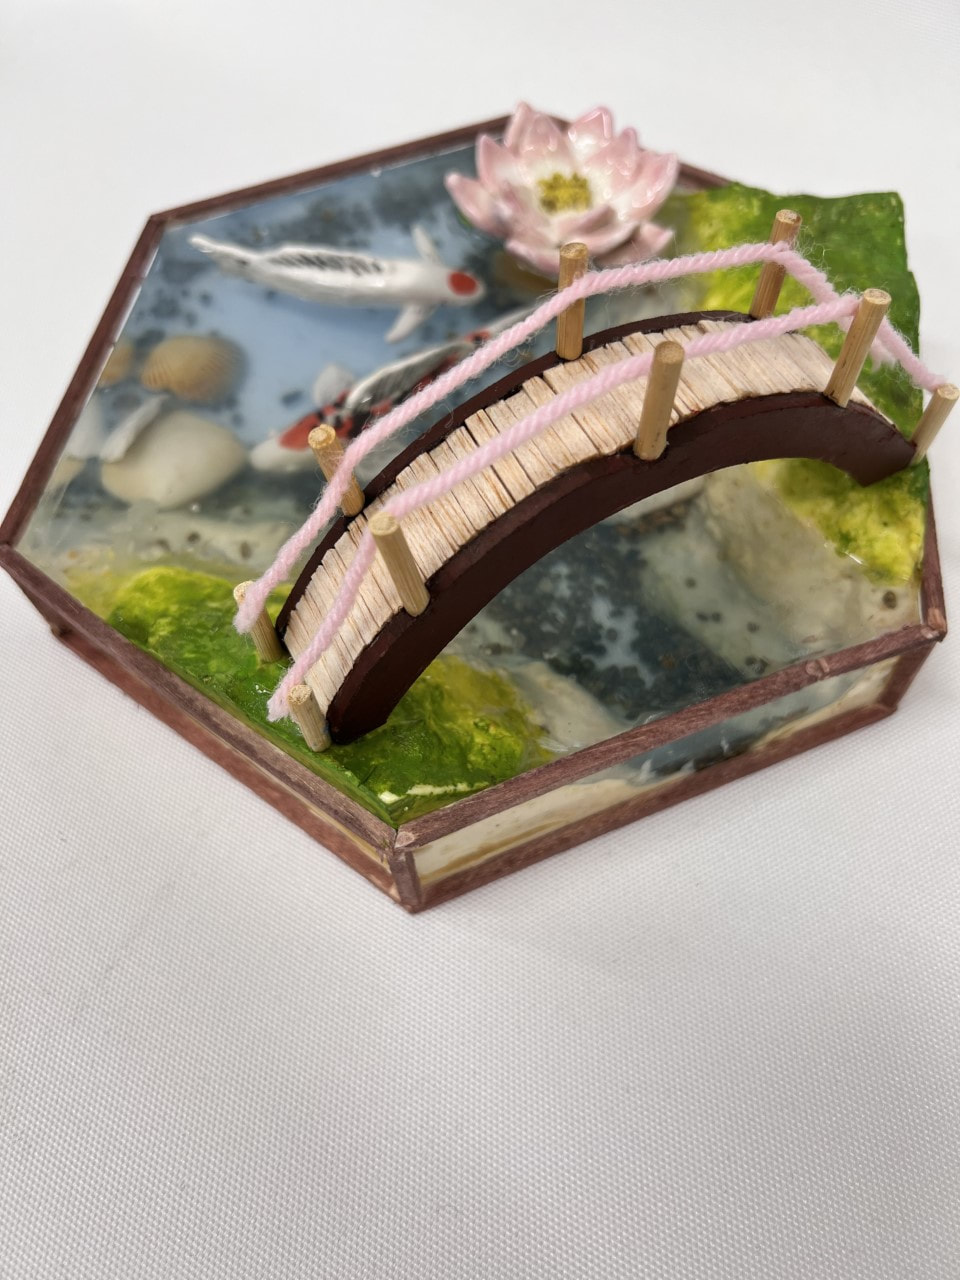
Step 4: BridgeListen, I may be many things, but one thing I'm not is a carpenter. You can probably imagine my utter confusion when I tried to make a bridge haha. Luckily, I got these long strips of balsa wood which came in handy, and the school's carpentry teacher helped me carve out two wooden arches (Thanks!!) One I got those frames, it became just a matter of gluing--though the superglue for sure tore off my skin a little, ouch.
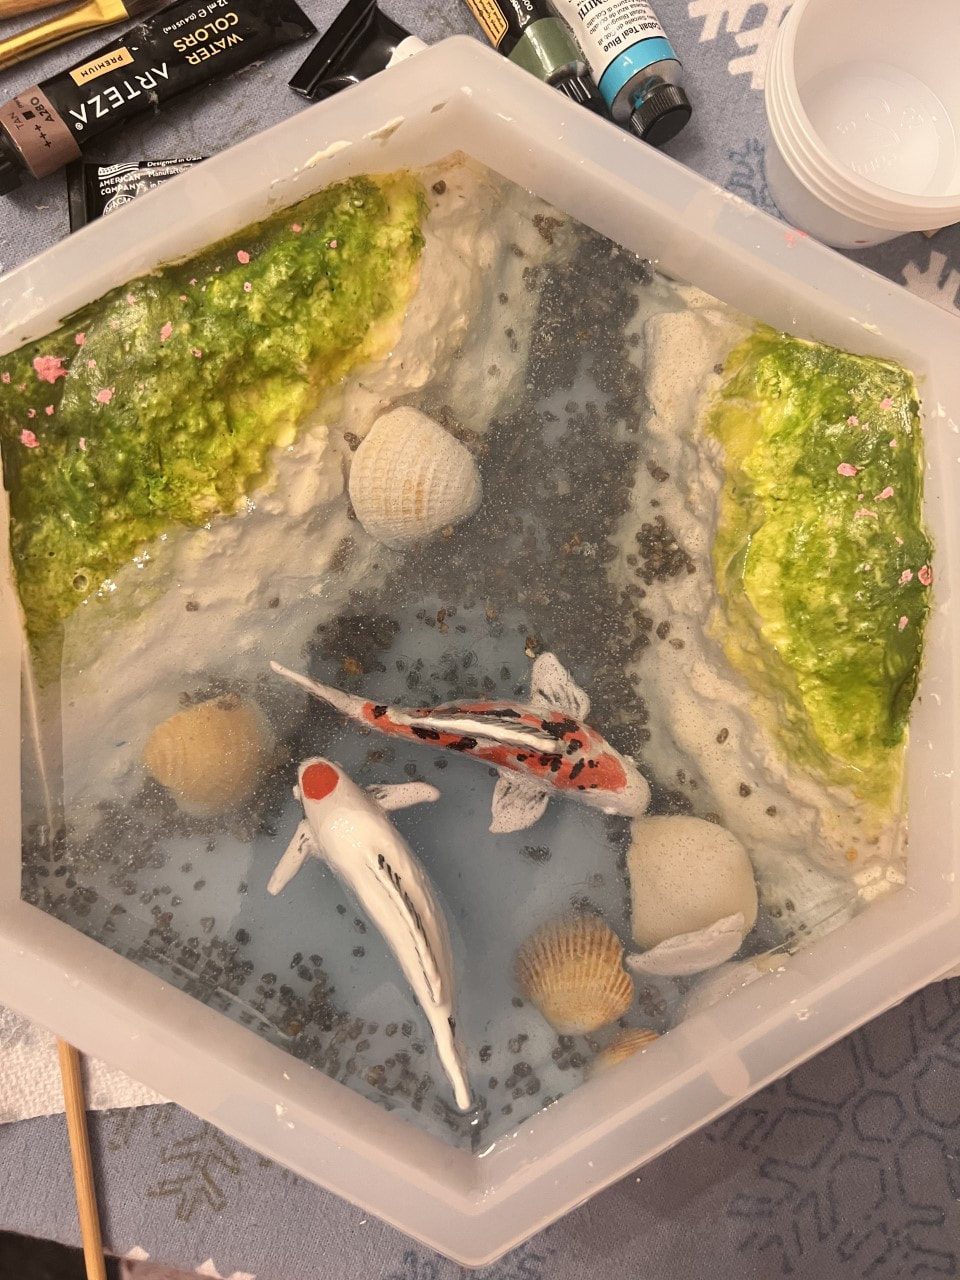
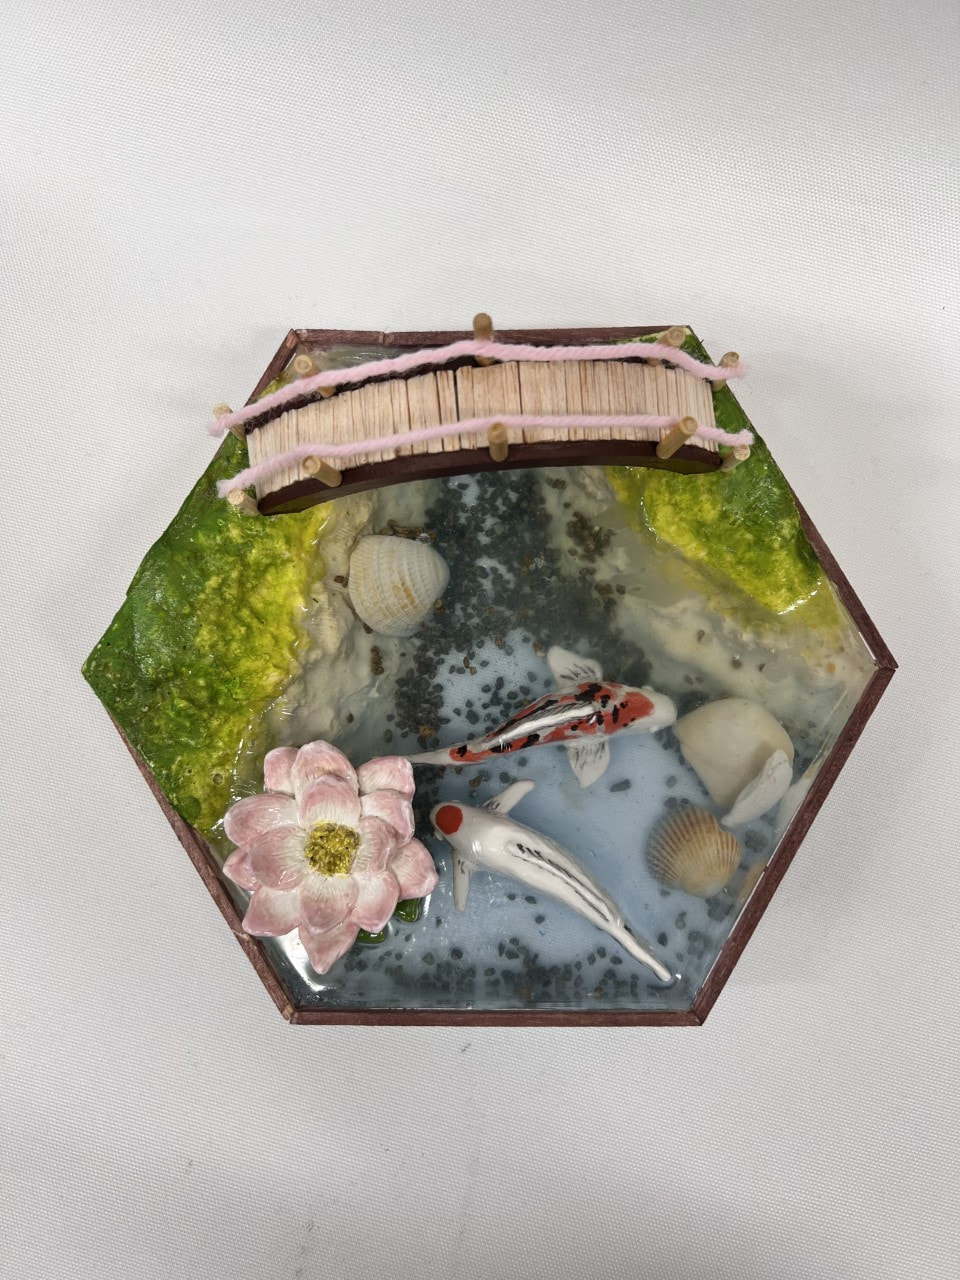
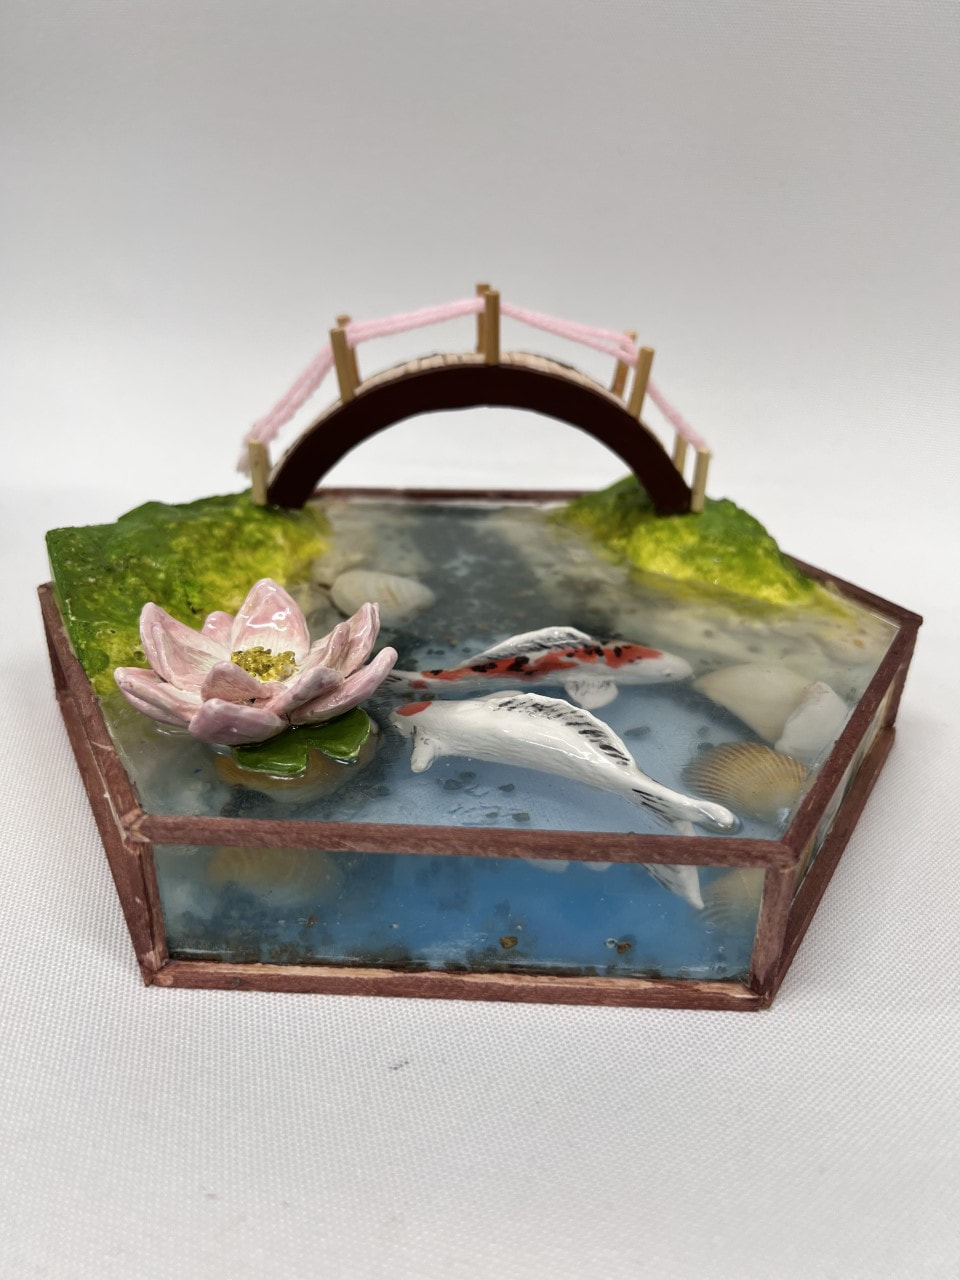
Final Photos
Reflection1. Describe your piece. Explain what you have made & the process. How did you set up your design?
(See above for descriptions of symbolic items & process). To be honest, I literally had no idea what I was getting into once I started this piece--I mainly set up my design like I would a painting, since that's what I'm more familiar with. Mostly I just figured stuff out as I went. Luckily, I guess my years of 2D art helped me better visualize 3D shapes in my mind (?) and my project turned out just about how I wanted it to! 2. Analyze your piece. Talk about what is successful and what you might have changed if you were to do it again. (See above for successful points). Though overall I like how my piece turned out, that doesn't mean it's without faults. I made about two mistakes while creating this that I wish I could go back and fix. The first and most egregious one is with the resin--while the top of the lake is fully cured and smooth, for some reason, some parts of the bottom are still sticky somehow. We theorized it was probably because I didn't mix the resin and hardener well enough, or because I didn't wait for the required amount of time for the first layer to cure. Anyways, that was really annoying. Luckily, I was able to cover the sticky parts with a piece of construction paper that kind of looked like sand, so at least your fingers will be spared if you try to pick it up. The second mistake isn't visible, it's just sad lol. I originally made the flower along with a lily pad, but I accidentally forgot to glaze the lily pad along with the flower...by the time I noticed, the flower was already fired and it was too late to go back and finish the lily pad. Very sad stuff. 3. Interpret your meaning in the art. Do you feel like it shows the feeling or mood it was should have? (See above for descriptions of symbolic items). I originally chose this idea because I thought a calm lake would be able to depict my chillness. I'm a pretty laid-back guy, so this tranquil scenery fits that perfectly. Koi fish, lotus flowers, and arched bridges are also pretty prevalent symbols in Asian culture, and hey, I'm Asian, so why not? :^) 4. Judge your piece. Overall how do you feel about your piece? Do you feel proud of this piece and the word you did? Not going to lie, I think this piece is pretty fire! I'll give myself a pat on the back for going above and beyond on my first ever ceramics piece. Once I can bring this piece back home, I'll definitely put it on display--somewhere really obvious, so I can see it at all times. My overall rating: 9/10. *If I do decide to do AP 3D, I might choose to make my theme "reflections!" Sorry Ms. Sudkamp, I forgot to take pictures 😭
I promise I did them though!
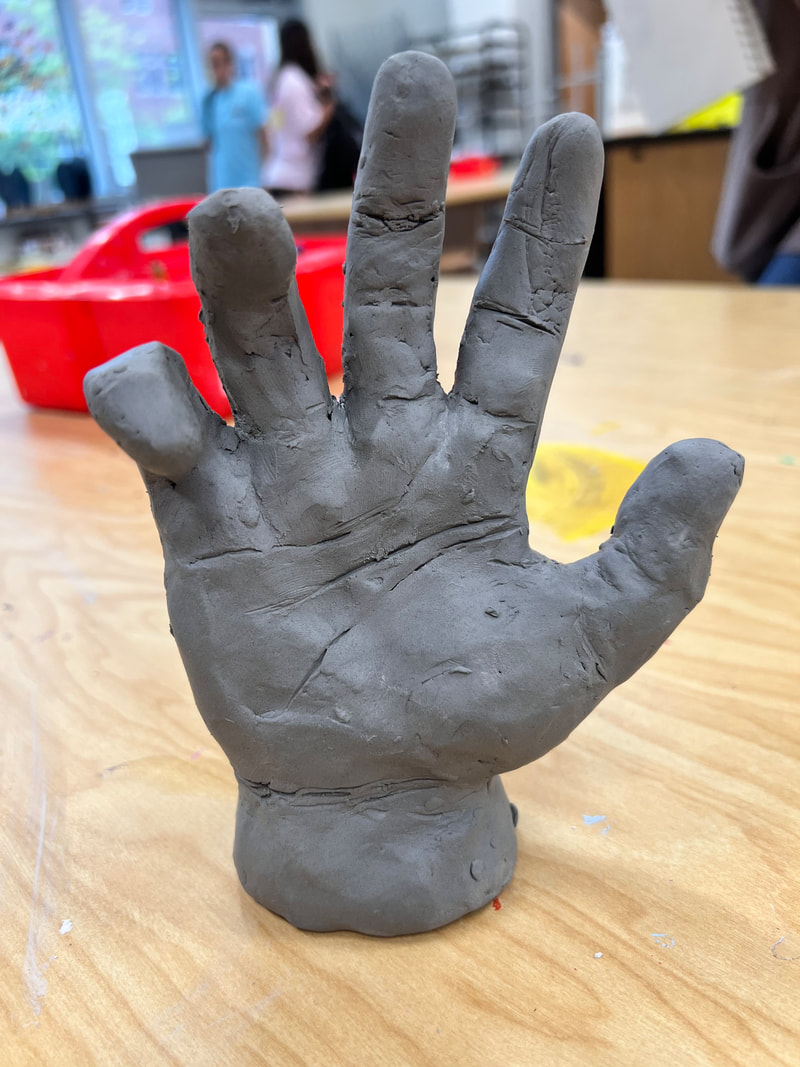
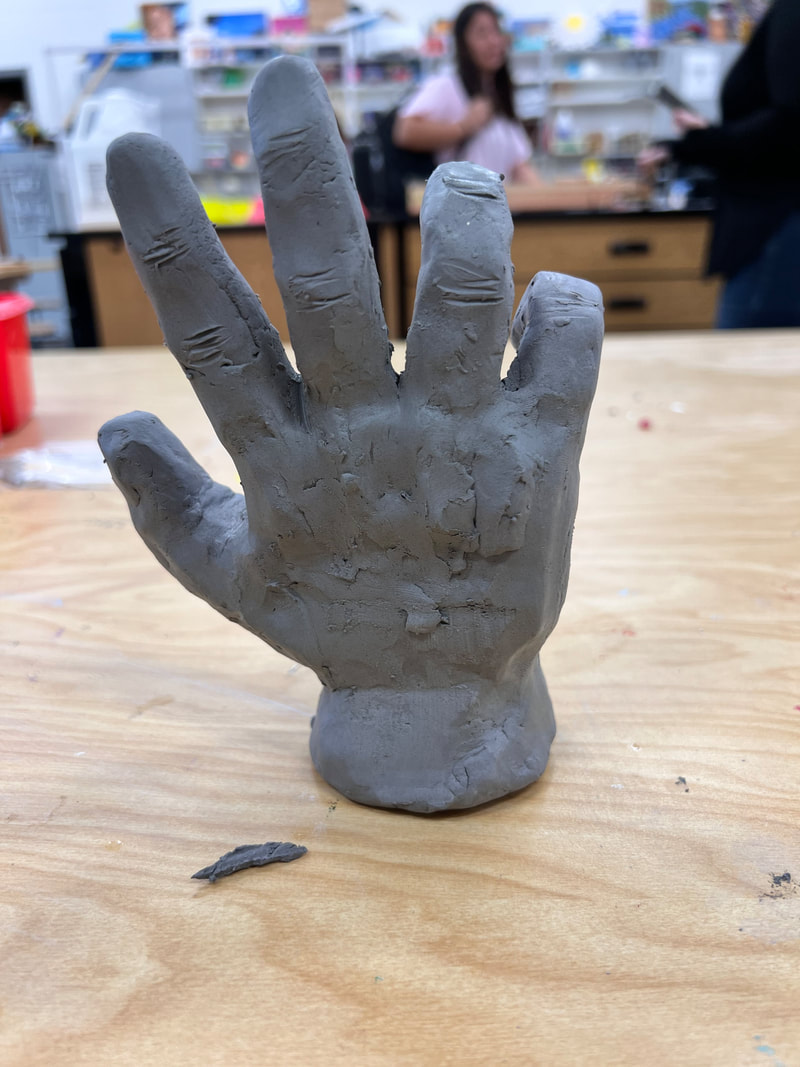
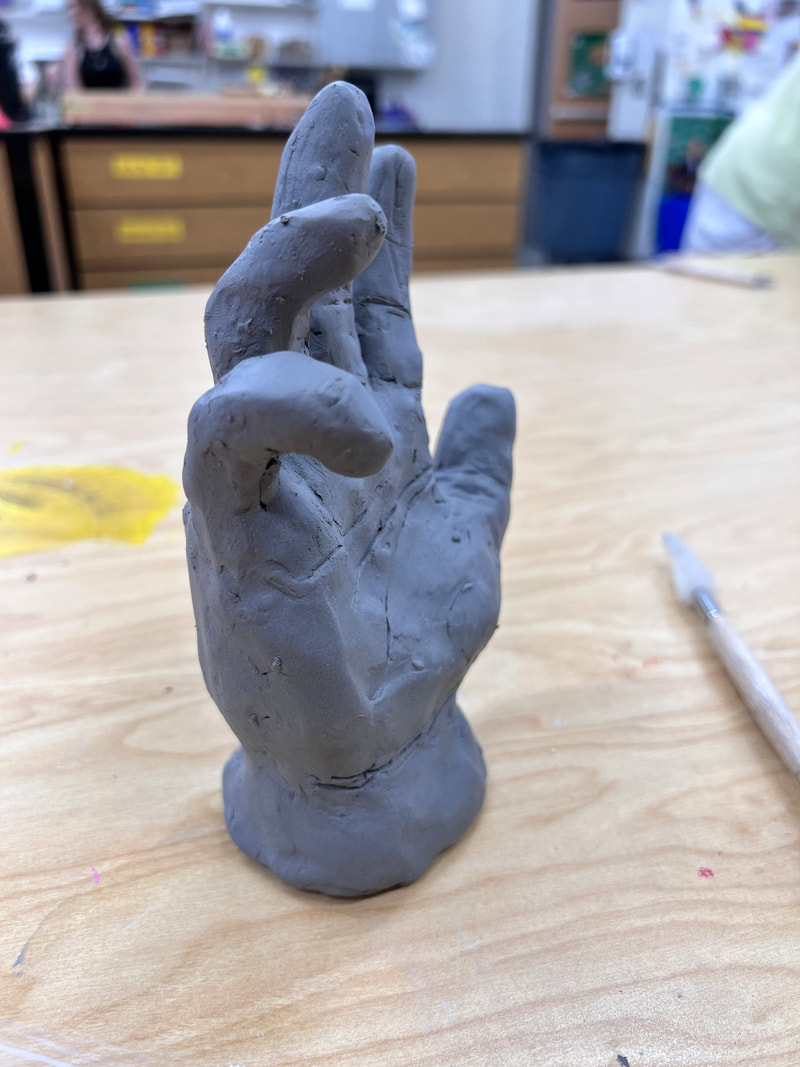
Even though my whole AP 2D portfolio was about hands...I was still struggling majorly. It only looks good from one angle. 😂
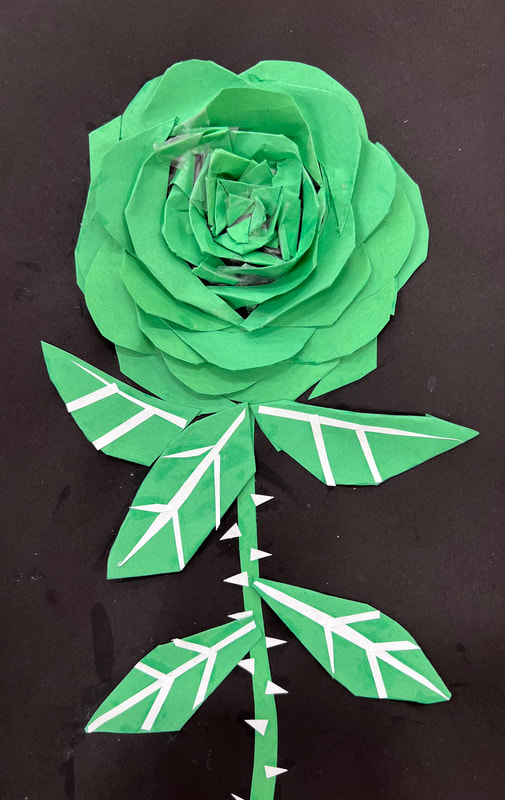 Describe your piece. Explain what you have made & the process. How did you set up your design? (15 pts)
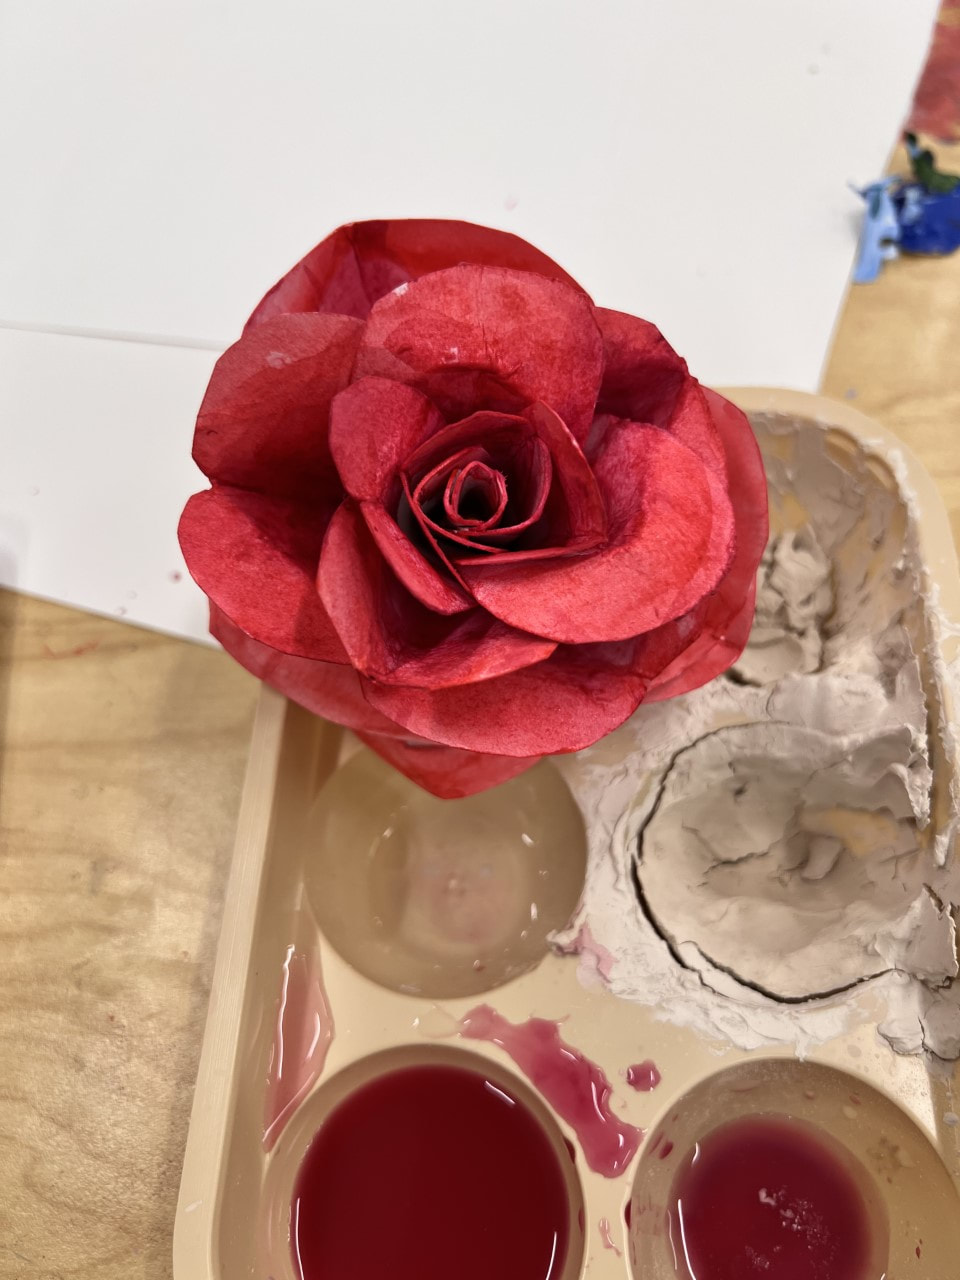
For this project, I made a rose by folding petals of various sizes and stacking them together. I placed some of these petals slightly lifted off the page by taping and gluing the bottom of the petals to the page. I set up my design so that while the petals near the middle of the flower are almost "vertical," the petals slowly fan out near the edges until they become flat. I also added a stem and leaves with white accents to elevate the design. Analyze your piece. Talk about what is successful and what you might have changed if you were to do it again. (15 pts) I like how the rose turned out--I actually wasn't expecting it to turn out well, but I think the 3D effect of the petals makes the flower look pretty cool. However, if I were to do it again, I would try to tape the petals in such a way that the tape is not visible. The fact that the tape on the flower is showing distracts from the look of the rose. I think I would also make the leaves and stem in a way that makes them look less tacky. Interpret your meaning in the art. Do you feel like it shows the feeling or mood it was should have? (15 pts) I think my piece has a rather elegant mood, which was what I was aiming for. I wanted to emphasize the graceful fragility of the rose by layering many overlapping petals over each other. I expended the energy to painstakingly fold every petal rather than just cutting out a bunch at once, which I think actually worked to some degree. Judge your piece. Overall how do you feel about your piece? Do you feel proud of this piece and the work you did? (15 pts) Since this piece was my first ever kind-of sculpture, I feel pretty proud of myself! I don't think it turned out that bad. There's some places I think I could improve, like the tape and the stem, but overall, I think it's pretty cool looking. Hi! My name is Monica, I'm a 12th grader. This year I'm looking forward to having a relaxing, low stress life. One interesting thing about me is that I've been playing the piano for over ten years! If I could eat anything forever, I would choose to eat ramen because I'm unhealthy. 😅 Looking forward to the class!  Not the watermark haha
|
Monica J.17, Senior Year Archives
January 2023
|


 RSS Feed
Photo used under Creative Commons from ambabheg
